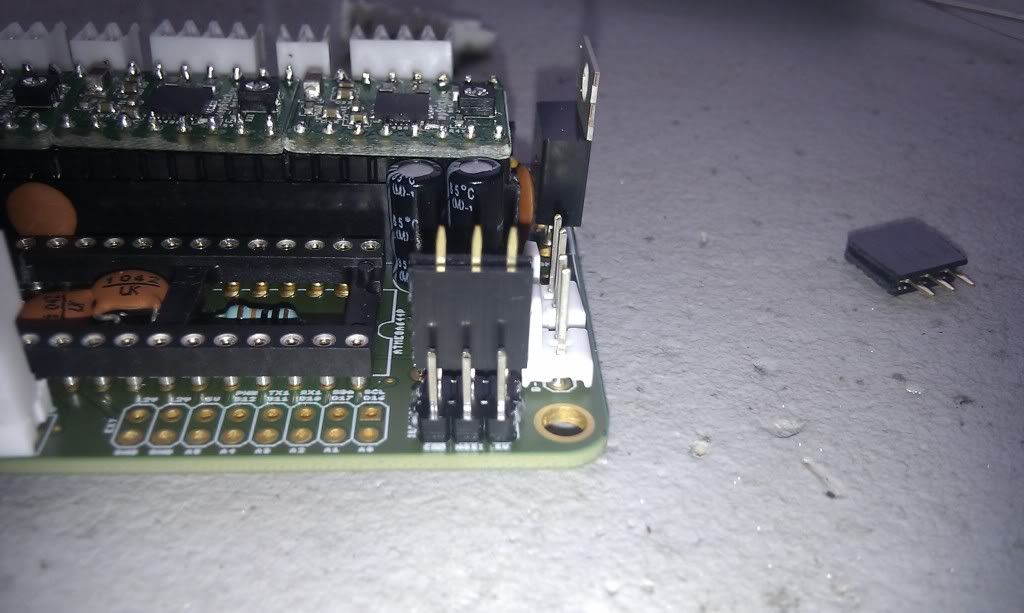
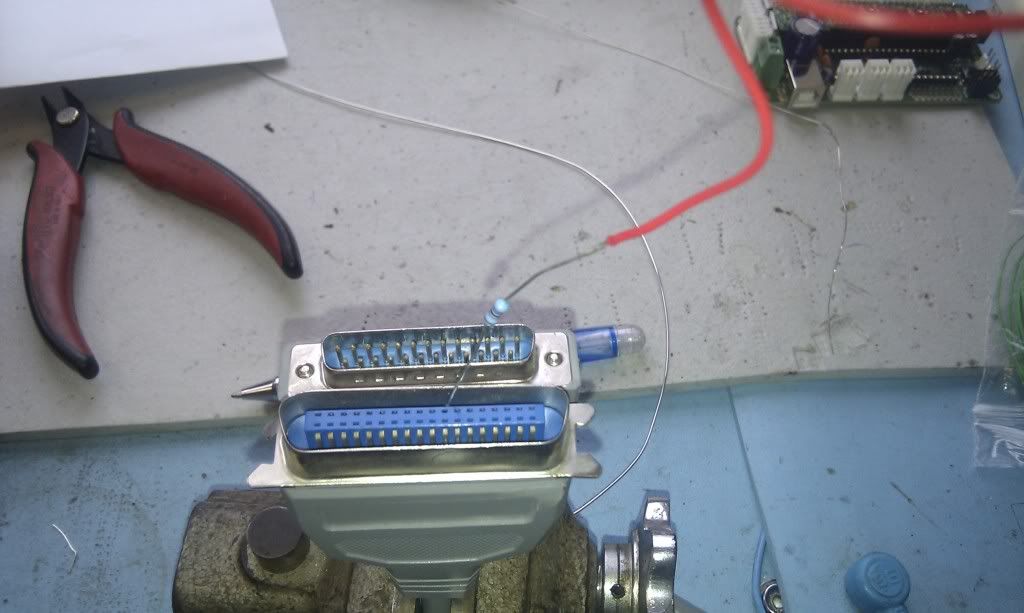
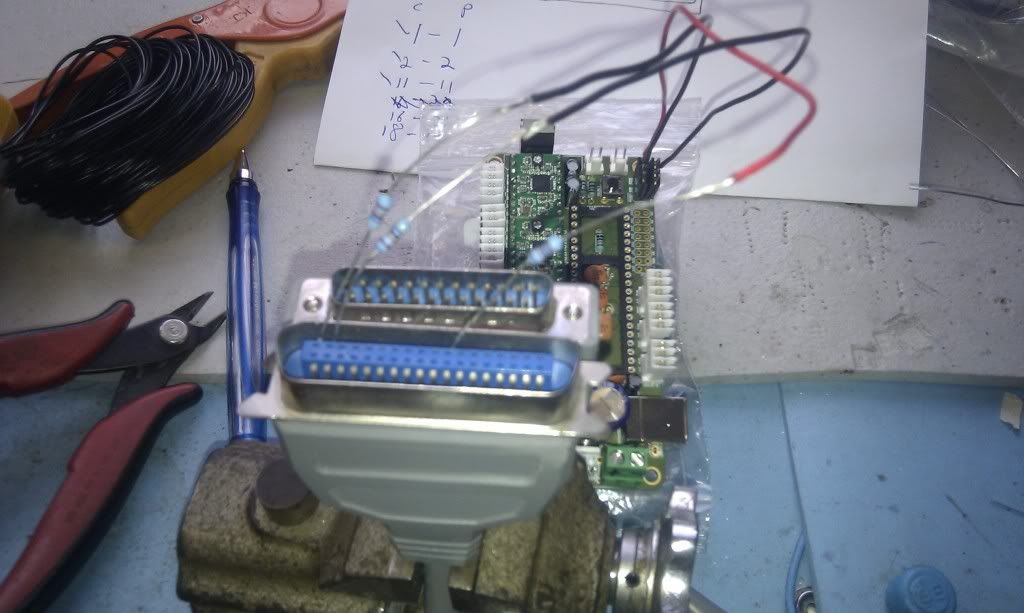
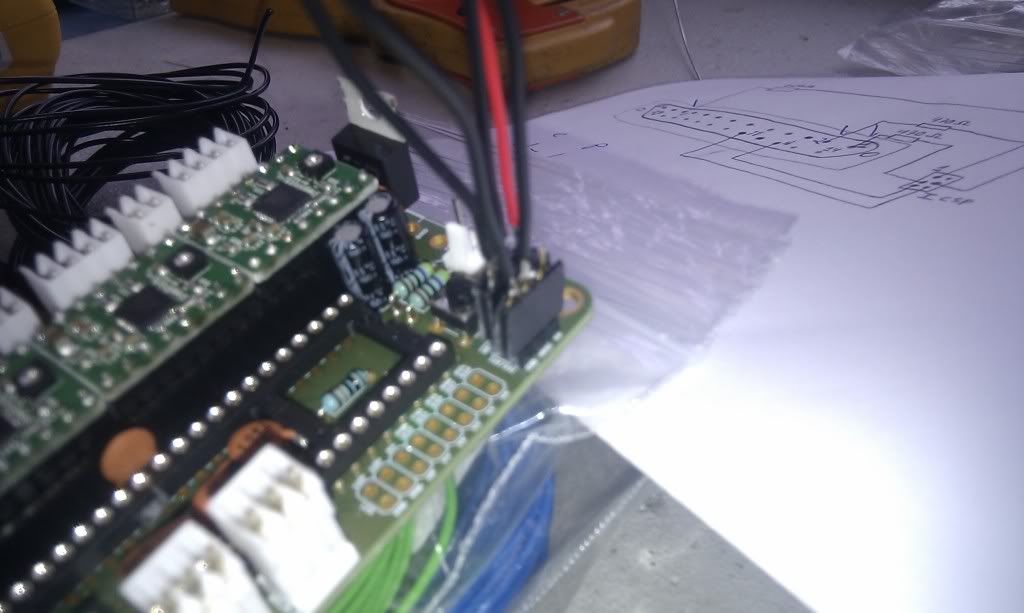
Since Bernard doesn't have a parallel port, I loaded Arduino 0018 onto my main machine, along with Sanguinio. I plugged in the prgrammer, connected my sanguiniololu to the USB port (installed the FTDI drivers etc) and ran Ardunio. I set the board type and COM port up, and then selected "Burn bootloader w/ parallal programmer" and sat back and watched it program.
Actually I sat back and watched it fail. I got the following error message:
avrdude: initialization failed, rc=-1
avrdude: Yikes! Invalid device signature.
avrdude: Expected signature for ATMEGA644P is 1E 96 0A
avrdude: AVR device not responding
***failed;
avrdude: verification error, first mismatch at byte 0x0000
0x3f != 0x00
avrdude: verification error; content mismatch
I tried a couple more times, and still got the same message. I decided to give up on the parallel programmer, and use an AVRISPMKII programmer that I had borrowed in case this happened:
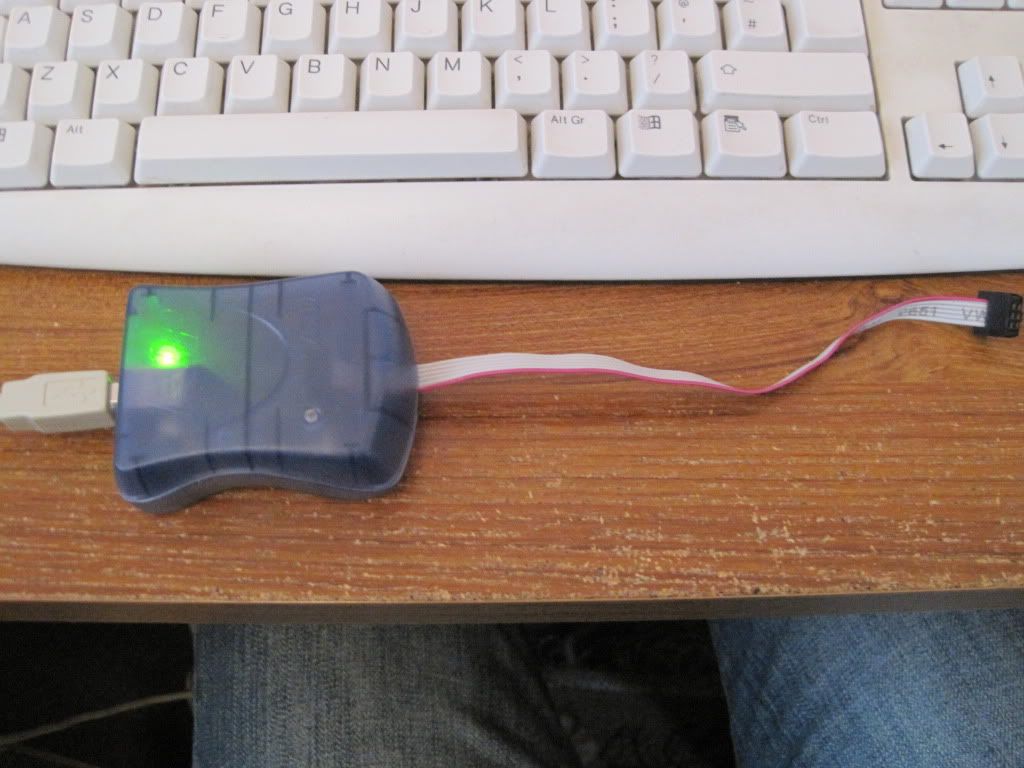
I plugged it in and watched the computer try and locate some drivers fir it, but it failed. I went off to Atmel's website to download the software I needed - AVRstudio 5. 600megs and some time later I tried to install it, and was once again met with failure: AVRstudio needs win XP Service Pack 3, which is not installed on my machine.
I transferred the setup to Bernard and installed it there, along with its prerequsities, extras and the Jungo USB driver (which I felt was probably the part I really needed). I plugged in the programmer, and watched it install the drivers correctly this time. I rebooted, fired up Arduino again and hit "Burn bootloader w/ AVRIsPMKII". Did it work this time?
No.
Turns out Ardunio couldn't find the programmer, despite the software and drivers being present. I almost gave up at this point. It shouldn't be this hard to load a tiny file onto a chip! Instead of giving up totally, I started to scour the net, searching for anything useful to my situation.
I read the Arduino site, and found info on the preferences and programmers files. I changed some settings, tried again and failed again.
I looked up avrdude, the program used by Arduino to program the bootloader, and read all of the documentation. I tried to call Arduino's copy of avrdude from the command line, but failed as it was missing some files. As was the version that I downloaded separately. I could call the version that I downloaded within "winavr", but the preferences file wasn't set up.
More searching led me to this forum post.Essentially it worked out that AVRdude couldn't talk to the AVRISP's driver. I downloaded "libusb" - the win32 version with the filter options, from sourceforge. I installed it and set the filter option to enabled for the programmer. I called AVRdude again, and this time it acknowledged that there was a programmer present, but it was on the wrong address. Progress!
Time to find the address of the programmer. The AVRdude manual suggested a way of doing this for a different programmer (see example at bottom of this page). I tried this for the AVRISP, but with no success. Poking through the libusb start-menu group, I came across someting called "Test (Win) Program". This gave me the following screen:
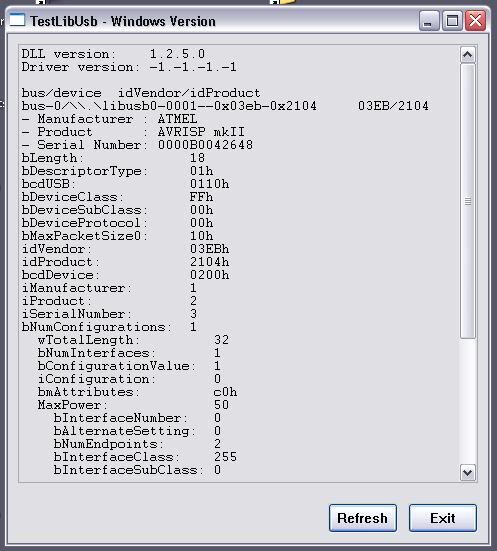
I called AVRdude again, and instead of a port, I passed it the end of the serial number (as seen in the above page from the avrdude help) - and what do you know, I got a response!
Right, now what do I tell AVRdude to do to the chip? Well, the arduino bootloader page has a list of all the operations performed on a chip when the bootloader is burnt - I decided to use this as a template for what I needed to do.
The contents of \arduino-0018\hardware\Sanguino\boards.txt look like this:
The ".bootloader" lines match the commands passed to the processor when programming. Looking in "Sanguino\bootloaders\atmega644p" lead me to the .hex file that is the bootloader. I moved this file to C:\avrdude\, as the version I installed here now worked (with the installation of libUSB).
##############################################################
sanguino.name=Sanguino
sanguino.upload.protocol=stk500
sanguino.upload.maximum_size=63488
sanguino.upload.speed=38400
sanguino.bootloader.low_fuses=0xFF
sanguino.bootloader.high_fuses=0xDC
sanguino.bootloader.extended_fuses=0xFD
sanguino.bootloader.path=atmega644p
sanguino.bootloader.file=ATmegaBOOT_644P.hex
sanguino.bootloader.unlock_bits=0x3F
sanguino.bootloader.lock_bits=0x0F
sanguino.build.mcu=atmega644p
sanguino.build.f_cpu=16000000L
sanguino.build.core=arduino
Now that I had all the parts, I re-read the AVRdude help and composed a string that would perform all the operations that I needed: "avrdude -c avrispmkii -p m644p -P usb:48 -e -U lock:w:0x3F:m -U efuse:w:0xFD:m -U hfuse:w:0xDC:m -U lfuse:w:0xFF:m -U flash:w:ATmegaBOOT_644P.hex -U lock:w:0x0F:m"
Before trying to burn the bootloader, I used the -v switch to see if the ATmega 644P had a boot section. It does not, so the bootloader will be written to the flash.
It turns out that the string of commands was actually too long for the windows command prompt to handle in one go. I had to split the command up into single operations, which would help if something went wrong. I also added the -u switch to all the commands until I had finished writing the fuse bits - this stops AVRdude checking that the fuses are correct.
Here are the commands I used:
avrdude -c avrispmkii -p m644p -P usb48 -B 8 -u -e -U lock:w:0x3F:m -v
avrdude -c avrispmkii -p m644p -P usb48 -v
avrdude -c avrispmkii -p m644p -P usb48 -u -U efuse:w:0xFD:m -v
avrdude -c avrispmkii -p m644p -P usb48 -u -U hfuse:w:0xDC:m -v
avrdude -c avrispmkii -p m644p -P usb48 -u -U lfuse:w:0xFF:m -v
avrdude -c avrispmkii -p m644p -P usb48 -U flash:w:ATmegaBOOT_644P.hex -v
avrdude -c avrispmkii -p m644p -P usb48 -U lock:w:0x0F:m -v
The "-B 8" in the first line slows down the programmer by 8 microseconds. This is because the first time I tried to talk to the processor I got the error reported here. The second line is to check that the device now reports a correct signature, which it did.
I called the commands in the order given above, and was greeted with success after each one. Here is the avrdude output from the last operation:
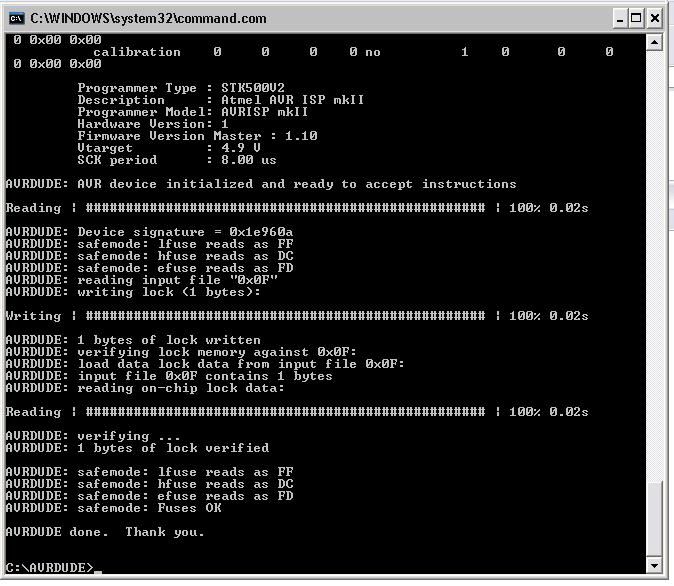
Now to see if it worked. I had downloaded and played with sprinter already, so I loaded it up into Arduino and clicked the "verify" button. It seemed to compile ok, so I clicked "upload".
After an antagonising wait:
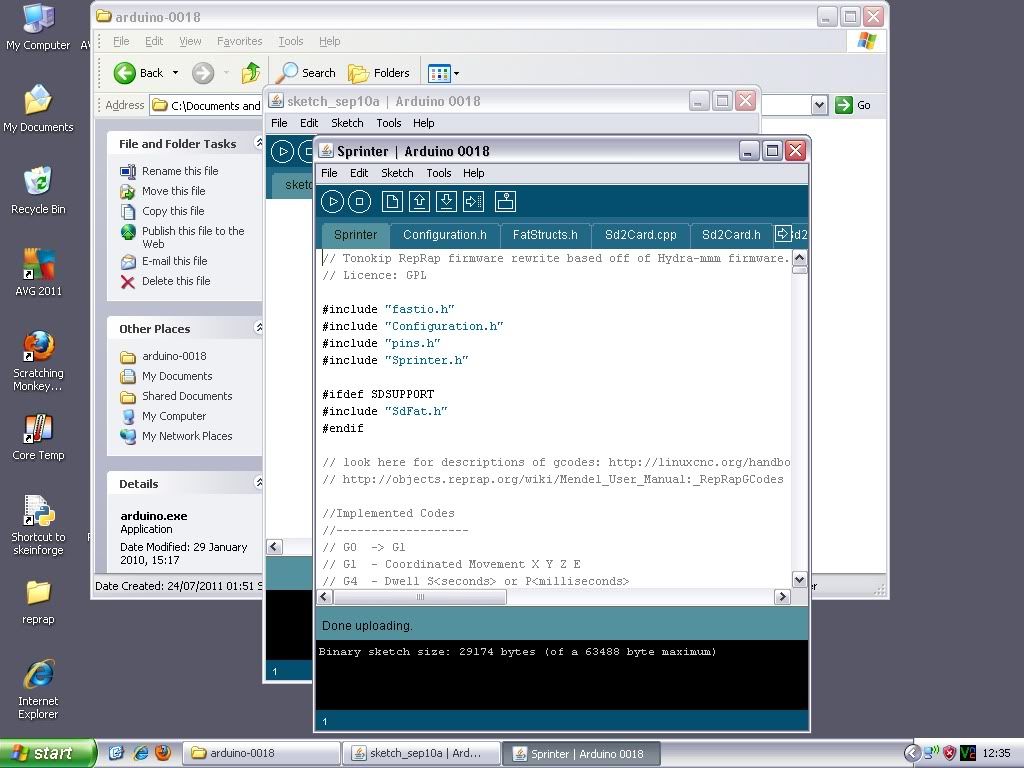
It uploaded OK! The bootloader was a success, and now I can program firmware to the board via the USB connection!
For some reason, Reprap host has now stopped working. I think it is to do with the comms being interrupted by something that I recently installed. I went off and grabbed version 0025 of replicatorG, because it was the first alternative that came to mind.
I connected everything up (Z-axis plugged in, PSU turned on and connected, USB lead to Bbernard), set ReplicatorG to use "klimentkip" as the communication protocol and told it to connect. After a short wait, I had a connection and everything was talking. I opened the control panel and asked the Z to move:
It went the wrong way. And only did it once before I have to reset the connection, but I'm sure I can fix these - in fact I have already inverted the Z-axis in the firmware and re-uploaded - Easy!
Next up - Building the extruder.