Showing posts with label thermistor. Show all posts

Sunday, 15 April 2012

Chapter 26 - In which I start to actually print things

First off, my apologies for being late with the updates again - it's becoming quite a habit. I've made a fair bit of progress over the last 3 or 4 months, and I'll try and cover it all in a couple of posts.

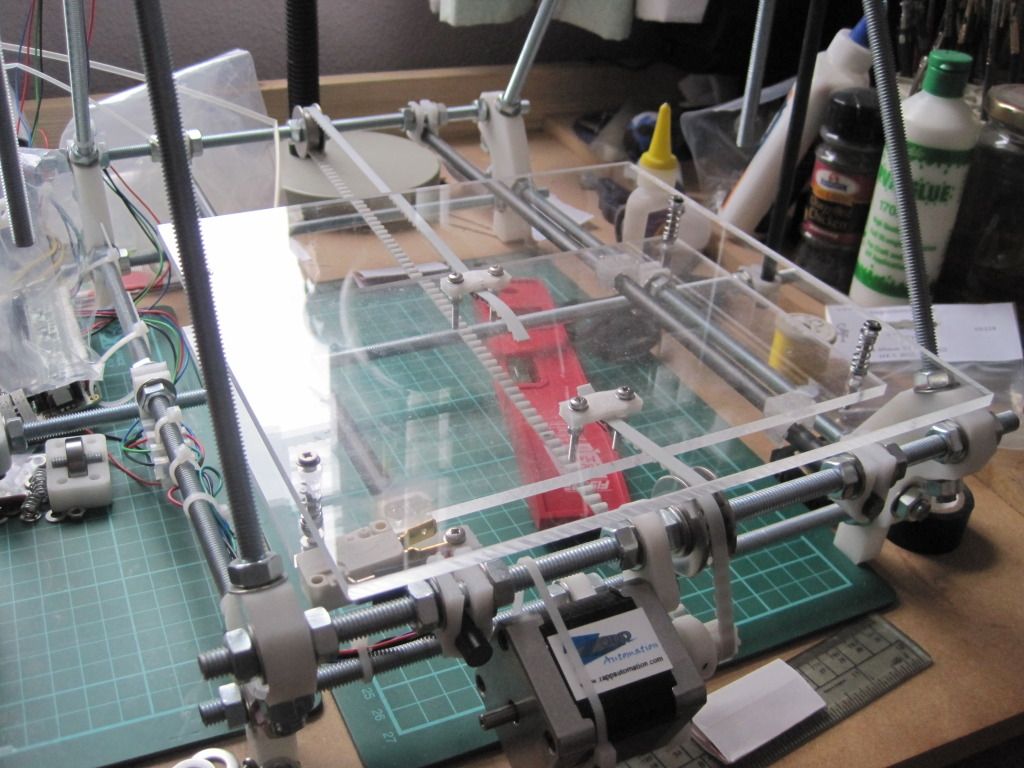
When I last posted, the printer had just printed its first proper part, and as a reward had gone on holiday to the garage over Christmas. Whilst in the garage, I decided to tackle one of those issues that had bugged me from the moment I installed the bed. Here's what I'm talking about:
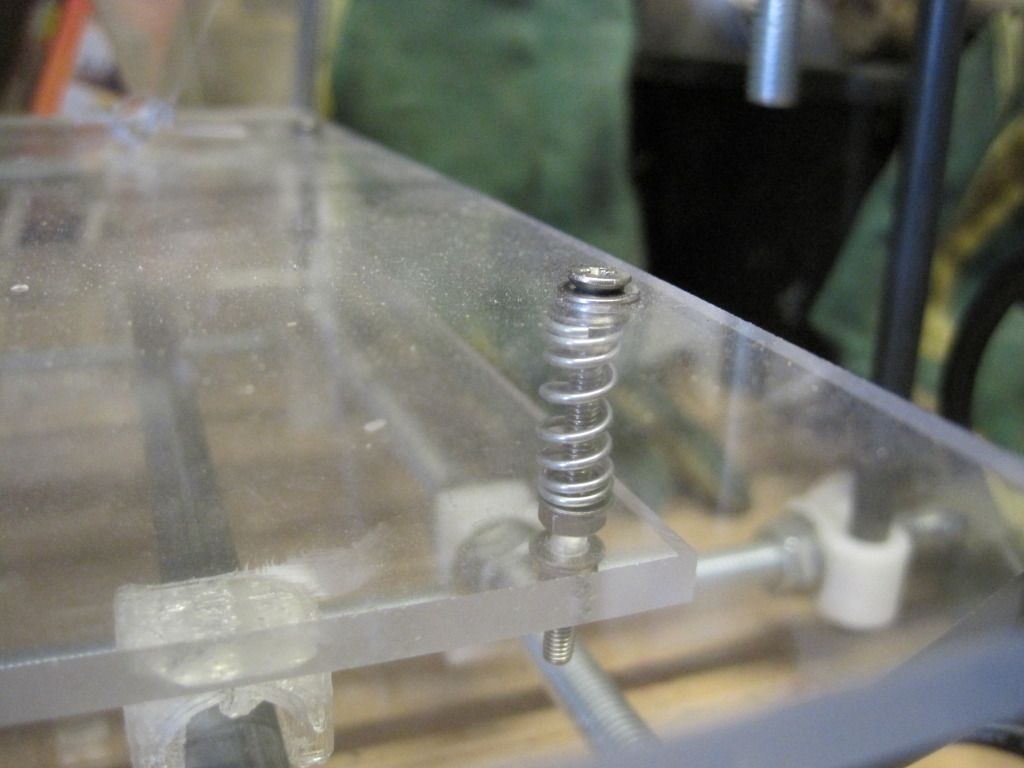

The heads of the screws that hold the bed in place stand proud of the bed surface. Sticking up like this annoyed me, as I couldn't use the maximum size of the printbed, but also because they represent a threat of collision with the head - something I only discovered by doing it!

I removed the printbed and used a hand countersinking tool to recess the screw heads:


That's much better:
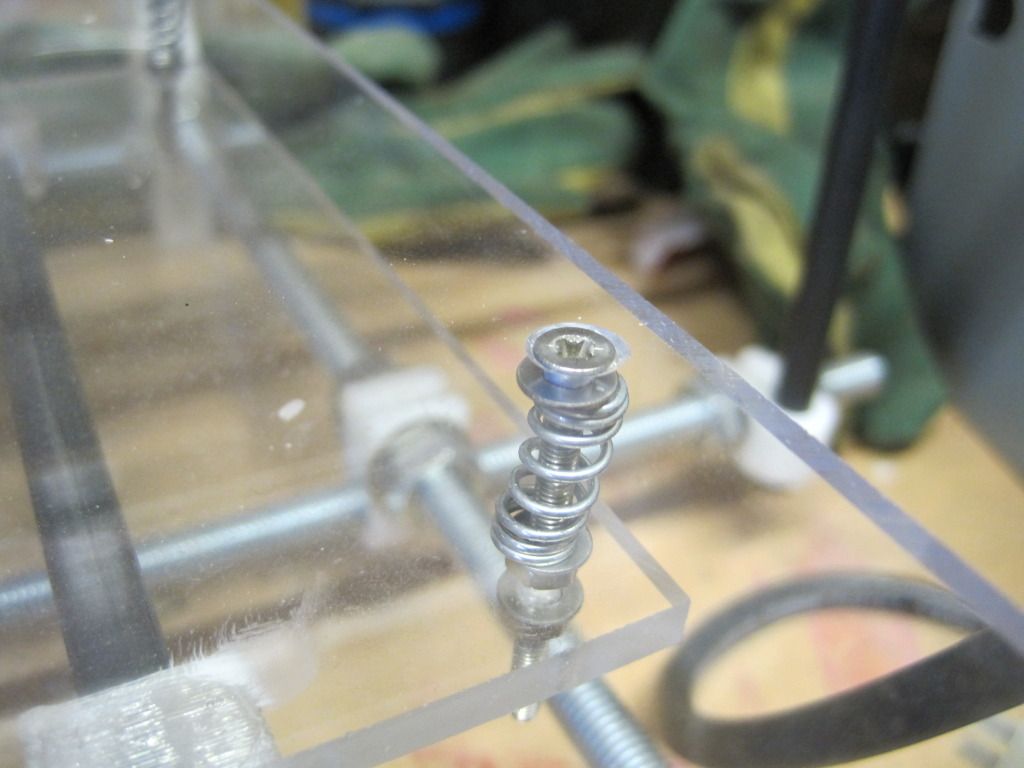

This was all in the middle of January. Jump forward to mid February, and the printer is back on my workbench and I'm starting to iterate towards some decent print settings. I've started using the most awesome slic3r as my gcode generator, as it is simple to set up and seems to produce good prints. If you haven't tried it yet, it's well worth it. It seems as if the strangely shaped cube in my last post was a result of skeinforge - I don't know what happened, but slic3r is giving good prints so I' gonna stick with it.

The following photo shows some of the cubes I printed to start getting the settings correct. As you can see, they start off awful on the left, and get better as I reduced the layer height and nozzle size in slic3r. I also changed the size of the cube from 20x20x20 to 20x20x10 and then 20x20x5 as it was possible to tell how good the settings were without needing to take the time of building the full height.
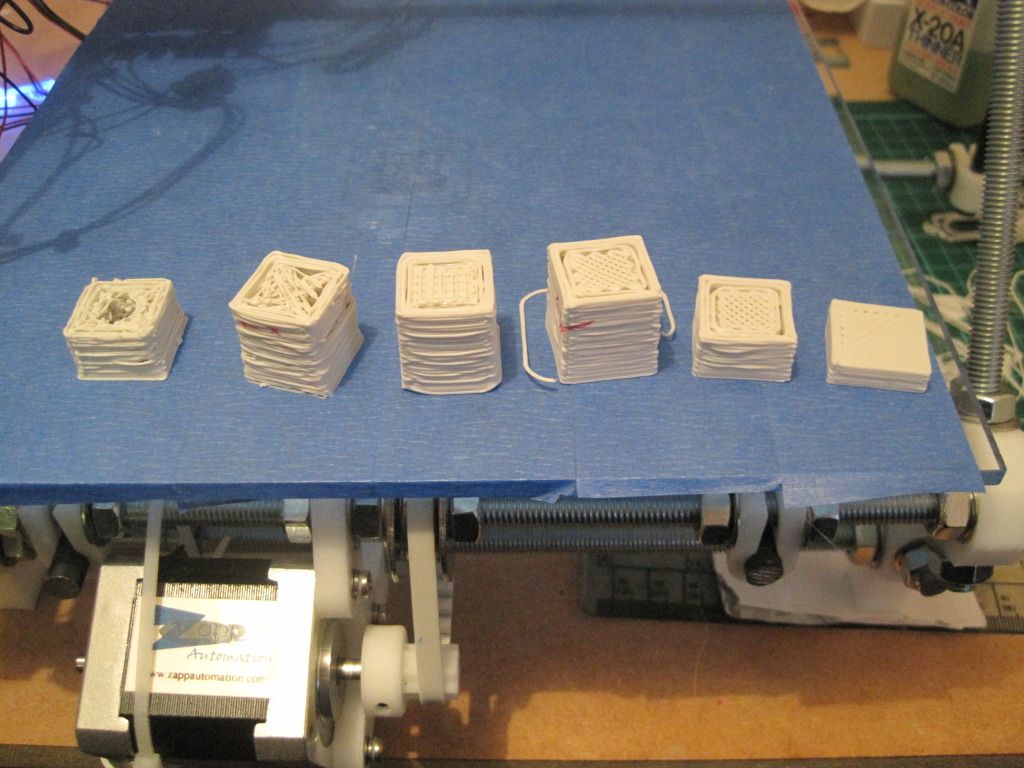

The settings that I have settled on (for now) are: Layer height of 0.3mm, perimeter speed of 30mm/s, a temperature of 220C and a bottom layer height ratio of 0.7. I'll include a full slic3r config file at the bottom of this post with the complete settings in, for anyone who is interested (or would like a starting point). This resulted in the final cube on the right, which looks like this close up:
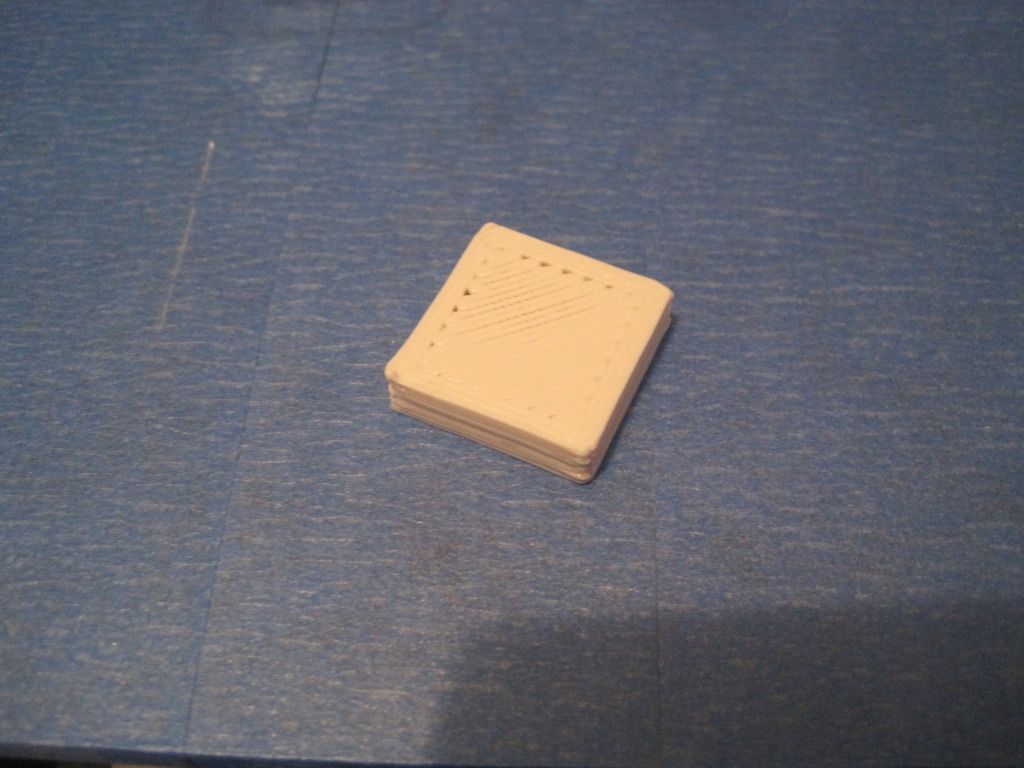
This cube was printed with a nozzle size of 0.45, which is a bit big still hence the poor fill on the top layer


Tuning of the first layer height ratio took a long time, and seemed inconsistent (and I know why now - will come to that in a later post). This photo shows the consequences:
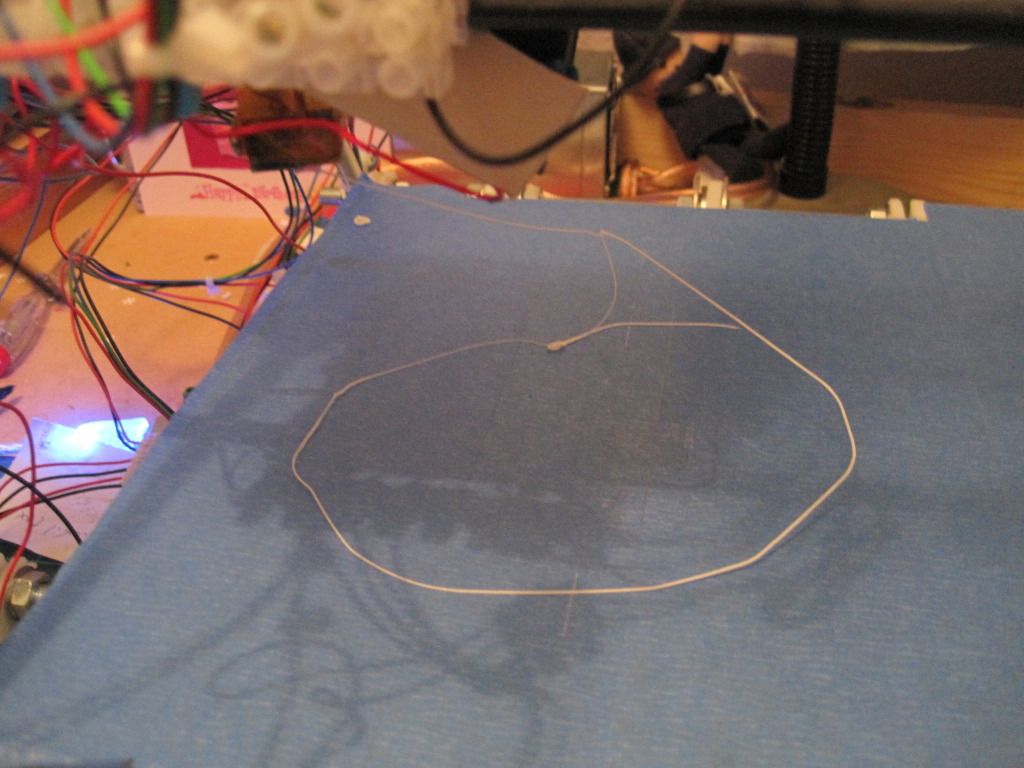

The first layer was too high, and came unstuck - the was the skirt, before the first layer of the object went down!

At this point, my feedstock (3mm "Architects Stone" PLA from Faberdashery) was being stored in the box it came in, on the floor, and being unrolled by hand as I was printing. It looked as if there was some tension on the feedstock and consequently on the X-carriage. I decided a filament spool was the first upgrade I ought to print, and so went off to thingiverse and downloaded http://www.thingiverse.com/thing:8317 and http://www.thingiverse.com/thing:10254.

I figured I'd try to print the arms of the spool holder first. In the immortal words of the Top Gear team, how hard could it be?

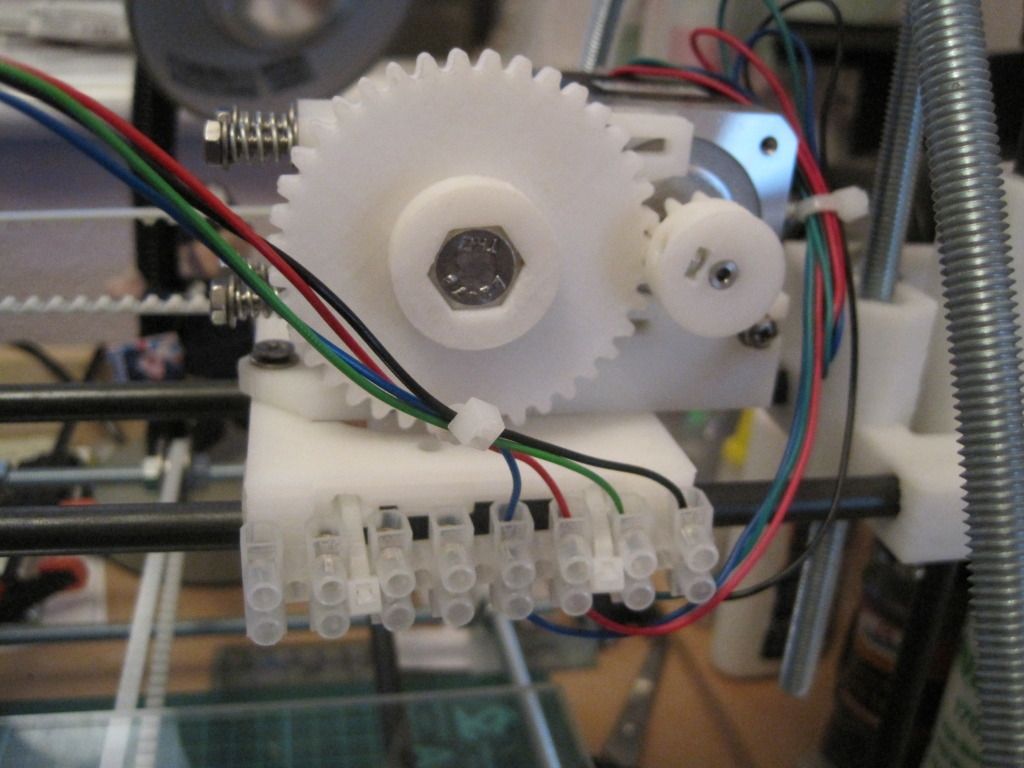
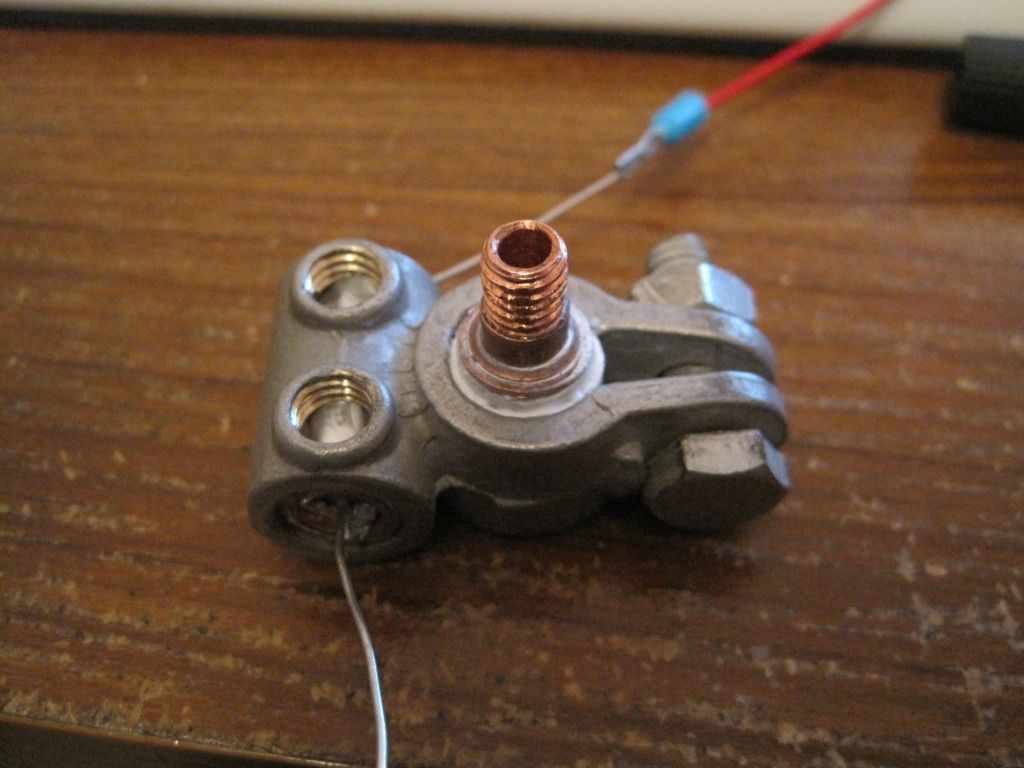
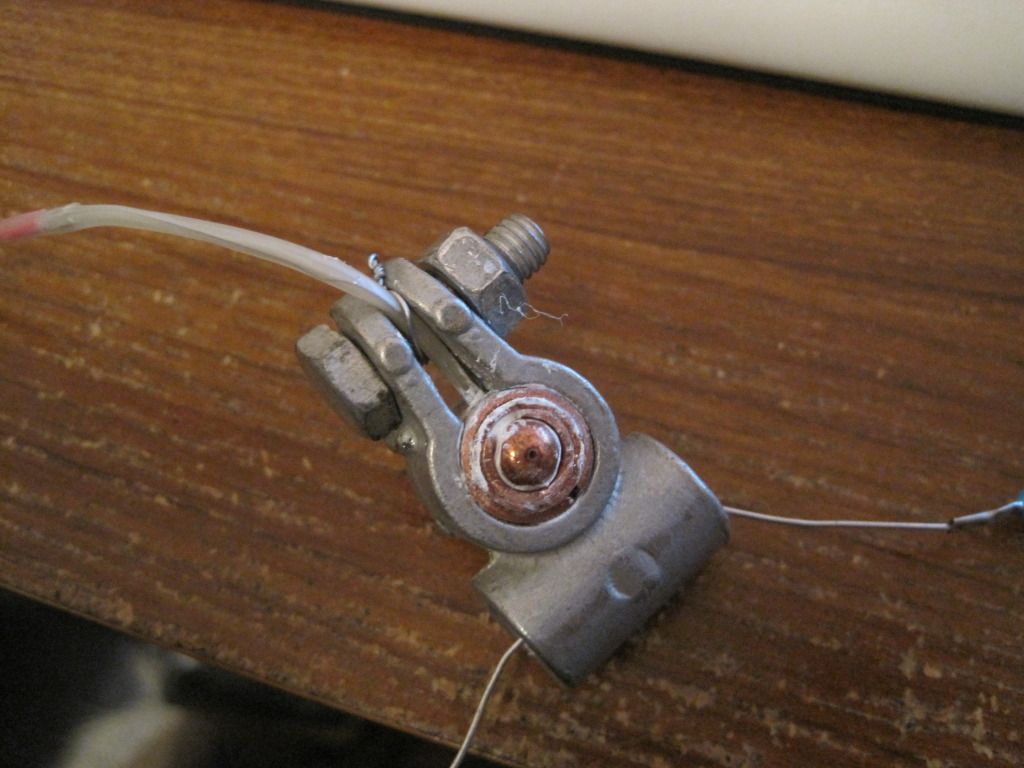
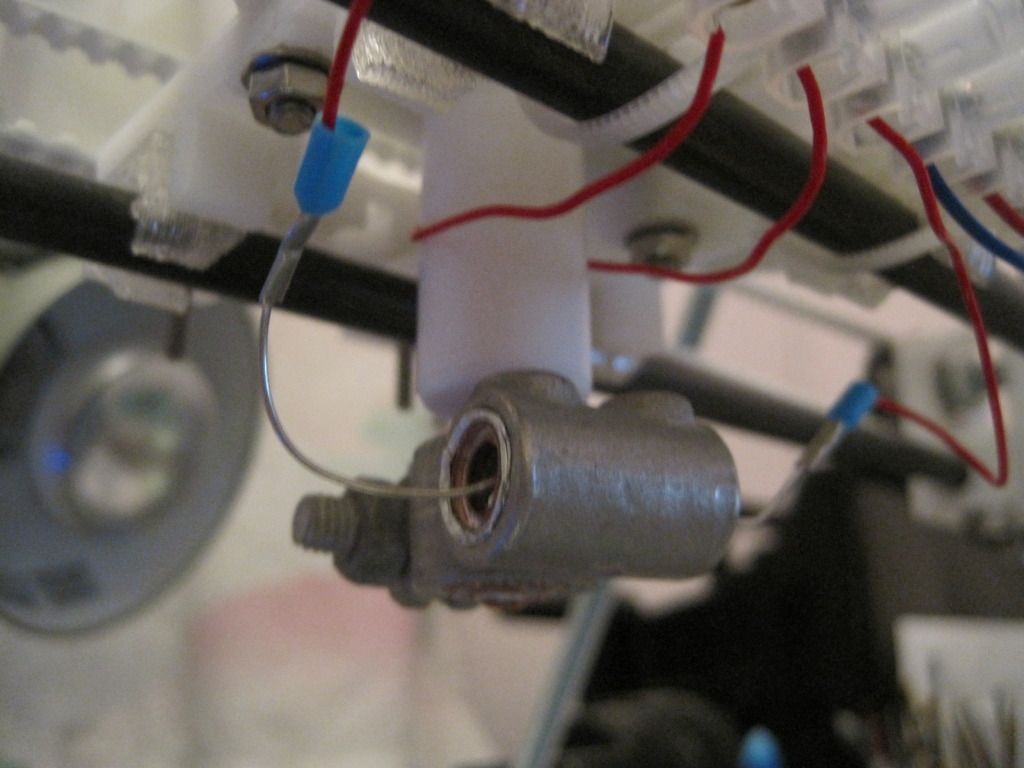
Pretty hard, as it turns out. Not only did I have to contend with varying height ratios for which there was no cure (I must have levelled the bed 3 or 4 times, grrr!) but also I had not 1 but 2 cabling breaks, right here at the main terminal block on the carriage:
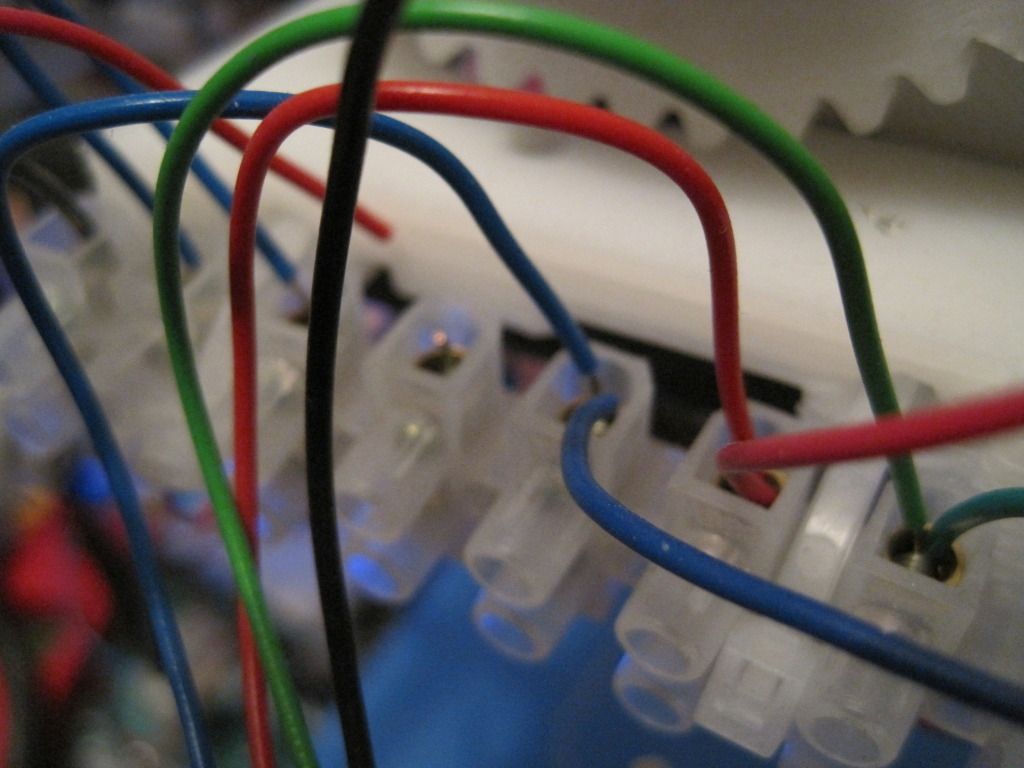

The heater power wire had broken! The printer is wired with single-core cable, and it broke here as there is no strain relief. I've added some loops of cable to all the wiring now, to try and prevent this from happening again. I also had a thermistor wire break, at the same place. Thankfully this caused the printer to fail safe, with either pronterface or the firmware switching the heater off.

Here is a rather poor photo of an arm in progress:
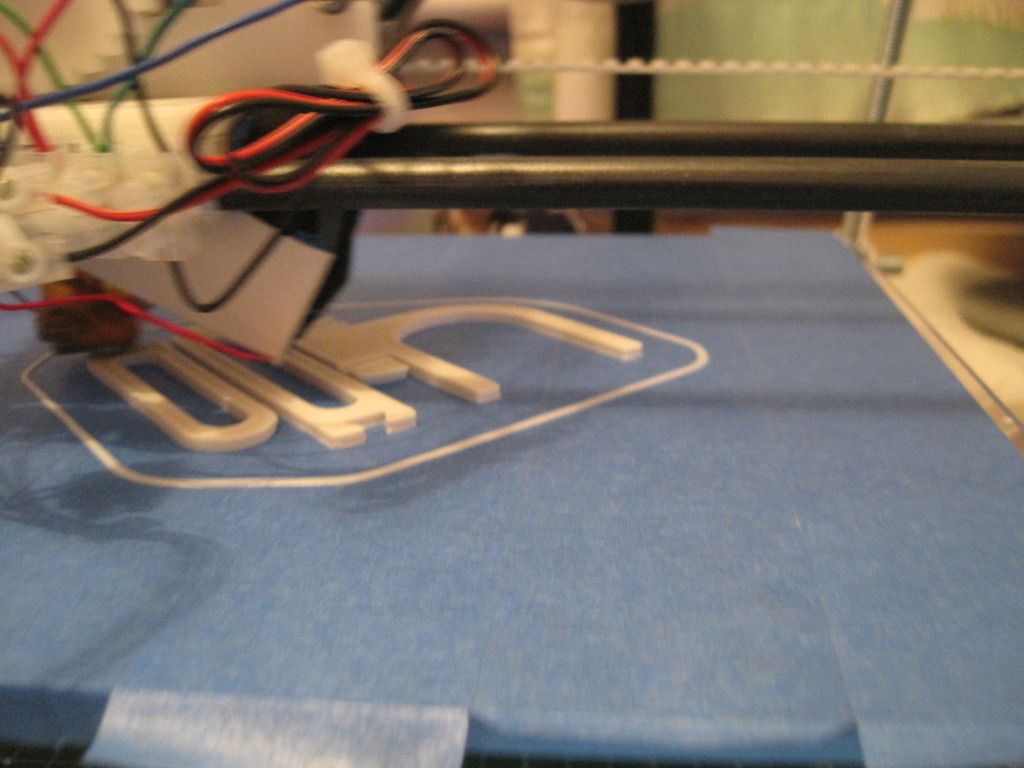

Finally I got my first parts off the machine - the feeling of having actually made something is fantastic!
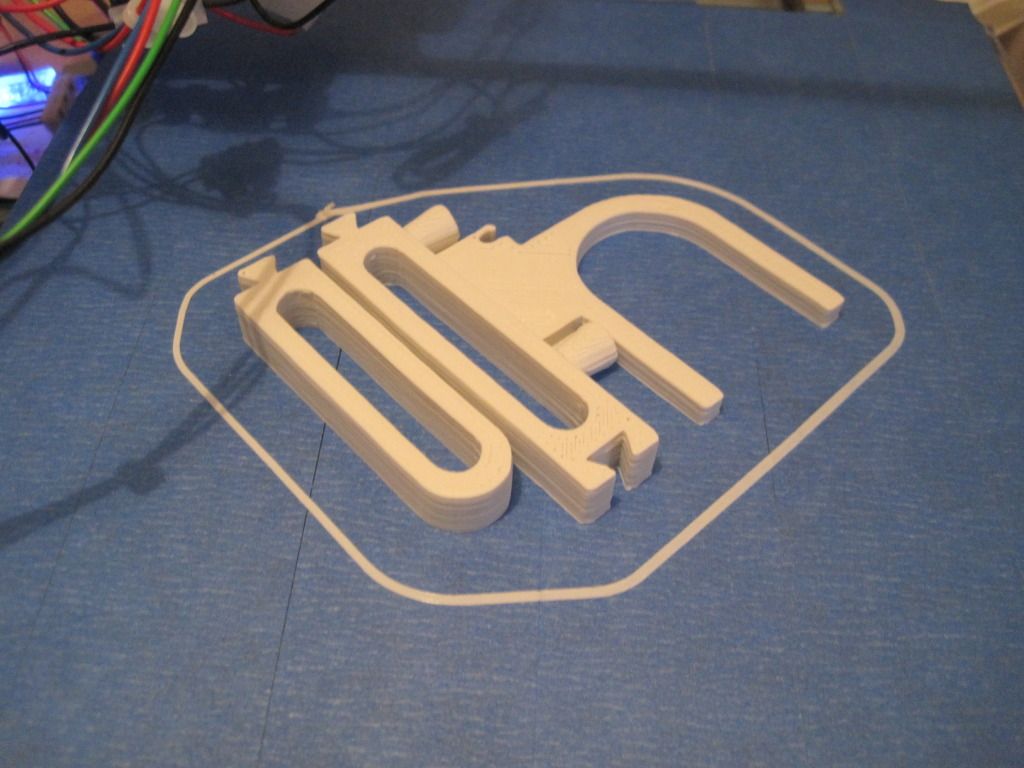

So, up next - more parts for the spool holder, more problems and more resolutions!

Example slic3r config, as used in april 2012:

bottom_layer_speed_ratio = 0.2
bridge_flow_ratio = 1
bridge_speed = 60
duplicate_distance = 6
duplicate_x = 1
duplicate_y = 1
end_gcode = M104 S0 ; turn off temperature\nG28 X0  ; home X axis\nG28 Y0 ; home y axis\nM84     ; disable motors
extrusion_axis = E
extrusion_multiplier = 1
extrusion_width_ratio = 0
filament_diameter = 2.86
fill_angle = 45
fill_density = 0.5
fill_pattern = rectilinear
first_layer_height_ratio = 0.7
g0 = 0
gcode_arcs = 0
gcode_comments = 0
infill_every_layers = 1
infill_speed = 40
layer_height = 0.3
nozzle_diameter = 0.4
output_filename_format = [input_filename_base].gcode
perimeter_speed = 30
perimeters = 2
print_center = 100,100
retract_before_travel = 0.5
retract_length = 3
retract_lift = 0
retract_restart_extra = 0
retract_speed = 30
rotate = 0
scale = 1
skirt_distance = 12
skirt_height = 1
skirts = 2
small_perimeter_speed = 30
solid_fill_pattern = rectilinear
solid_infill_speed = 30
solid_layers = 3
start_gcode = G28 ; home all axes\nG92 E0 ;reset extruder\nG1 E3 F1200 ;Prime extruder 3mm\n;G1 E2 F1200 ;retract extruder 1mm\nG92 E0 ;reset extruder
temperature = 220
travel_speed = 130
use_relative_e_distances = 0
z_offset = 0
Saturday, 7 January 2012

Chapter 24 - In which I design and build a new hot end

Happy new year! I'm still behind with my blog postings (no surprises there...), but am trying to catch up. One of the biggest and most significant event in the last few months has been the design and build of my new extruder hot end.

In my last post, I described how my PTFE barriers had all failed. With that in mind, I set about designing something that would be incapable of failing as the PTFE had done. I wanted to steer away from PEEK due to the cost, and the fact that the operating temperature range is only slightly above that of PTFE - I know that with my luck I'd start to push nozzles out of it.

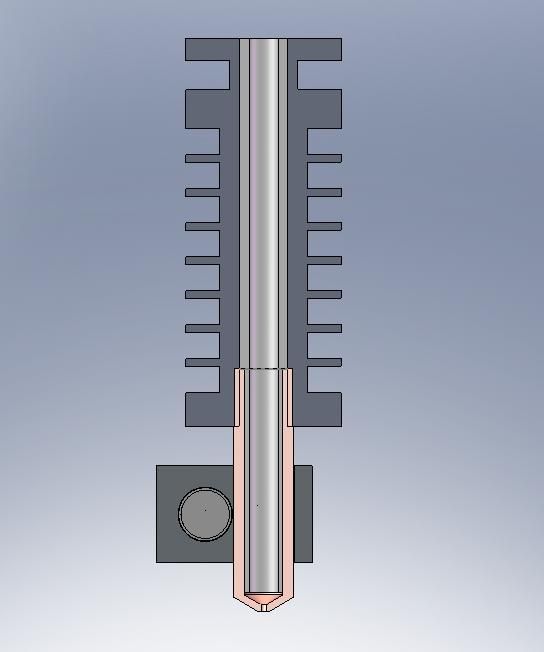
Inspired by one of Nophead's designs, I chose to make the new thermal barrier out of stainless steel. Although stainless is considered quite a poor thermal conductor (amongst metals) it was still going to get pretty hot when the nozzle is at 200C. I designed the barrier to be made from 16mm bar stock so it will fit in the body of wades extruder, with a set of cooling fins along the body. The high temperature of the hot end, the fact that the barrier is only 40mm long, and the relatively large mass of the barrier means that I will have to actively cool it to prevent the feedstock from swelling and jamming. A small fan will blow across the fins to remove the heat.

To prevent jams at the transition between the barrier and the nozzle, I will be using a PTFE liner. I had considered using sleeving, but eventually settled on some penumatics pipe (ebay again - 5mm outside diameter, 3mm internal diameter). This would run down the inside of the barrel and nozzle, right to the tip. This did create a problem though - in order to get the liner down into the nozzle (a MIG tip), I would have to reduce it's external diameter. The MIG tip's thread size is M6, which has a 5mm core diameter - if I drilled the MIG tip out to 5mm, there would be no thread left! I settled on a 4mm internal diameter for the tip, and a stepped liner design - 4mm in the nozzle and 5mm in the barrel.

In a last minute change-of-heart, I dropped the copper sleeves and car battery clamp of my earlier design. I would have to use machine tools to make the new barrier, so why not treat myself to a new heater block too? It is aluminium, 16x16x10mm, has a grub screw to hold the nozzle in place and has the thermistor positioned near the nozzle for a more accurate temperature reading.

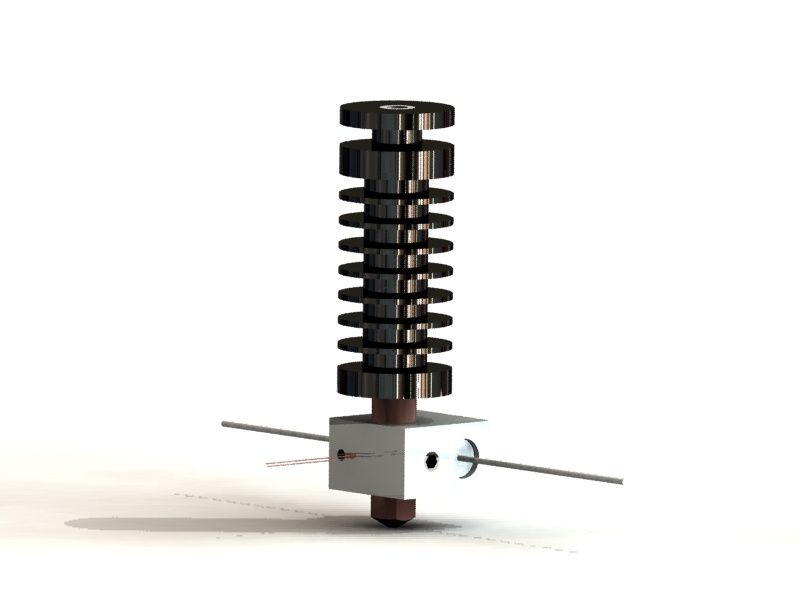
Here is a render of the new design:


And here is a cutaway:


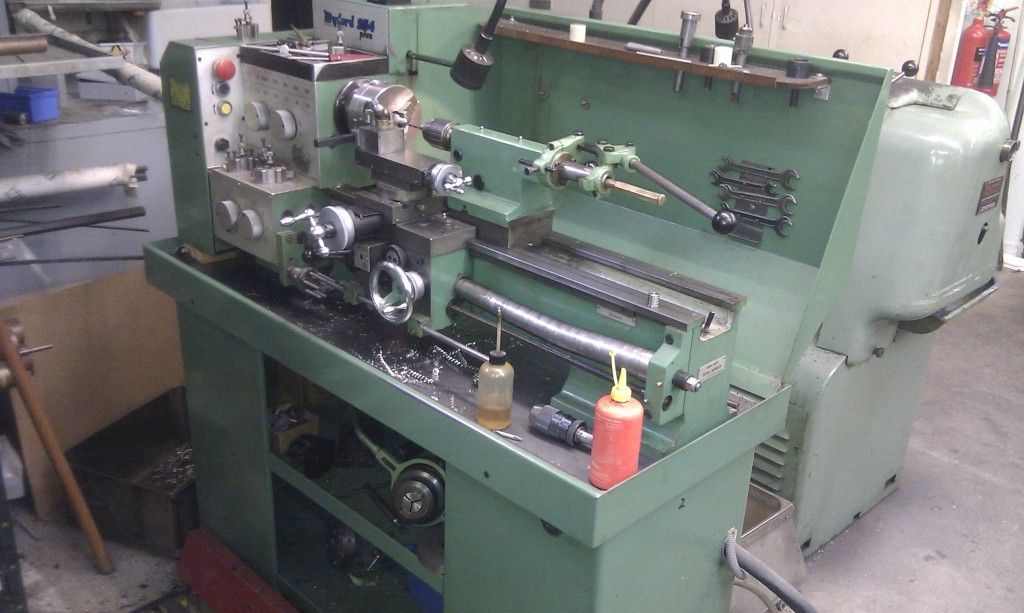
I borrowed the machine shop at work for the lathe- and drill-work. I want to thank Martin and Wesley for giving up their lunchtimes to help me!

No inverted drill here - a proper tool!
We used a long M3 bolt down the inside of the PTFE pipe to keep it straight whist machining the reduced section:

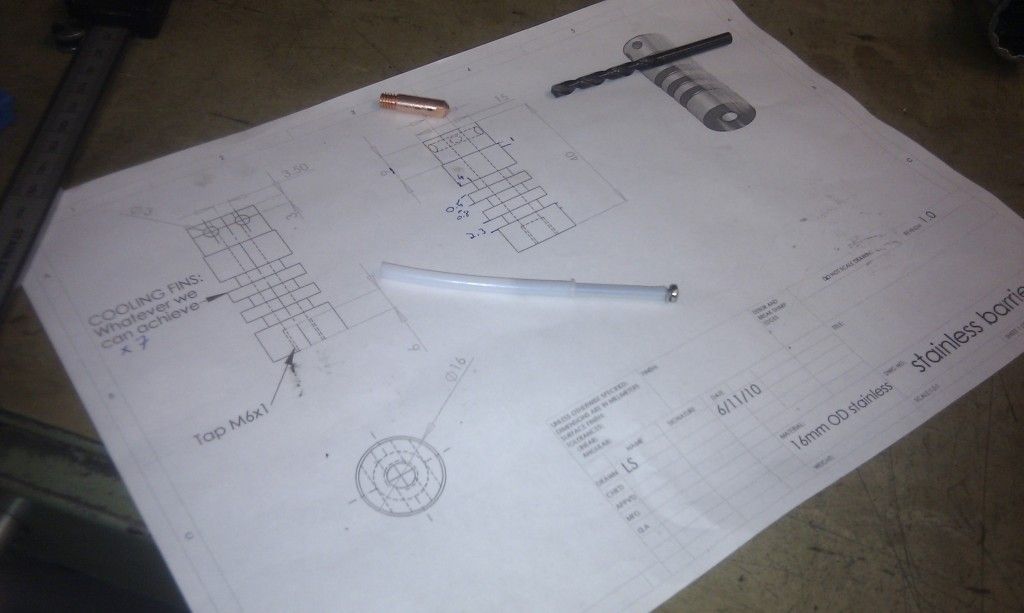
5mm pipe on an early drawing for the barrier
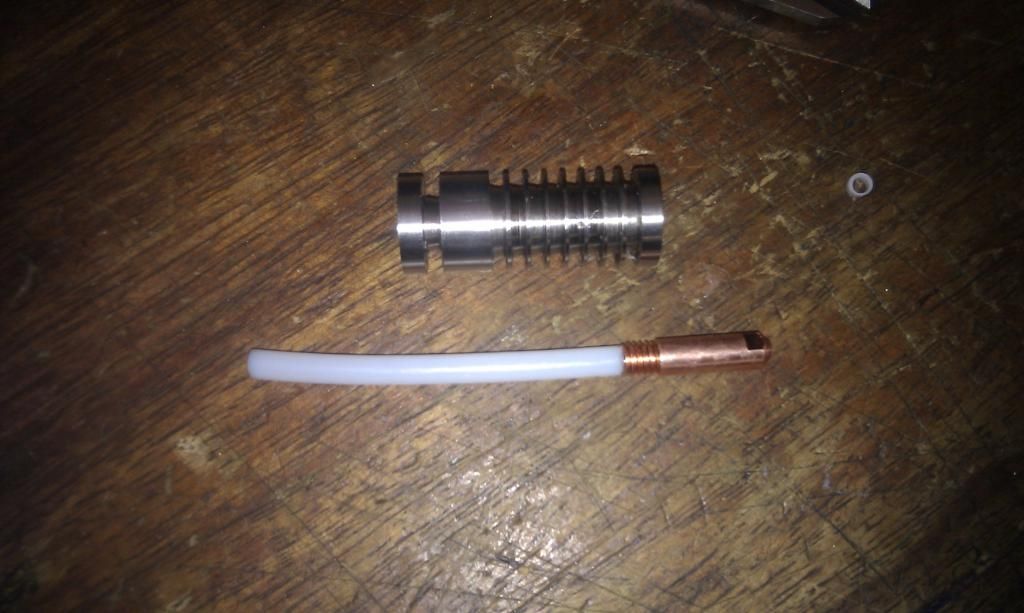
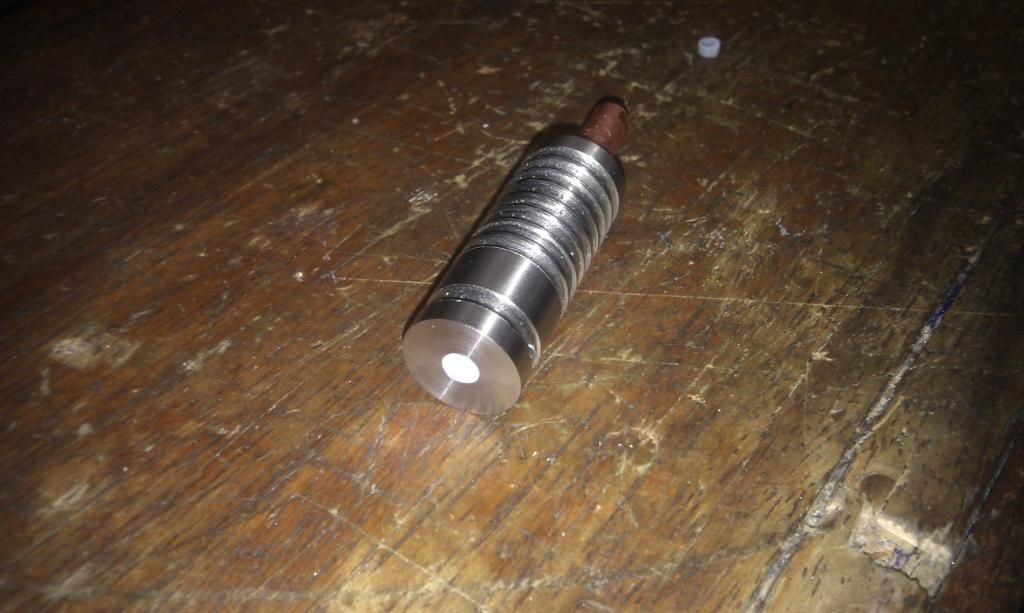
Lots of machining later, we have a completed barrier assembly:


The liner fits very snugly into the MIG tip, which screws nicely into the barrier. The liner sits flush with the top end of the barrier.

About the MIG tip itself - it has been drilled internally to 4mm as mentioned above, but has also had the outer bottom face machined back. We also reduced the nozzle hole size by tapping it with a hammer. While it's great that the hole is smaller, it also presents a problem - just how big is it? I guess I'll find out when I try to extrude.

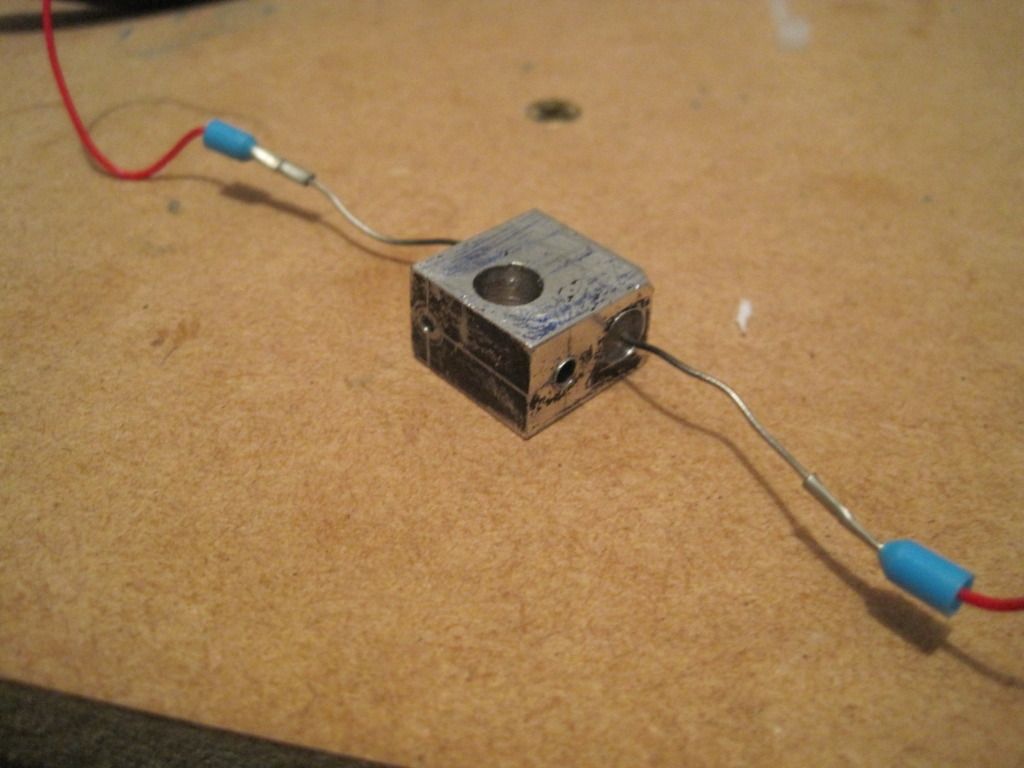
I forgot to take a photo of the new heater block being made, but here it is wired up with the resistor in place:

I hope blue marker pen fumes aren't toxic...

So, does it work? You'll have to wait till next time to find out...!

Tuesday, 29 November 2011

Chapter 22 - In which I mount the hot-end, and find useful things in the garage

Firstly let me apologise for not posting in a while. Things have been busy here, and as usual the write-up get left until later. We resume our story just as I have built my DIY nozzle and heater block....

With the hot end assembled, it was time to mount the thermal barrier. It was a tight fit in the heater block, so I got it started by hand and then used a ratcheting clamp to squeeze it fully home.


I mounted a 2.5mm drillbit in a chuck for the electric screwdriver, and drilled and tapped the holes to hold the thermal barrier in place.


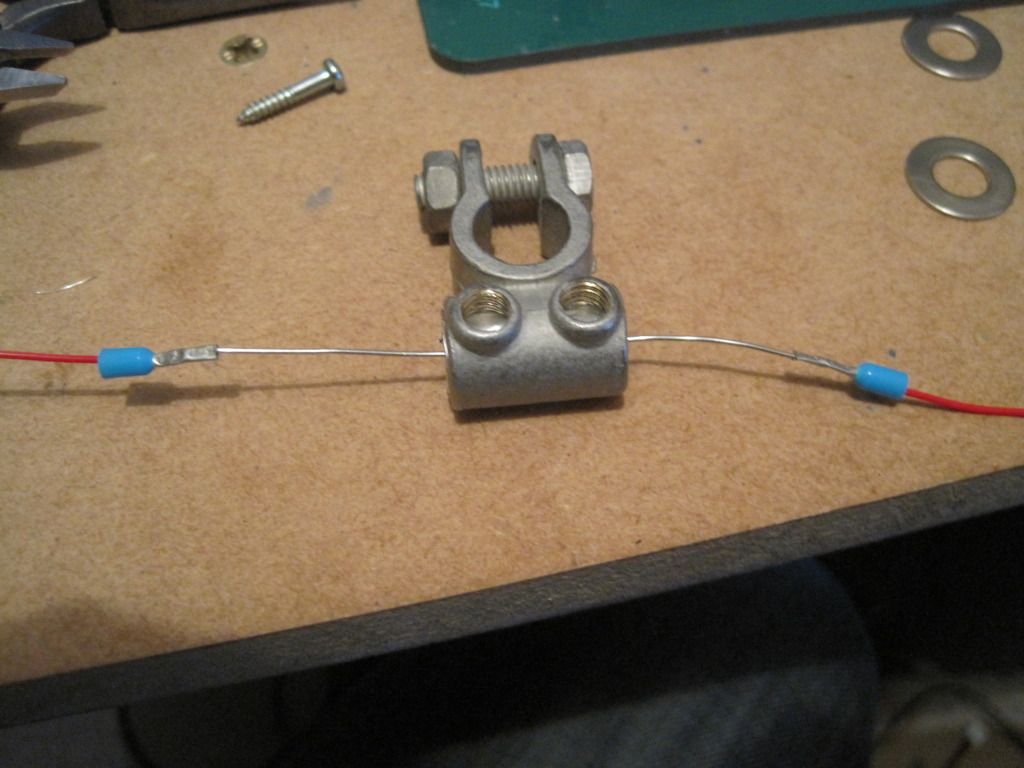
 Next I test fitted the heater resistor and its spacing sleeves into the battery clamp. As the following photo shows, there was still a gap to eliminate.


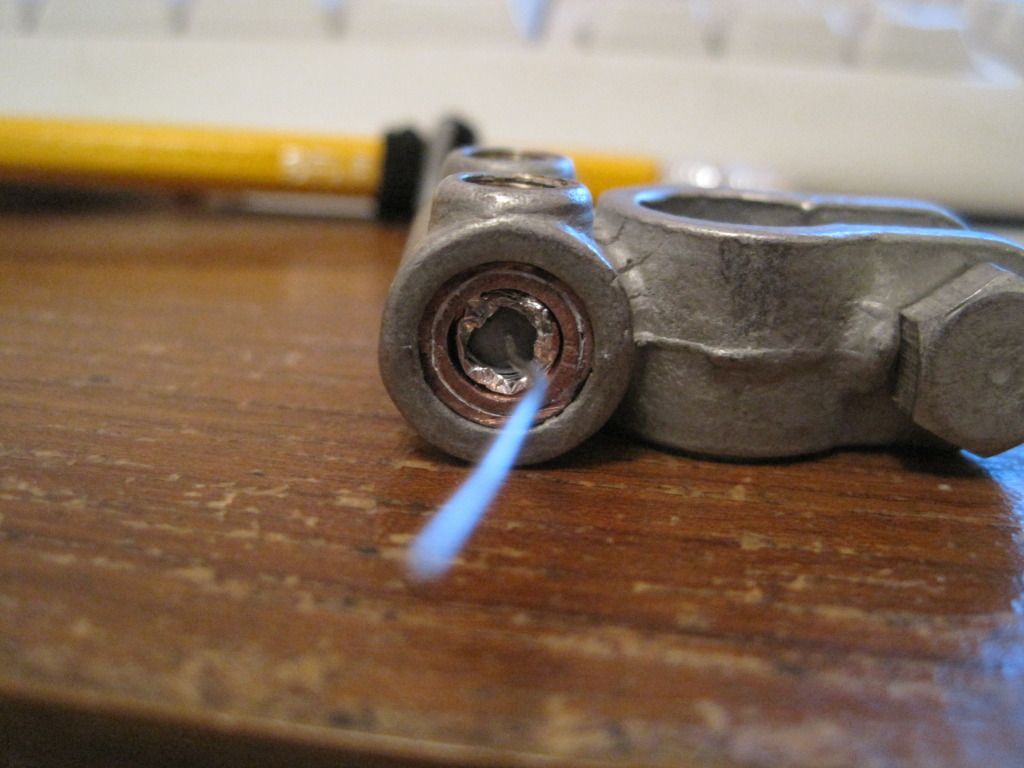
Remembering a tip from the forums, I wrapped the outer sleeve and the resistor with tin-foil, until they were a tight fit within the clamp.


Next I mounted the extruder body to the X-carriage and wired it up. I mounted a terminal block with cable ties through the fan mounting holes on the carriage.


I loaded up the feedstock and performed the E_steps_per_mm calibration for volumetric extrusion as found (prusa method: insert link here).


I performed the calibration with the hotend removed for ease. I ended up with a figure of (EDIT, May 2012:  I found my initial E steps figure during a tidy up - I worked it out to be 488.4)

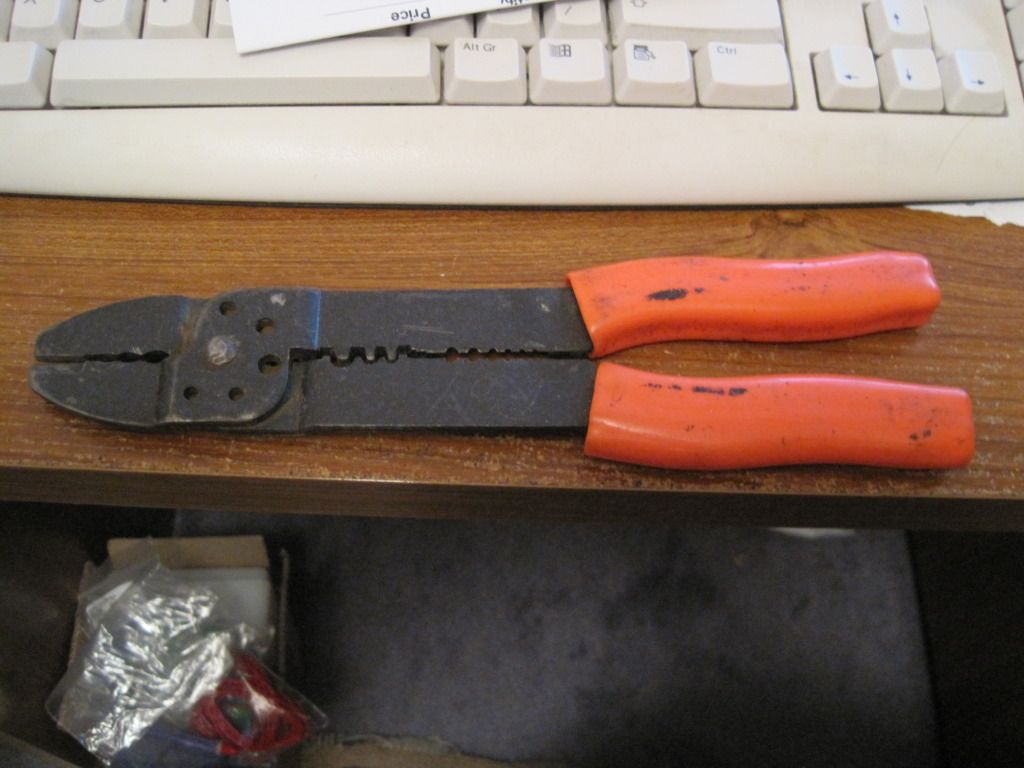
I prevoius look around my Girlfriend's Dad's garage had provided me with a crimping tool, that I used to fit some PTFE wire to the resistor legs via a pair of bootlace ferrules. Isn't it funny that sometimes the right tool turns up at the right time?


I covered the outer nozzle sleeve in a thin layer of heat sink paste, and set about clamping it into place. I had thought this to be a fairly easy task, but it turned out to be much harder than I had anticipated. The outer sleeve wasn't really big enough and so there was a very large reduction to be made by the clamp's bolt. Eventually I had to resort to a pair of pliers, as the bolt was distorting the clamp too much. With the aid of a very patient girlfriend, it was eventually tightened up.


I fitted the sensor as far into the hole as it would fit, and held it in place with a small peice of wire.


I screwed the mig tip into the barrier, and tightened it up. Then I fitted the heater and thermistor wires into the terminal block, and competed the wiring to the board.


Next up: Will it actually work...?

Sunday, 16 October 2011

Chapter 20 - In which problems are rectified, and I make a temperature sensor the professional way

Its been a while since my last post. This is due to having had a week away in Scotland, but also due to progress being slow. I have however made some progress.

Firstly I changed the angle of the X-axis endstop. I had test-fitted the extruder body, and found the endstop was in the way. There is a conveniently provided little square protrusion on the side of the carriage, and the contact of the realigned endstop sits nicely on it.

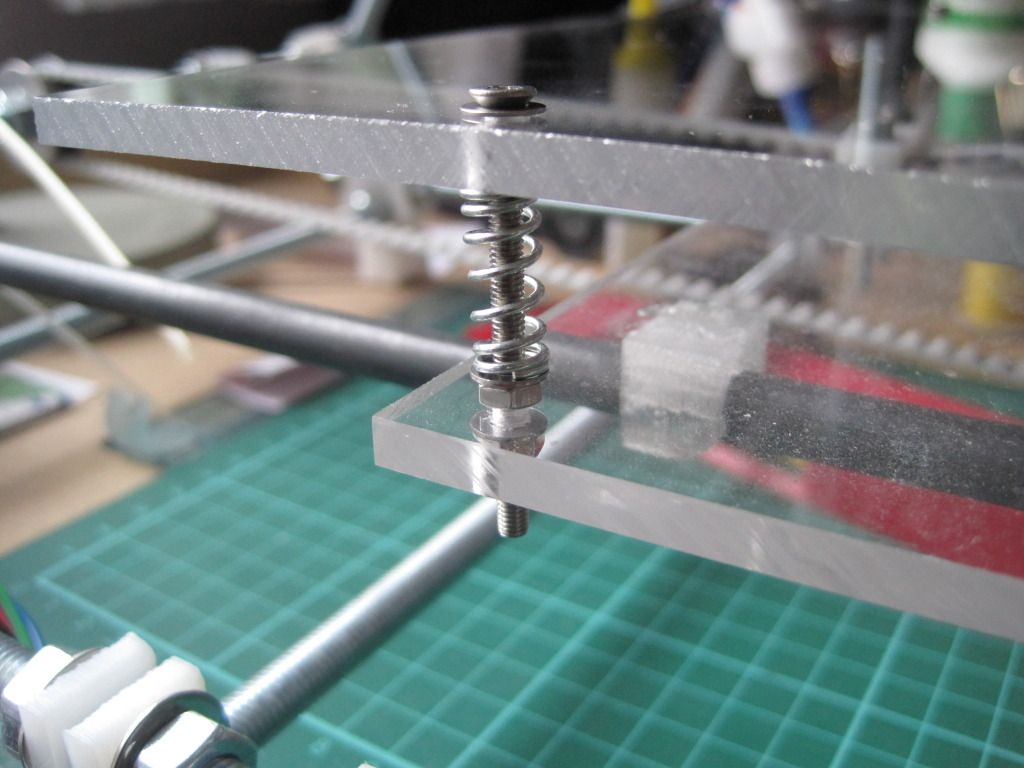
I then proceeded to fit the print bed. I had spotted this post on the forum, and decided to make the upgrade now rather than later. I had also got lots of peg springs just waiting for a use. I have used countersunk screws to mount the bed, but only because they were the only ones I could get with the correct length. There are washers under the heads to prevent the screws pulling into the bed and cracking it.


The bed is fairly level as it is, but I may tighten up the nuts to compress the springs, making the bed firmer and less prone to wobble. This has the added advantage of giving some extra Z height.


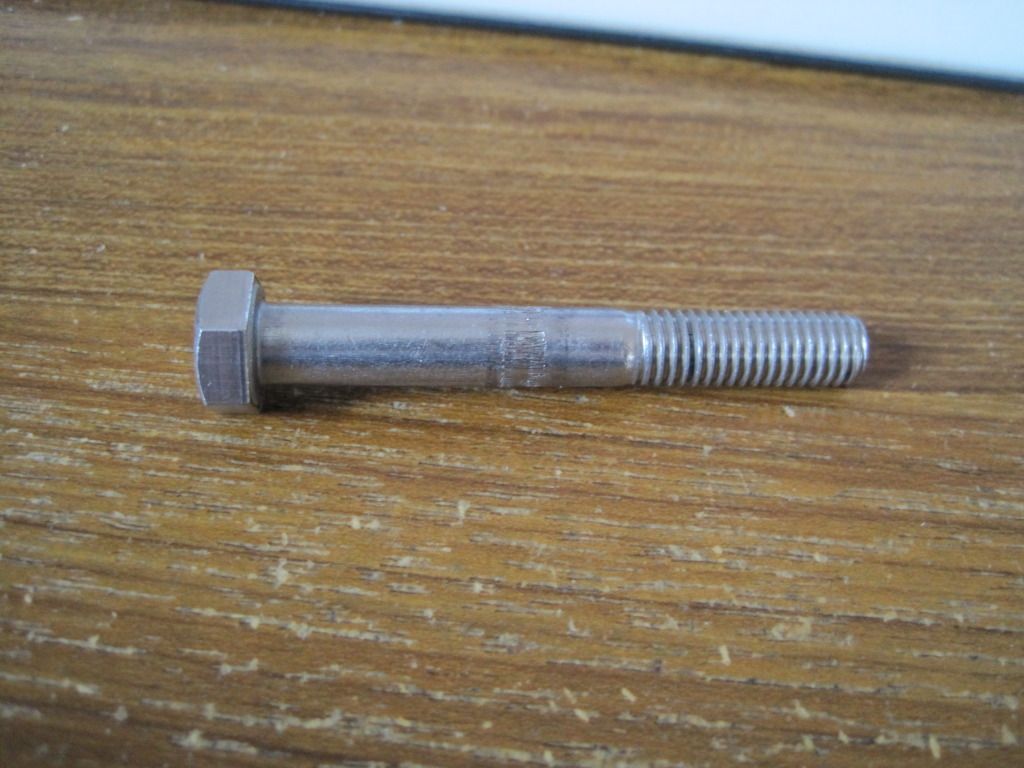
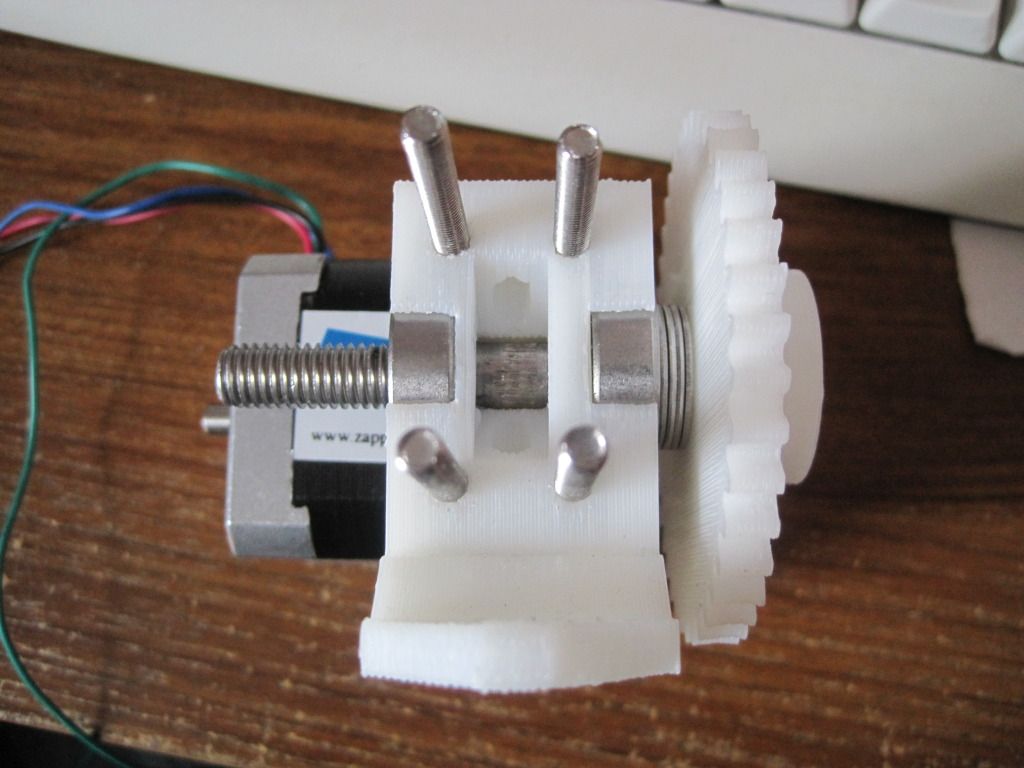
I had ordered some replacement bolts to hobb, as the previous one was too narrow. Once they turned up, I spent an evening in the garage attempting to hobb one of them. It was much harder going than the previous bolt - maybe these are made of something harder? I was also trying to hobb with an M6 tap as opposed to an M3, to give bigger teeth on the bolt. I just couldn't get it to cut the teeth correctly, and it left an un-cut section in the middle of the bolt. I ended up getting very frustrated with it, and walked away trying to decide how to go about making one properly.

I came back to it a week or so later, and had a proper look in the daylight. The hobbing down one side looked pretty good, and fairly even. I figured that I could probably space the bolt such that the good section was doing the driving.


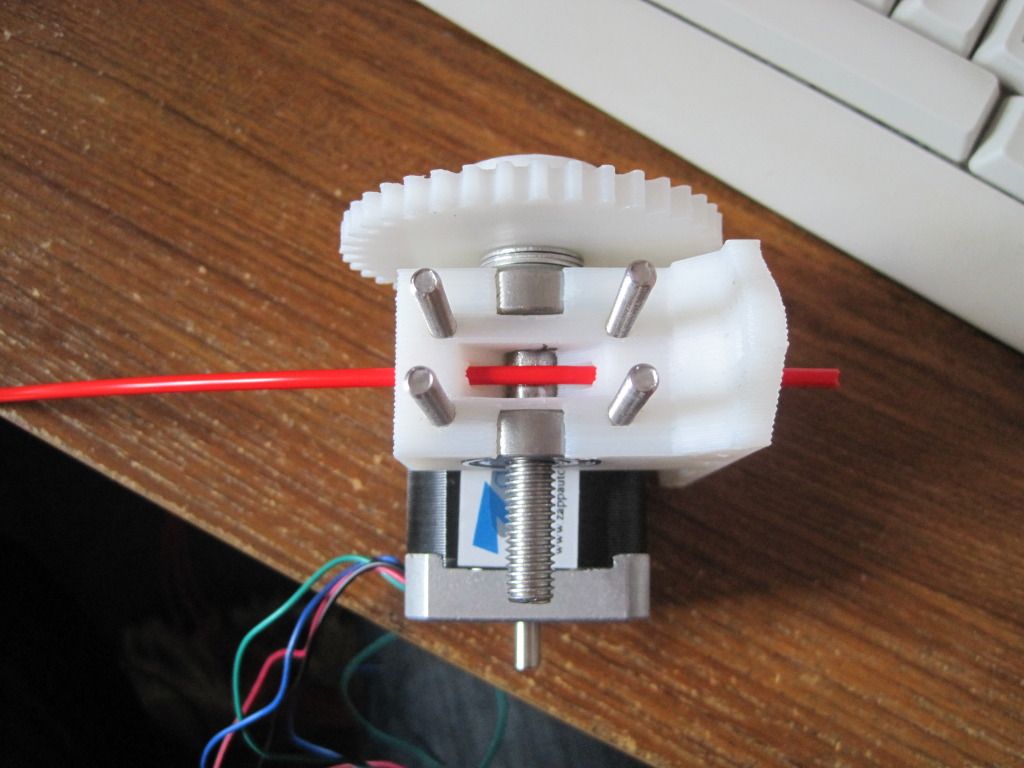
I put the extruder back together, and was pleasantly surprised to find that the good section was in the correct place already. Better than that, it had enough grip to drive feedstock without the idler in place! Whilst working on the extruder, I also moved the motor and fitted the bolts that will mount the extruder to the X-carriage. I reassembled the extruder and idler, and repositioned the motor to get the best interface between the gears.


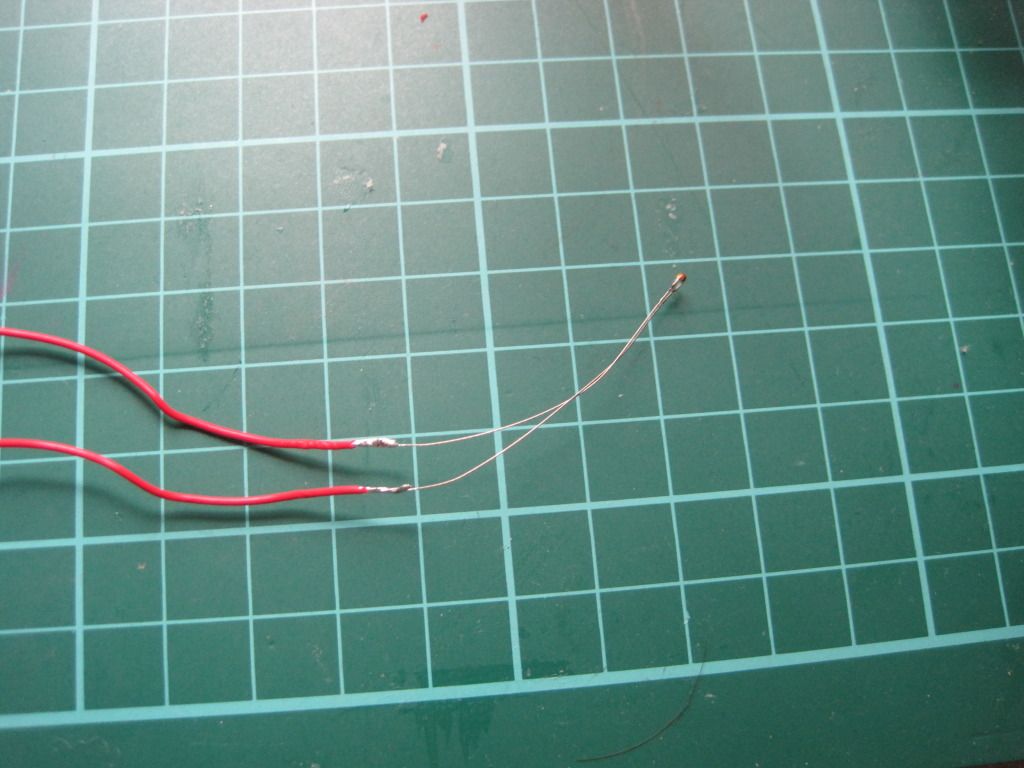
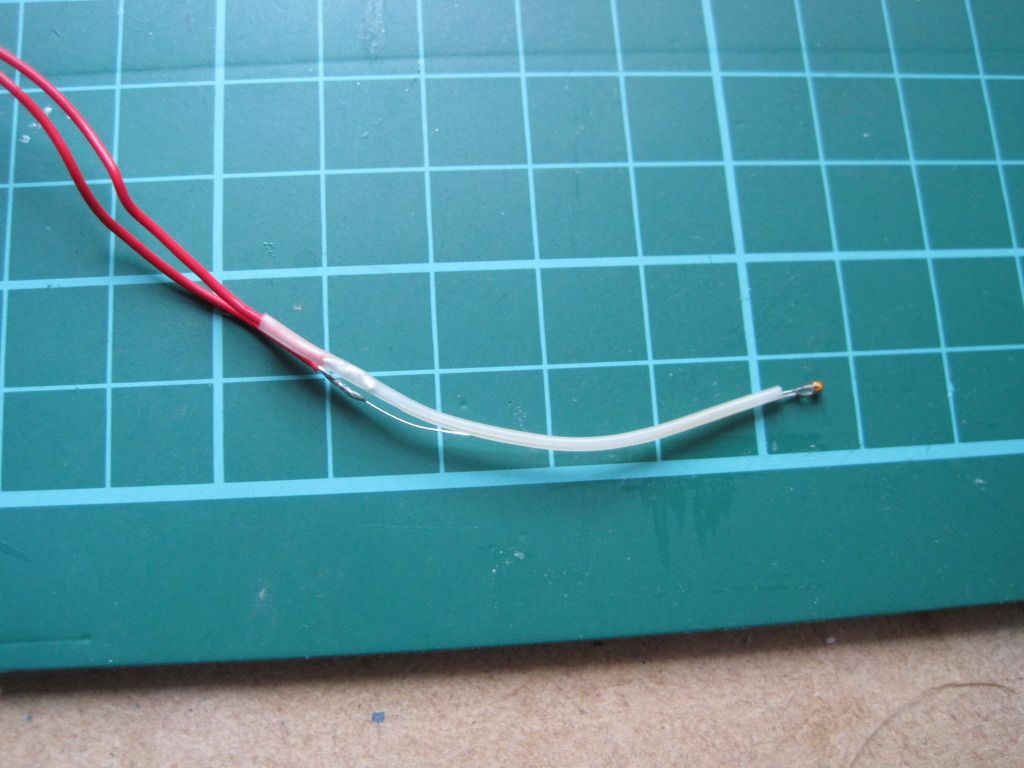
I also had the time to make up the hot-end temperature sensor. I constructed this in a similar manner to how professional temperature sensors are made. Firstly I soldered the ends to the stripped ends of the PTFE wire:


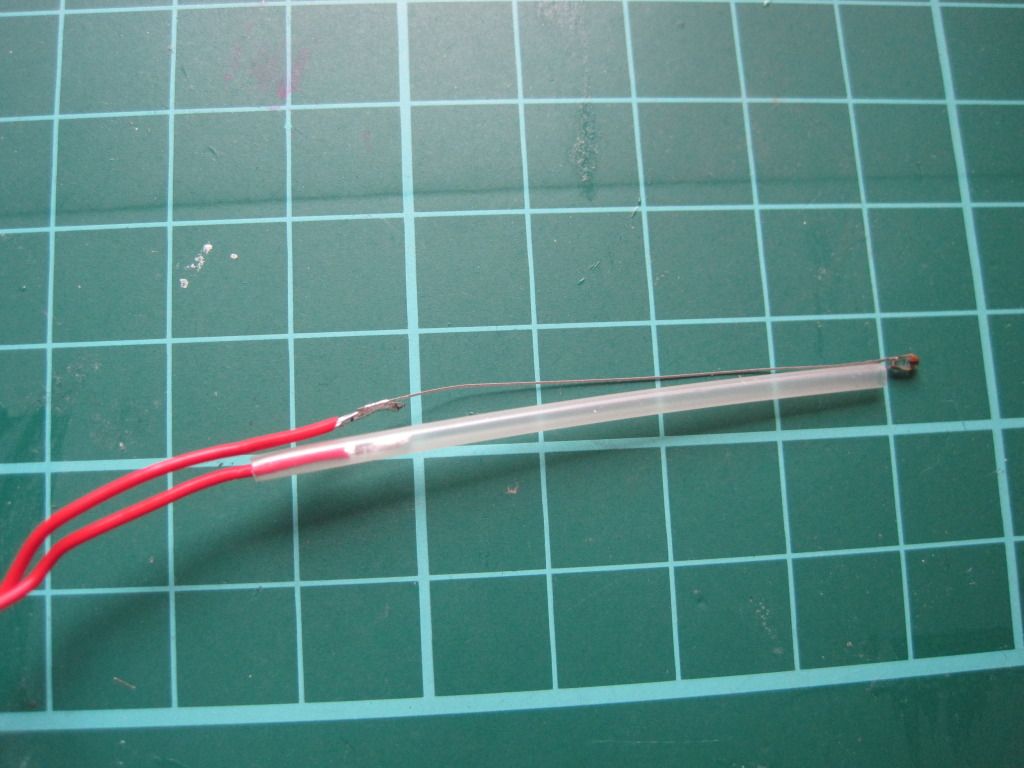
I then used high-temperature heat-shrink sleeving to insulate one leg, all the way from the small joint at the thermistor head to past the solder join:


I shrunk the sleeving with the kind help of my girlfriend and her crafting hot air gun:


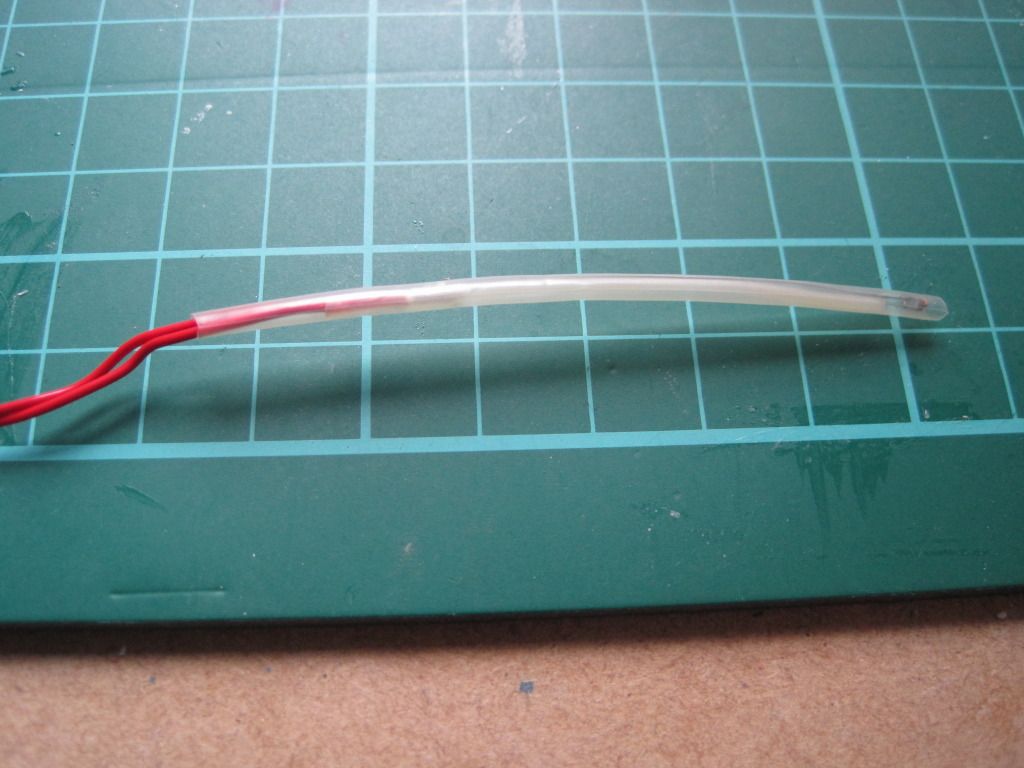
I then used a larger diameter piece of the same sleeving to cover the entire assembly, from a point past the thermistor head to past the remaining soldered joint.


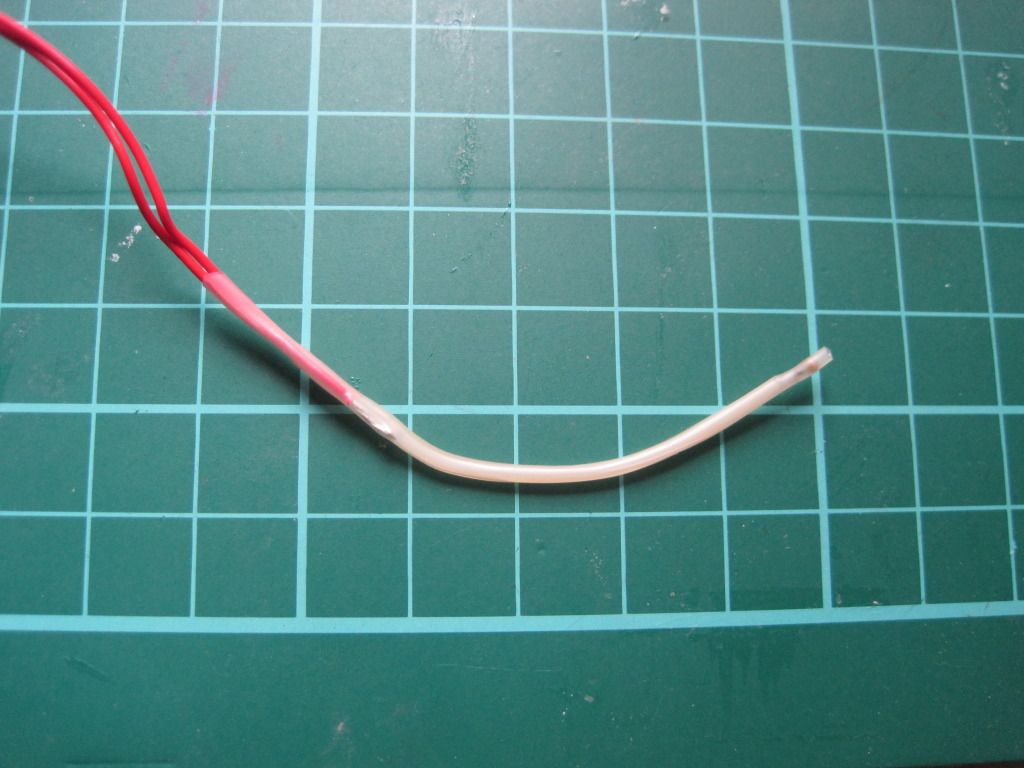
Lastly I trimmed the overhanging sleeving close to the bead. This assembly method should provide a robust and short circuit-free sensor for the hot end.

And Thats all the I've managed to achieve. Next up: The long-awaited hot-end post?