Showing posts with label hobbed bolt. Show all posts

Thursday, 16 February 2012

Chapter 25 - In which I see if my new design works

So I left you last time with a question - would me new steel-bodied extruder design print?

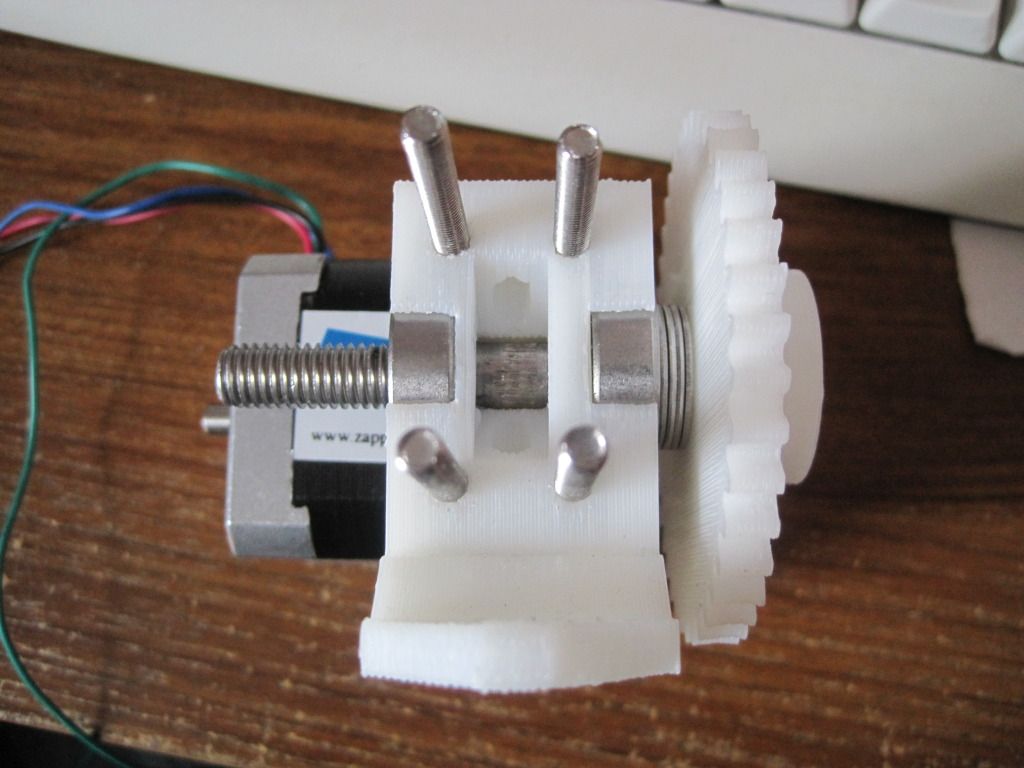
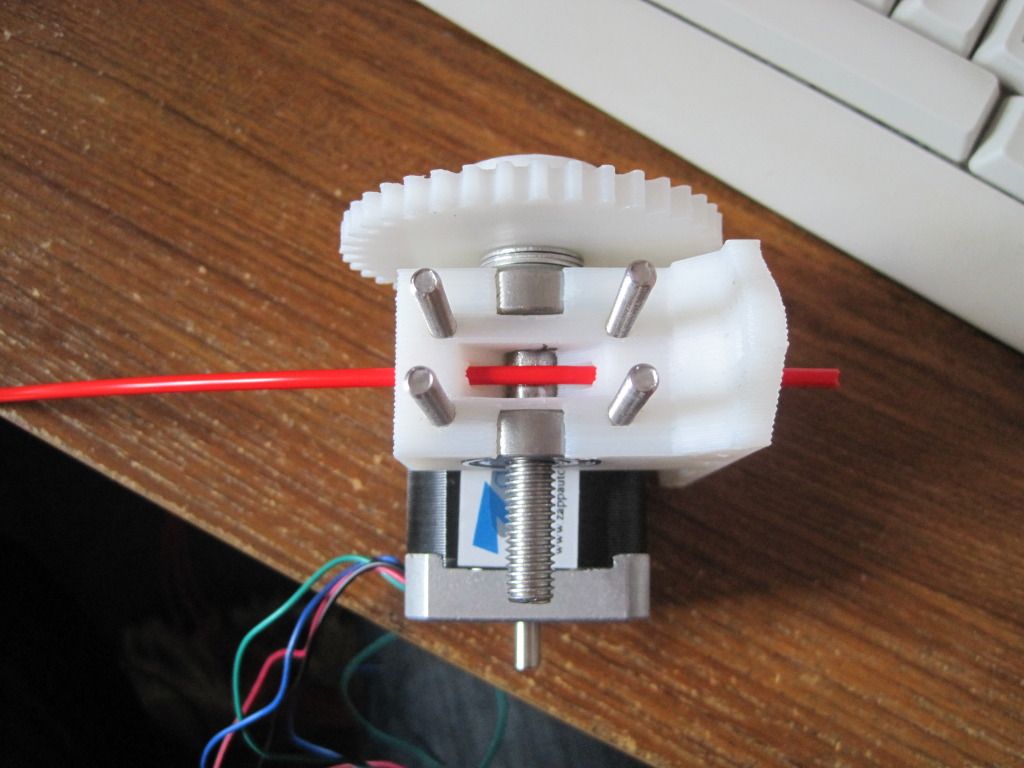
Well, I assembled it and mounted it to my extruder body:
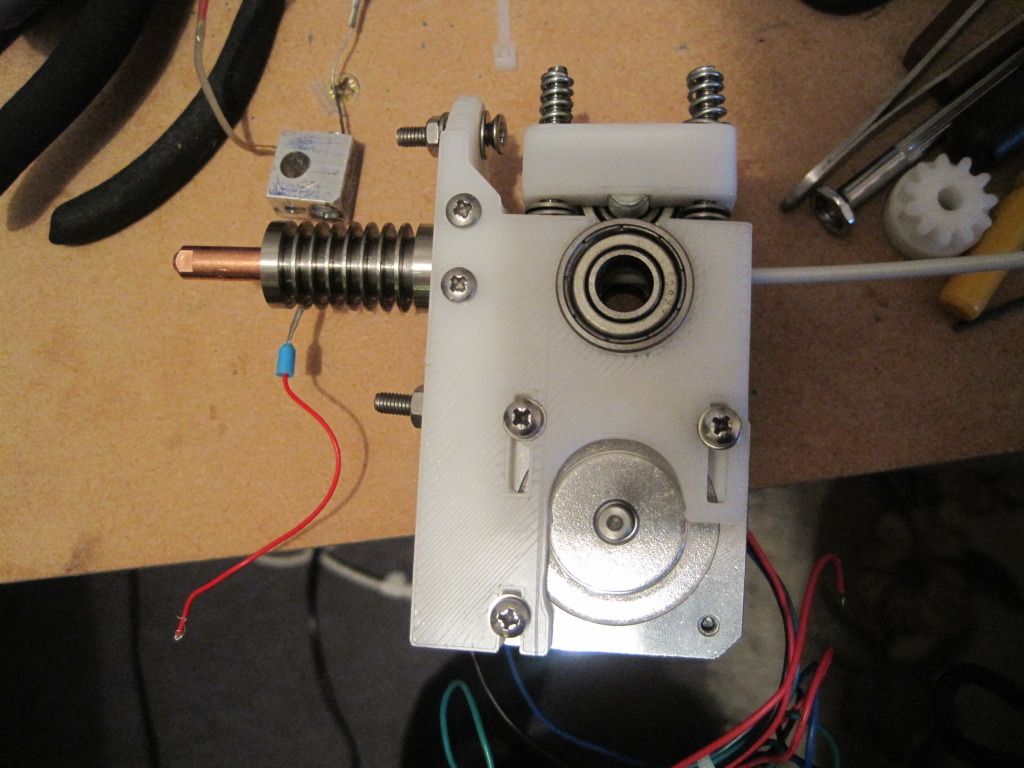


I knew that this design would need some active cooling - stainless is conductive afterall, and so I mounted a 40mm computer fan on the carriage to blow air over the fins. I powered this from one of the sanguinololu's 12v plugs.

I loaded a 20mm cube into sfact on pronterface, and sliced at 0.3mm layers. I warmed up the hotend to 185, and pressed "print" - a scary moment, as it handed control of the machine over to the software and it started moving!

I got part of a raft, and not much more. It looked as if the extruder had jammed, and no matter what I tried I couldn't get it to move again. Finding the cause of the jam this time was fairly easy - I had put the fan on backwards! The heat had conducted up the barrel and without cooling had caused a jam.

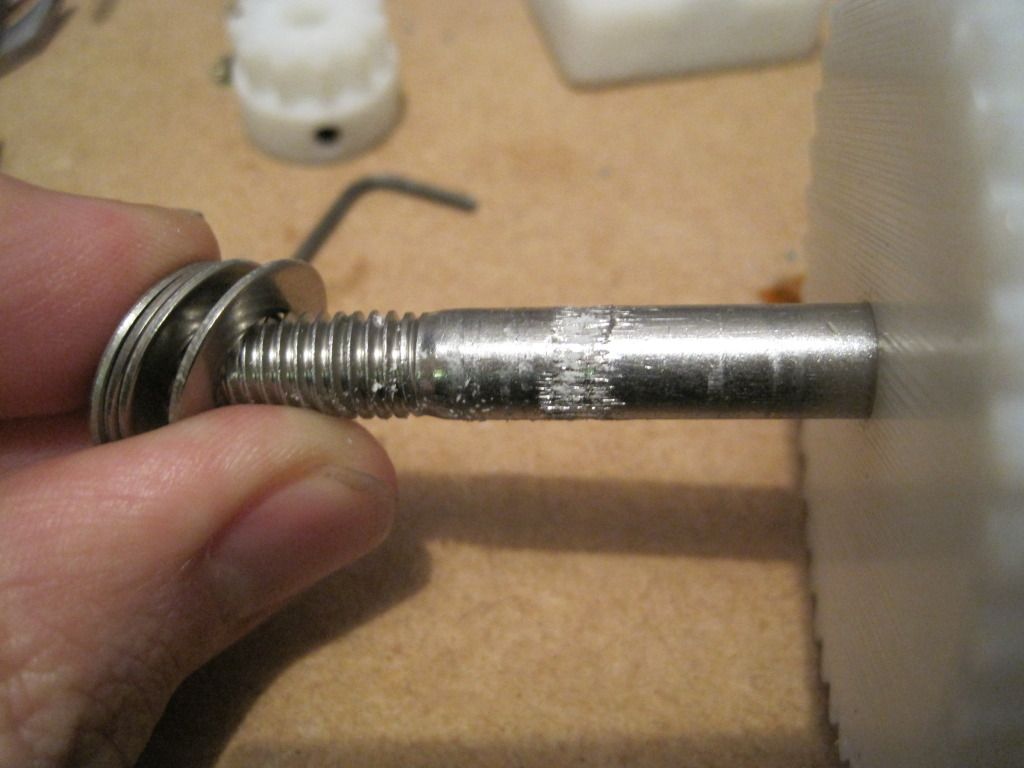
I stripped the entire assembly down. There was PLA dust in the hobbing on the bolt:


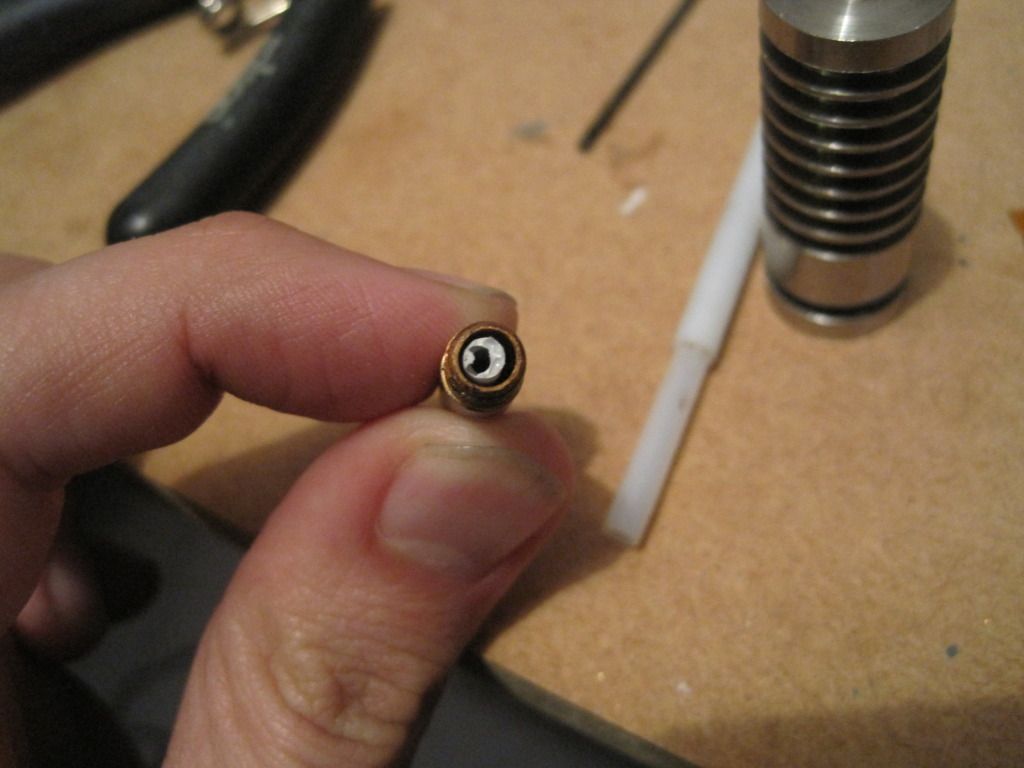
There was also material stuck in the PTFE, and in the nozzle:


This is where the jam occurred - right at the top of the barrier, as the feedstock enters the stainless.
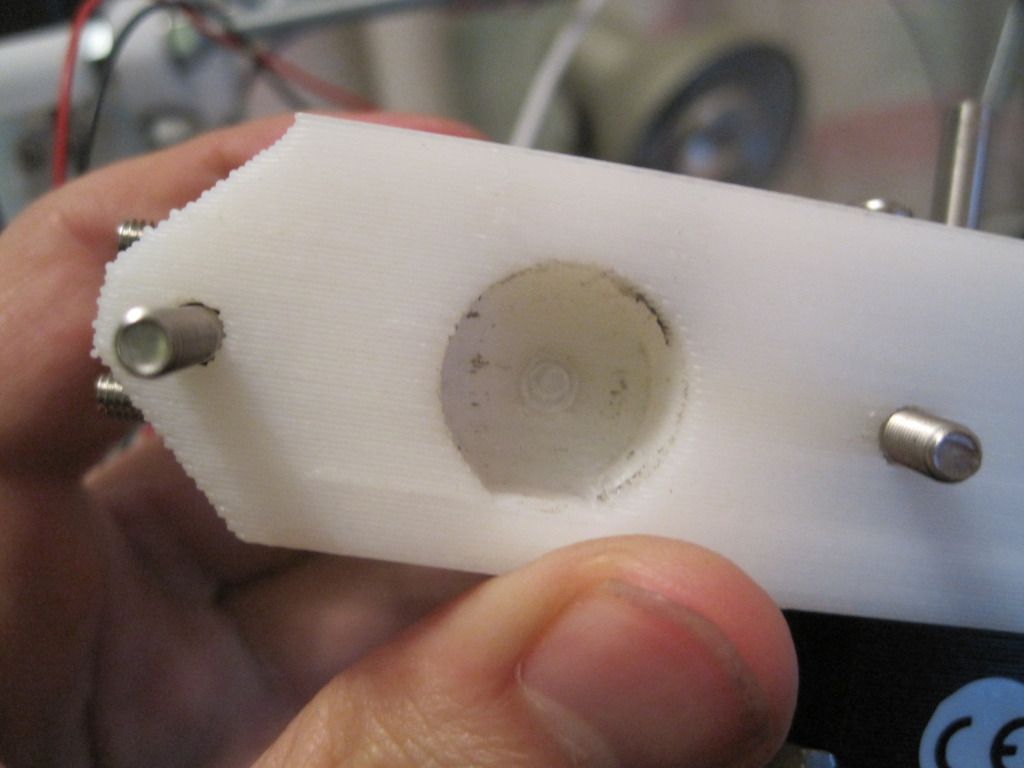

The feedstock had expanded as it got hot, and jammed up. I had to use SERIOUS force to clear it - it had expanded some 20 or 30%!

I cleared out all the dust and jammed, overheated material and reassembled the entire thing. I reversed the direction of the fan, and tried to print again........

Finally, an object!
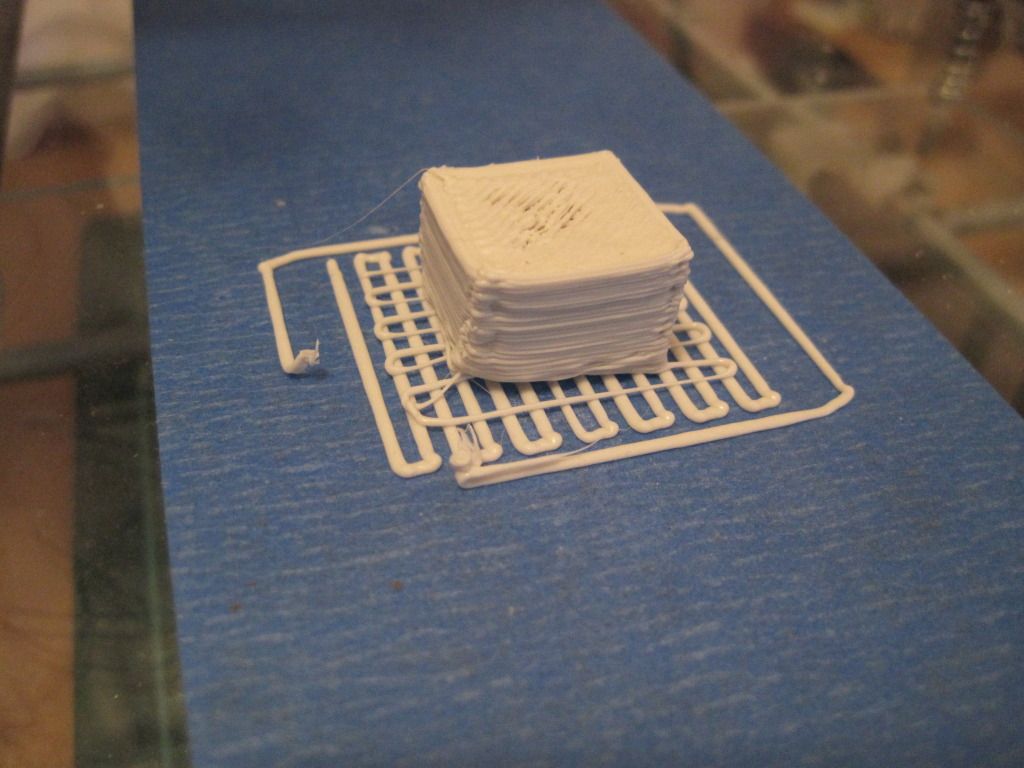

Sure its not perfect (the skirt isn't complete, and it is seriously undersized in height), but it IS an object, and I printed it!!

It was shortly after this high point that the printer went on it's holidays to the garage - we needed the workbench space for making Christmas cards. When it comes back, the fun will really start.

Next up: more printing!

Sunday, 16 October 2011

Chapter 20 - In which problems are rectified, and I make a temperature sensor the professional way

Its been a while since my last post. This is due to having had a week away in Scotland, but also due to progress being slow. I have however made some progress.

Firstly I changed the angle of the X-axis endstop. I had test-fitted the extruder body, and found the endstop was in the way. There is a conveniently provided little square protrusion on the side of the carriage, and the contact of the realigned endstop sits nicely on it.

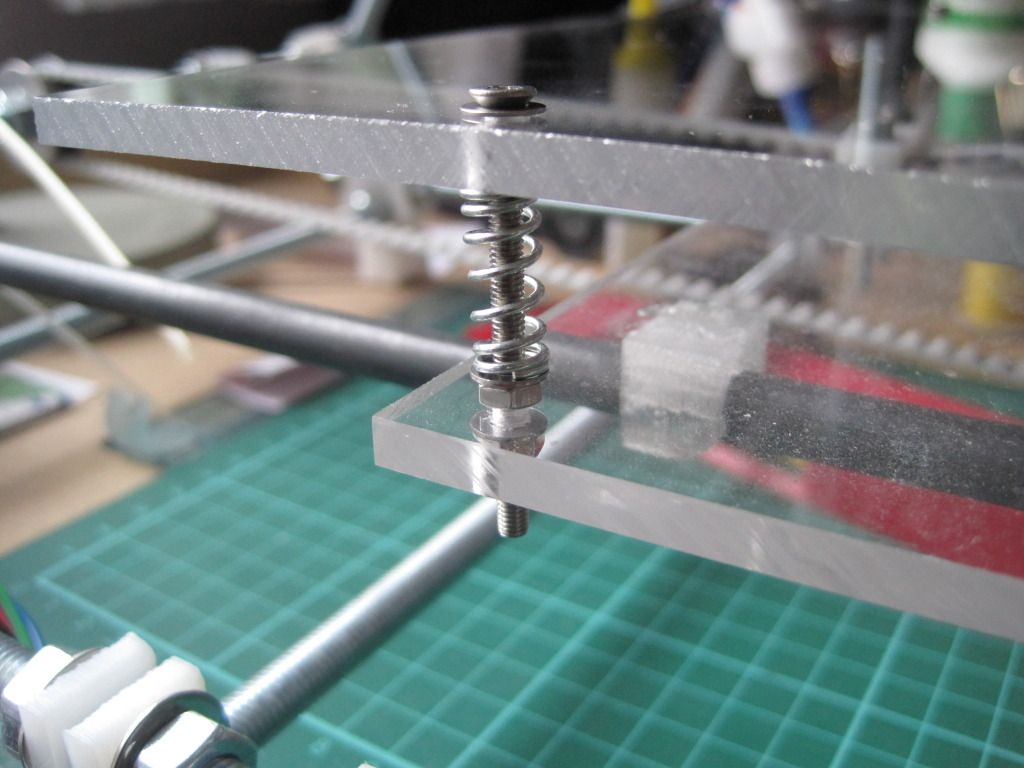
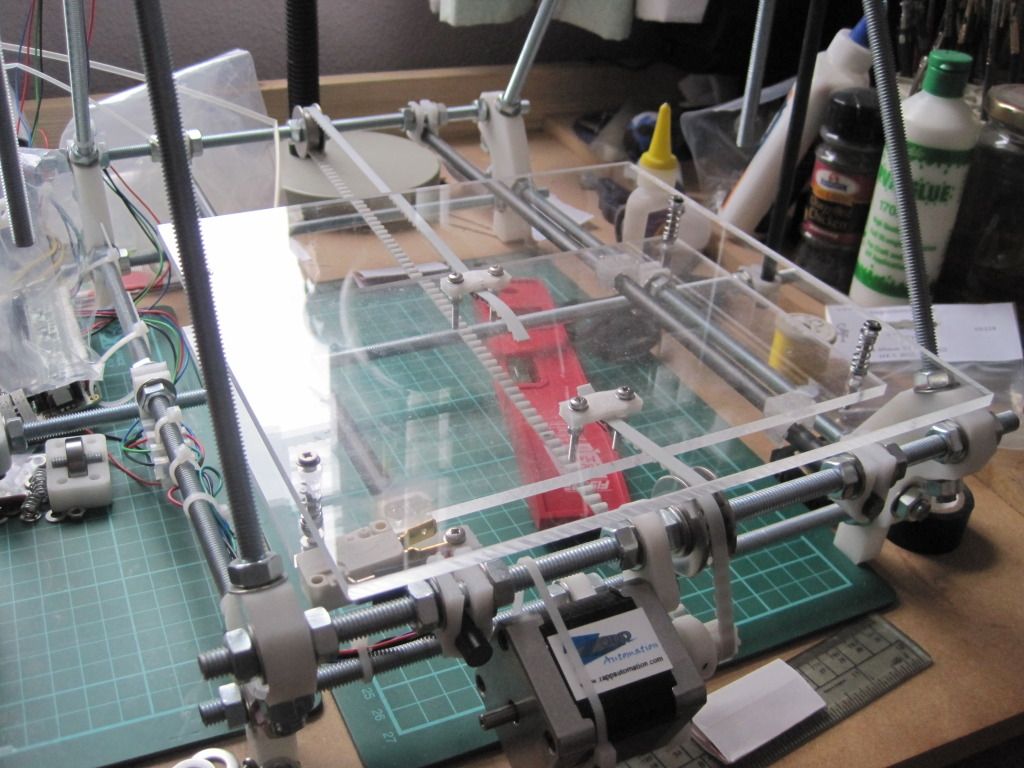
I then proceeded to fit the print bed. I had spotted this post on the forum, and decided to make the upgrade now rather than later. I had also got lots of peg springs just waiting for a use. I have used countersunk screws to mount the bed, but only because they were the only ones I could get with the correct length. There are washers under the heads to prevent the screws pulling into the bed and cracking it.


The bed is fairly level as it is, but I may tighten up the nuts to compress the springs, making the bed firmer and less prone to wobble. This has the added advantage of giving some extra Z height.


I had ordered some replacement bolts to hobb, as the previous one was too narrow. Once they turned up, I spent an evening in the garage attempting to hobb one of them. It was much harder going than the previous bolt - maybe these are made of something harder? I was also trying to hobb with an M6 tap as opposed to an M3, to give bigger teeth on the bolt. I just couldn't get it to cut the teeth correctly, and it left an un-cut section in the middle of the bolt. I ended up getting very frustrated with it, and walked away trying to decide how to go about making one properly.

I came back to it a week or so later, and had a proper look in the daylight. The hobbing down one side looked pretty good, and fairly even. I figured that I could probably space the bolt such that the good section was doing the driving.


I put the extruder back together, and was pleasantly surprised to find that the good section was in the correct place already. Better than that, it had enough grip to drive feedstock without the idler in place! Whilst working on the extruder, I also moved the motor and fitted the bolts that will mount the extruder to the X-carriage. I reassembled the extruder and idler, and repositioned the motor to get the best interface between the gears.


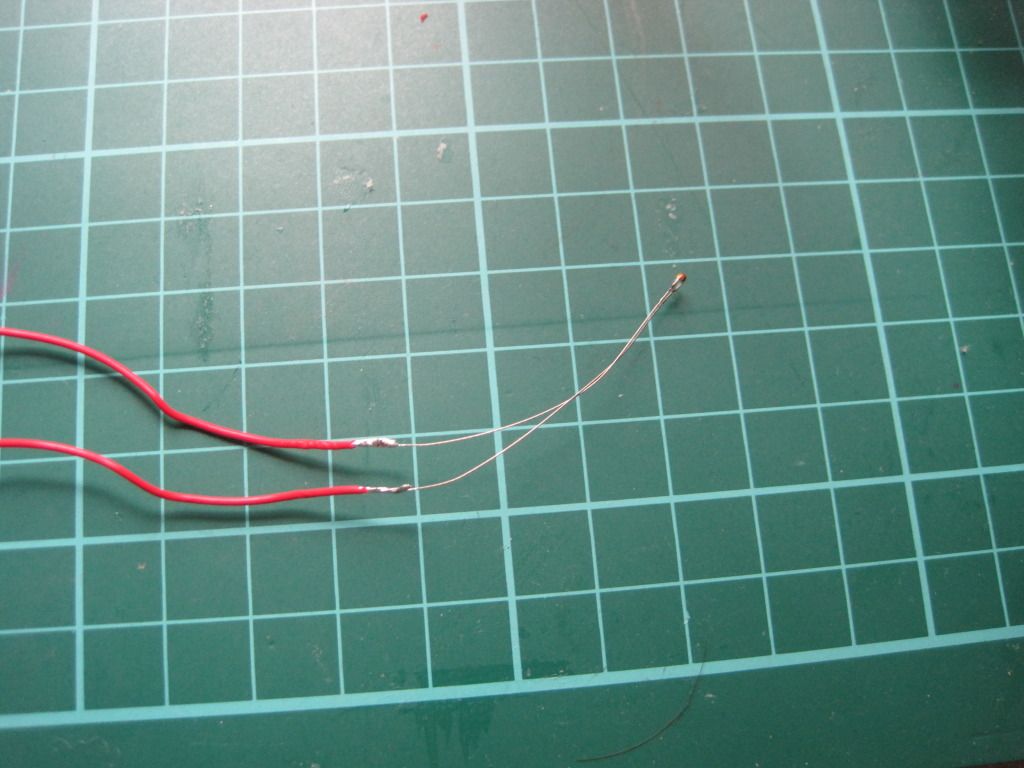
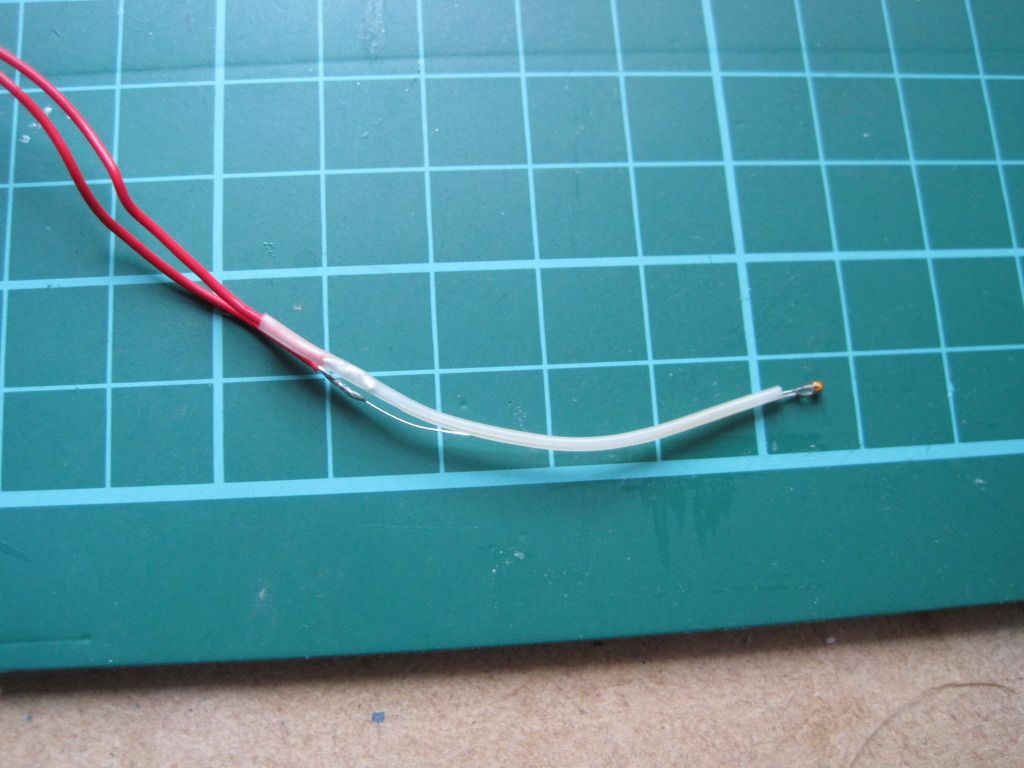
I also had the time to make up the hot-end temperature sensor. I constructed this in a similar manner to how professional temperature sensors are made. Firstly I soldered the ends to the stripped ends of the PTFE wire:


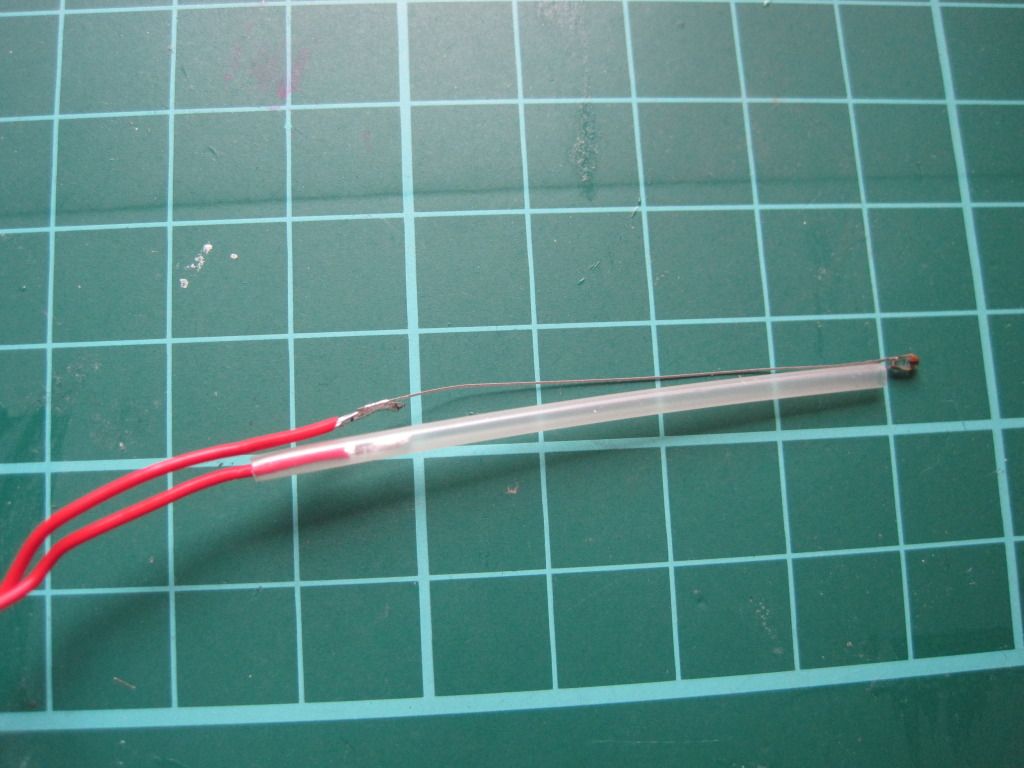
I then used high-temperature heat-shrink sleeving to insulate one leg, all the way from the small joint at the thermistor head to past the solder join:


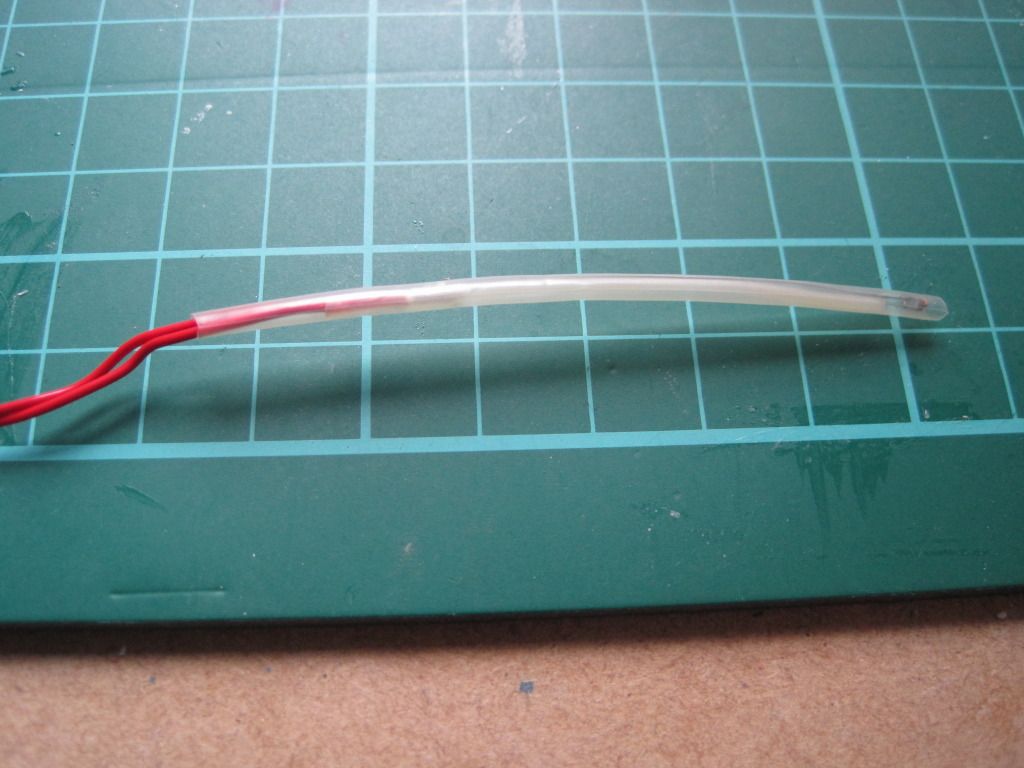
I shrunk the sleeving with the kind help of my girlfriend and her crafting hot air gun:


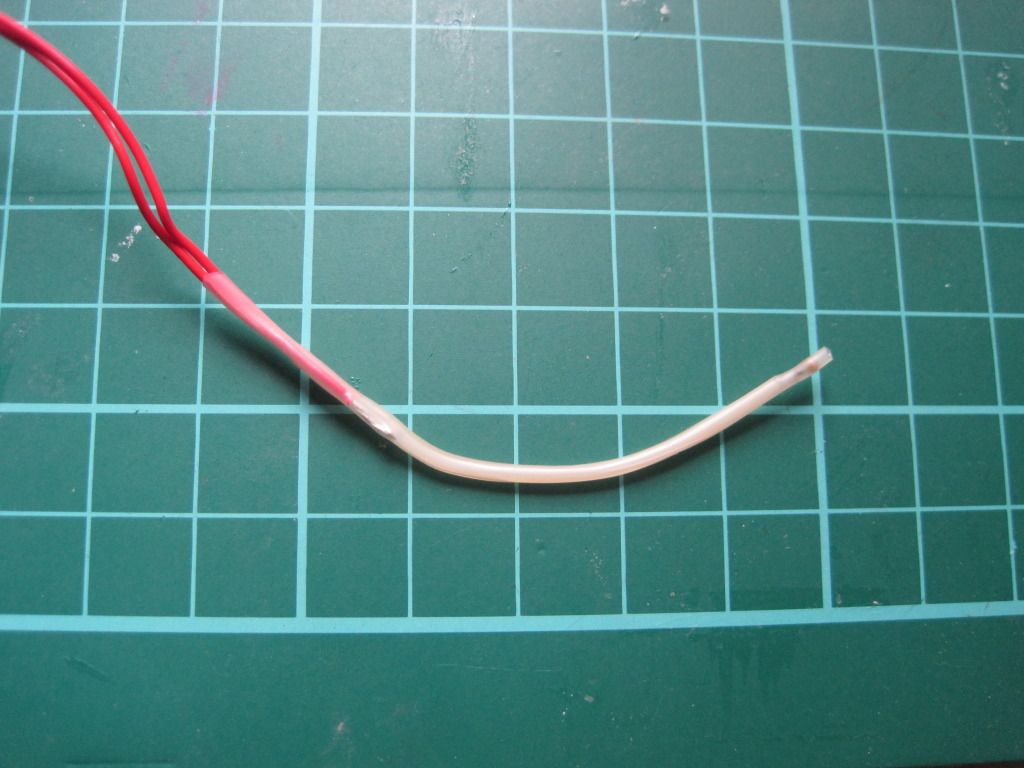
I then used a larger diameter piece of the same sleeving to cover the entire assembly, from a point past the thermistor head to past the remaining soldered joint.


Lastly I trimmed the overhanging sleeving close to the bead. This assembly method should provide a robust and short circuit-free sensor for the hot end.

And Thats all the I've managed to achieve. Next up: The long-awaited hot-end post?

Friday, 30 September 2011

Chapter 19 - In which there is life!

I've been spending a lot of time recently working on the hot-end, but I'm saving the writeup until I have it completed and can make a whole post.

In the meantime, I've made small amounts of progress in other areas.

I have completed the wiring of the stepper motors for the axes. I wired them all the same, and consequently had to invert the direction in the firmware. I have also resisted cutting down the motor cables for any of the motors. I feel like I might need them longer later, in case I want to swap a motor or something. I realise this is unlikely. I'll cut them down later, if I can get the courage to. In the meantime, the excess cable is neatly bundled with the motors, or on the frame.

Once I had all the motors wired up, I fired up ReplicatorG to move the axes and check the direction was correct. I encountered a strange bug, wherein the axes wouldn't move properly under manual control, sometimes only moving a short distance, and other times moving in reverse. Also sometime multiple axes moved at once! I don't know if this will effect the operation of the machine when printing, but I didn't like it.

I went off and installed Pronterface instead. After the fun I had with sprinter, I was expecting to have some trouble with Pronterface, but was pleasantly surprised. The install guide is concise, but it works perfectly. Printerface needs almost no configuration, and is very quick - I like it! Comes with built in skienforge support too, which is nice. Infact I then went off and got Sfact too, as the pair seem to go together well (pronterface has some sfact-exclusive options).

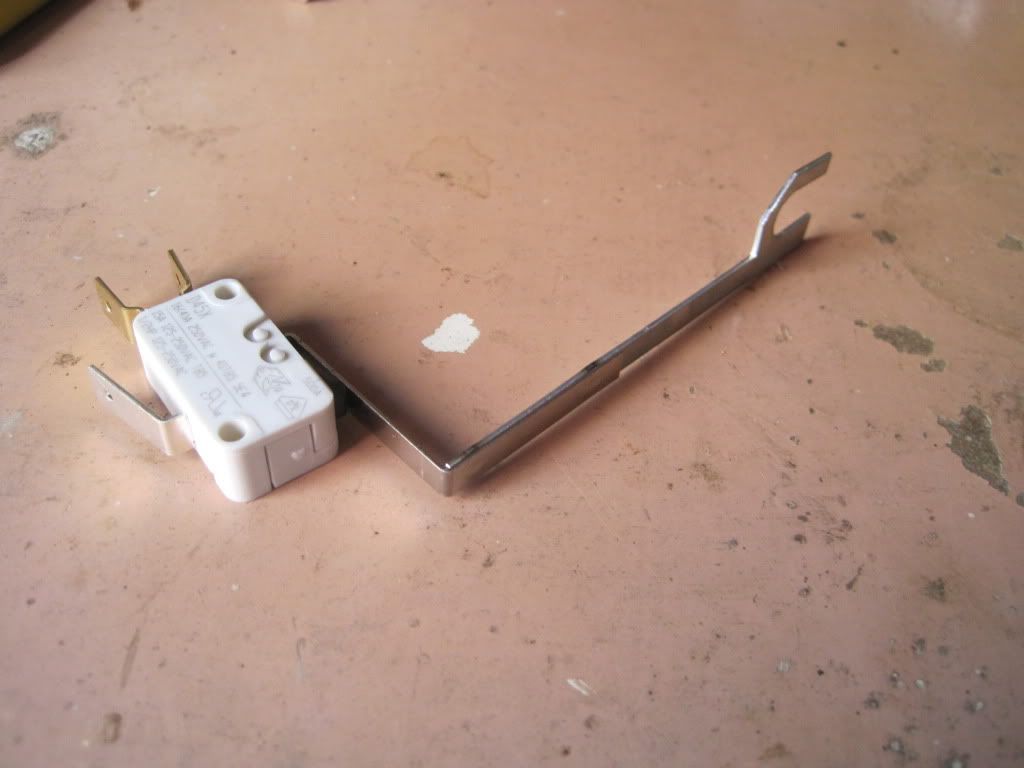
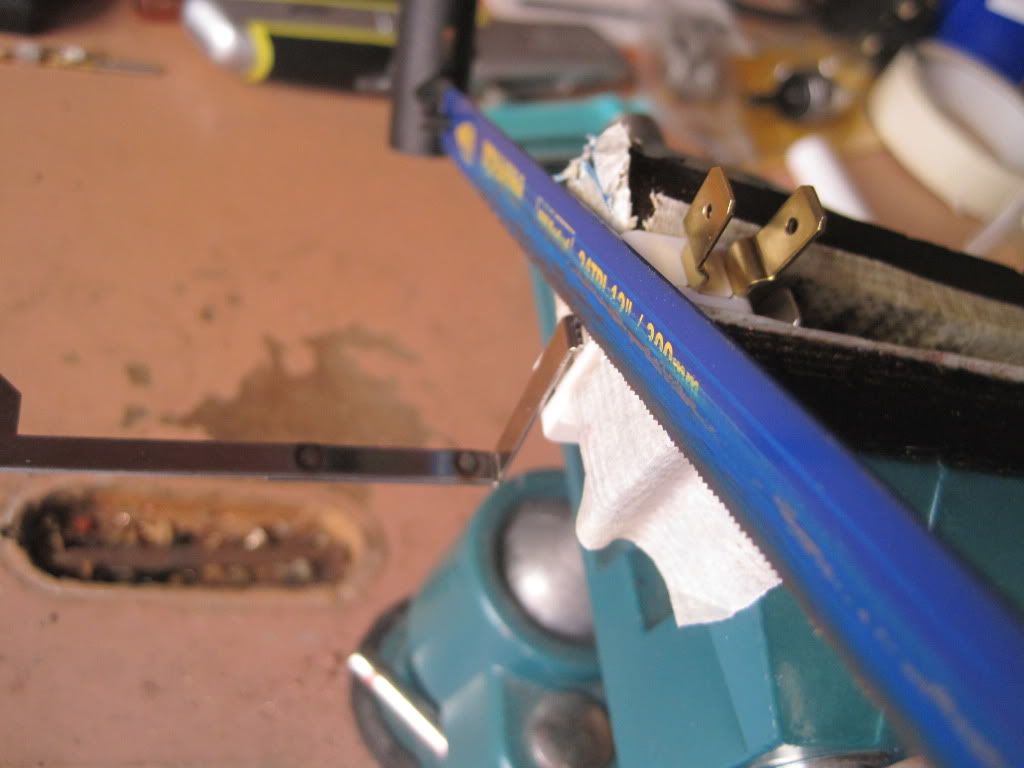
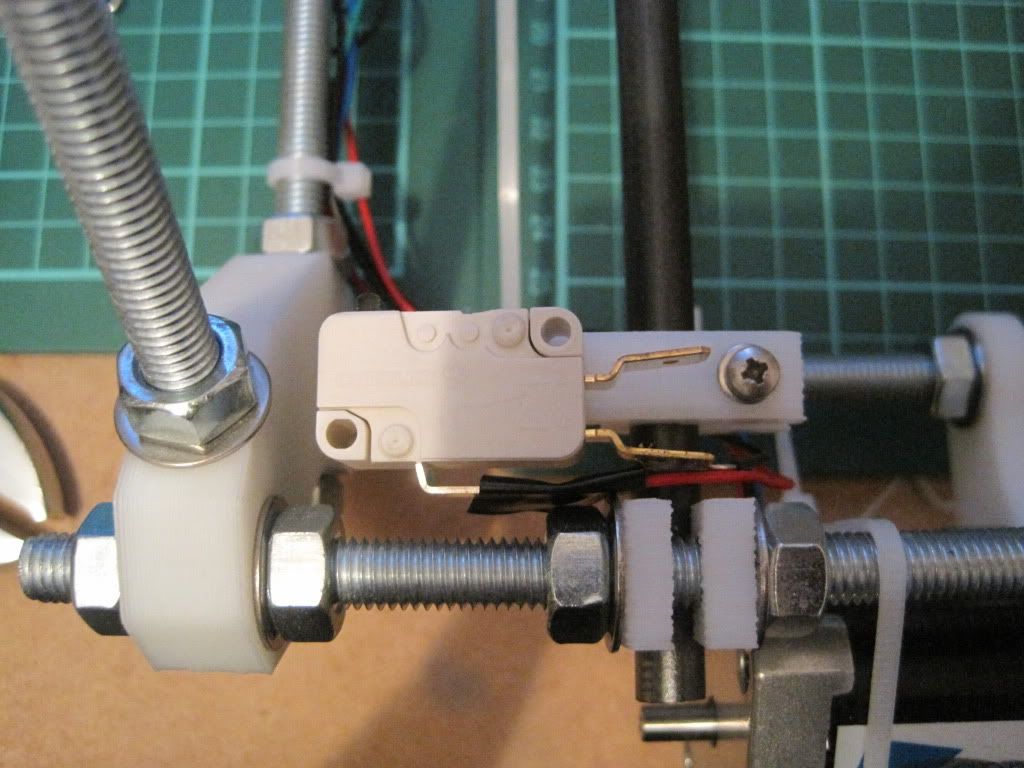
More recently I have added the endstops to the axes. I'm using microswitches, and they had arms on them:


I popped them into the vice, and sawed off the arms - careful to avoid sawing off the switch!


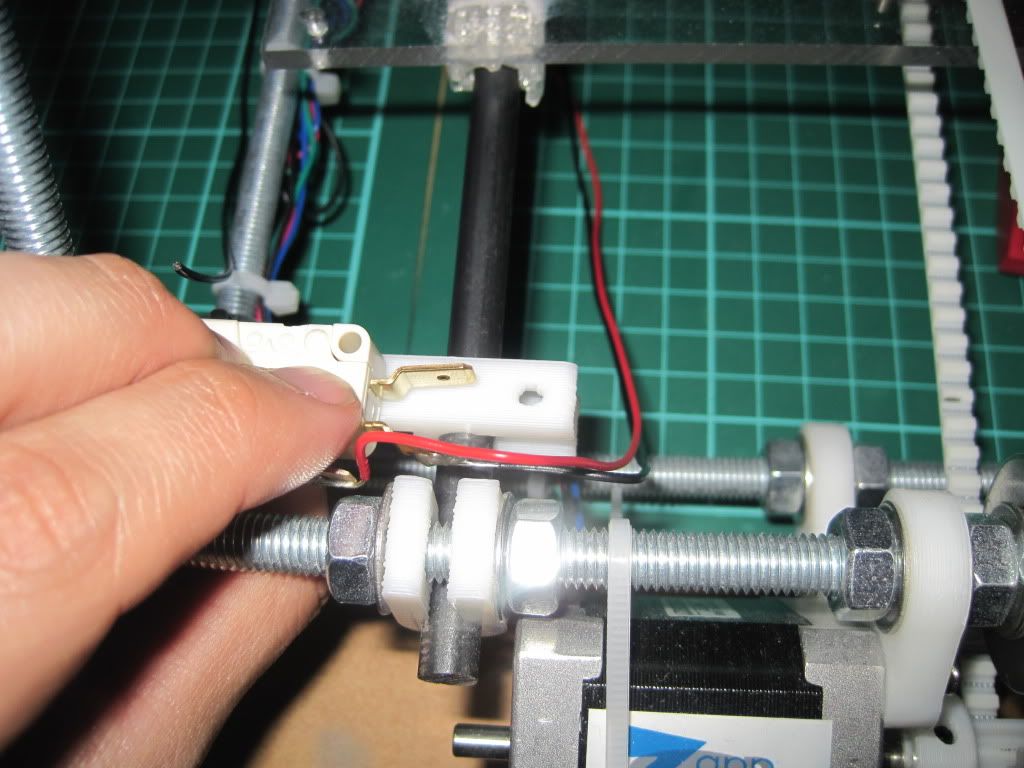
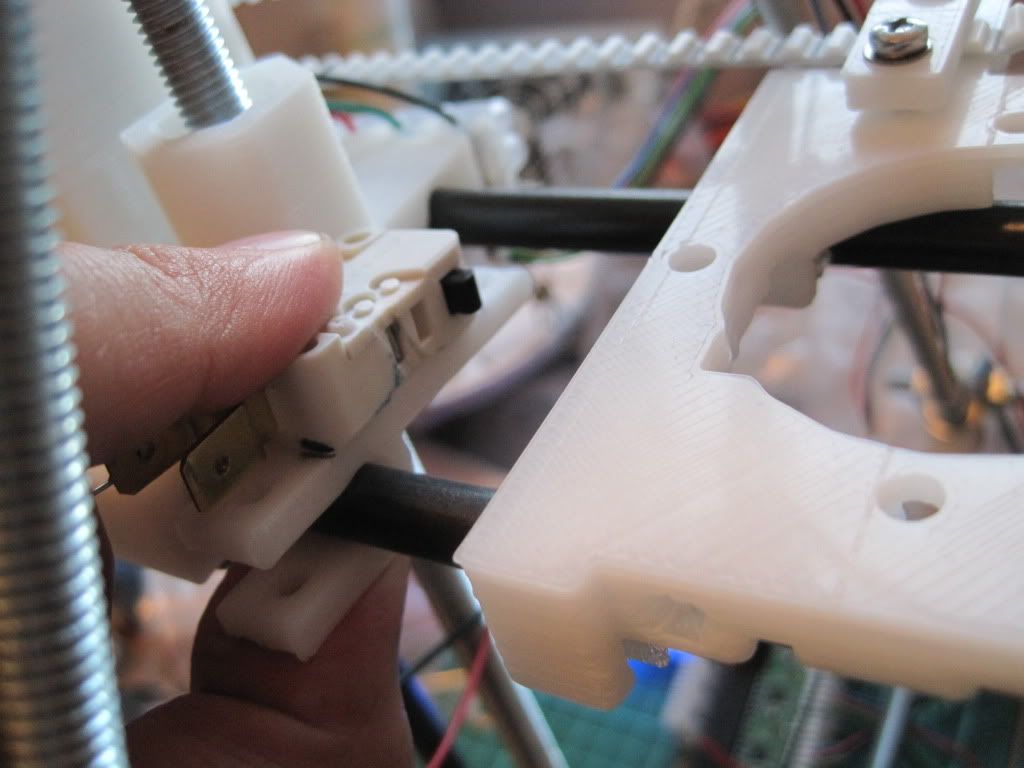
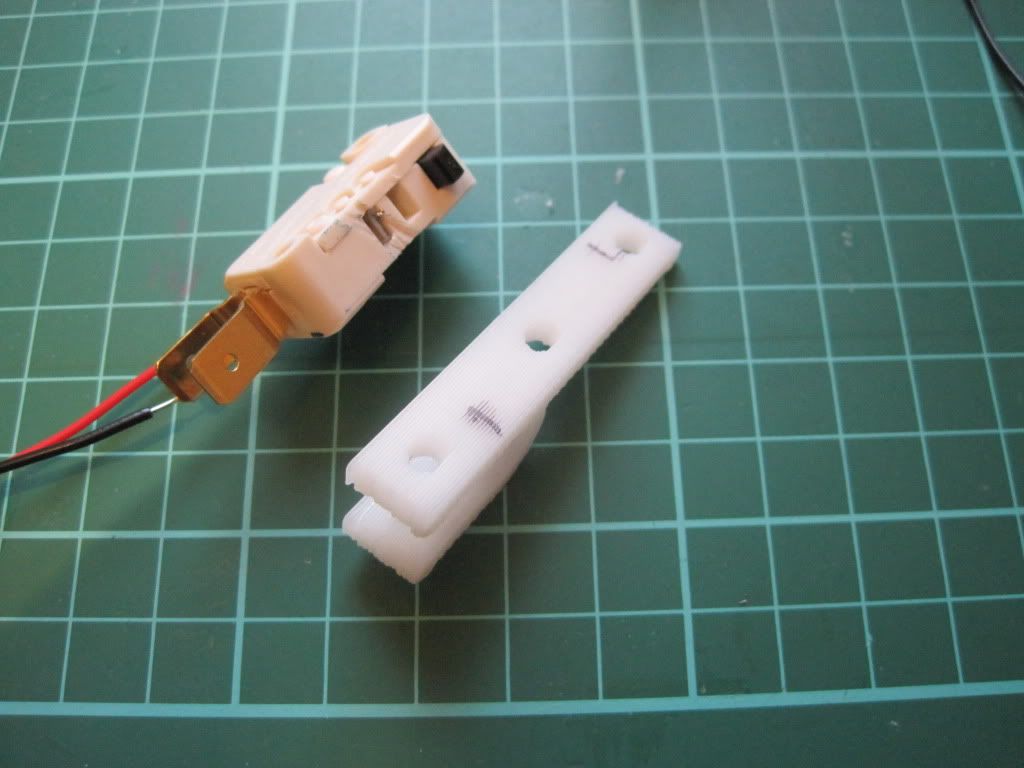
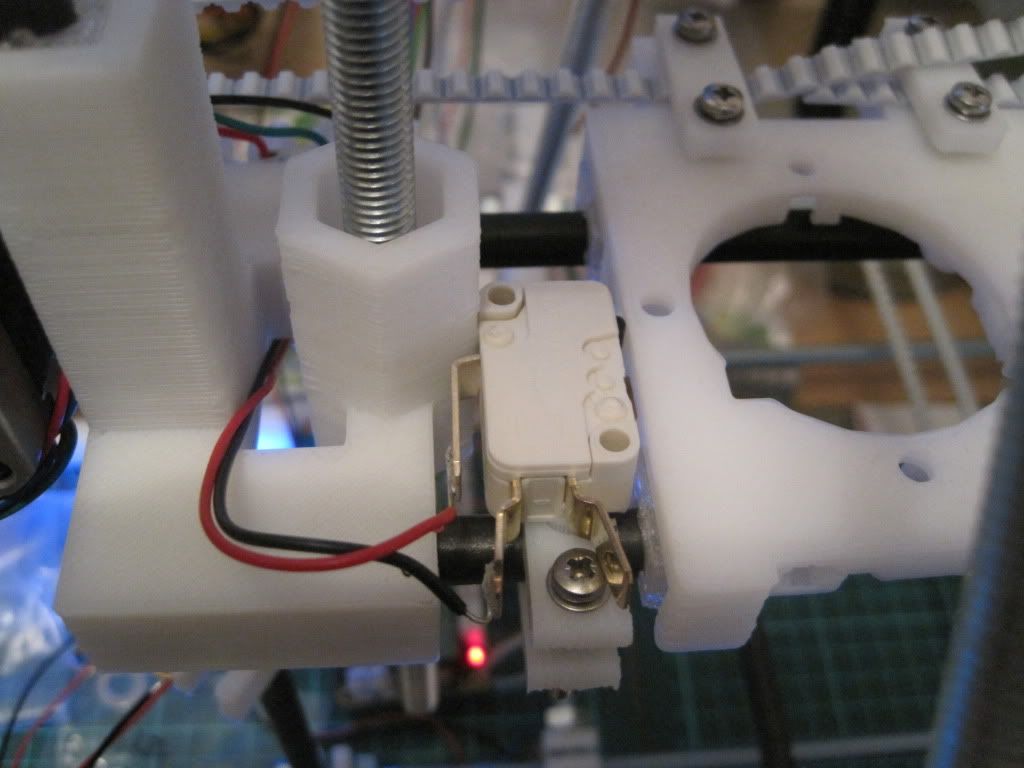
I decided on locations for the endstops. They are configured as being at the minimum end of the axis in firmware, and so this translates to Y being at the front, the X being at the left, and the Z at the bottom. I played around with locations for a while before marking up the brackets.


I attached the endstops to the brackets with hot glue, as the screwholes were in the wrong places. Each bracket was then fitted to the axis with an M3x25 screw, with a couple of plain washers and a spring washer.  I added some insulating tape to the Y axis terminal, so that it didn't short to the frame.


Once the endstops were installed, I wired them to the plugs and routed the cables along the frame.

I powered on the machine, and tested the endstops. I moved the axis out a long way, and then told it to return. As it was moving I activated the switch. All 3 axes worked ok, stopping the moment the switch was pressed. I then told Pronterface to "Home" the axes. It was pretty scary to watch, as the axes drove themselves into the stops:


In other news, I ordered some filament from Faberdashery. When I tried to load it into the extruder, disaster struck! The hobbed section of my bolt is too narrow, and the filament is too rigid to come into contact with it, regardless of how much pressure is applied by the idler.

I have to hobb a new bolt. I have ordered some M8 by 60 shoulder bolts from ebay, and will hobb the shoulder with an M6 tap - if I can work out a way to do it.

Next up: not sure. Maybe the hot end.

Tuesday, 27 September 2011

Chapter 18 - In which my alternate spring source is validated

One quiet Sunday, I sat down to build my extruder. I had already hobbed the bolt, and so now only needed to build up the extruder body.

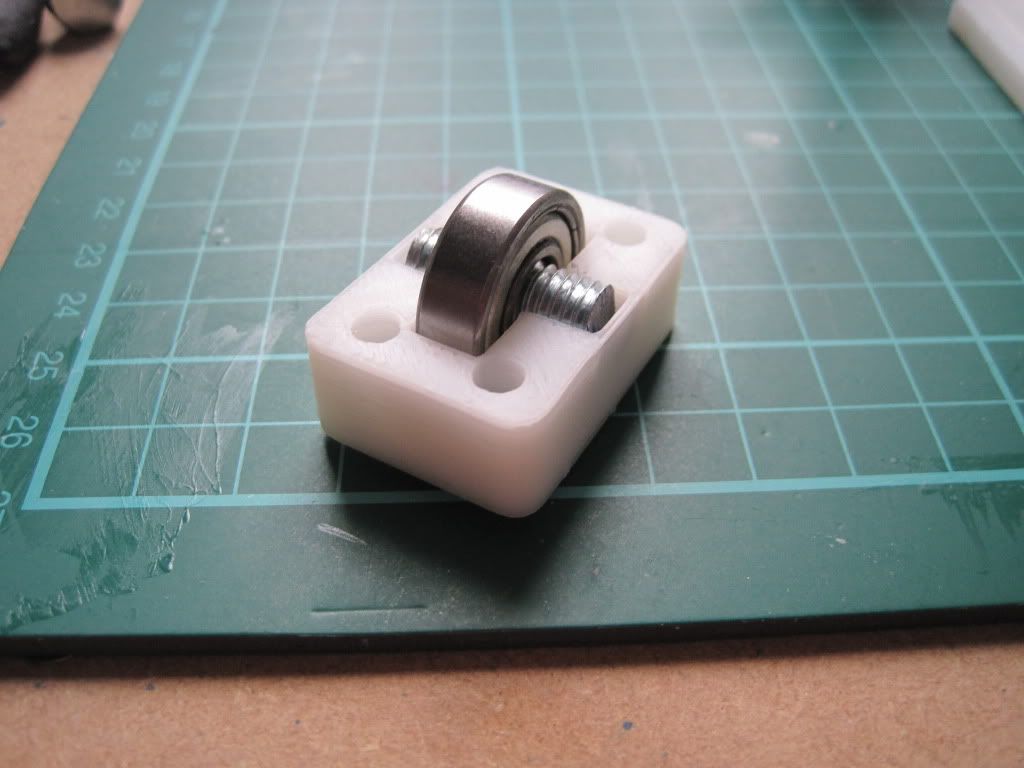
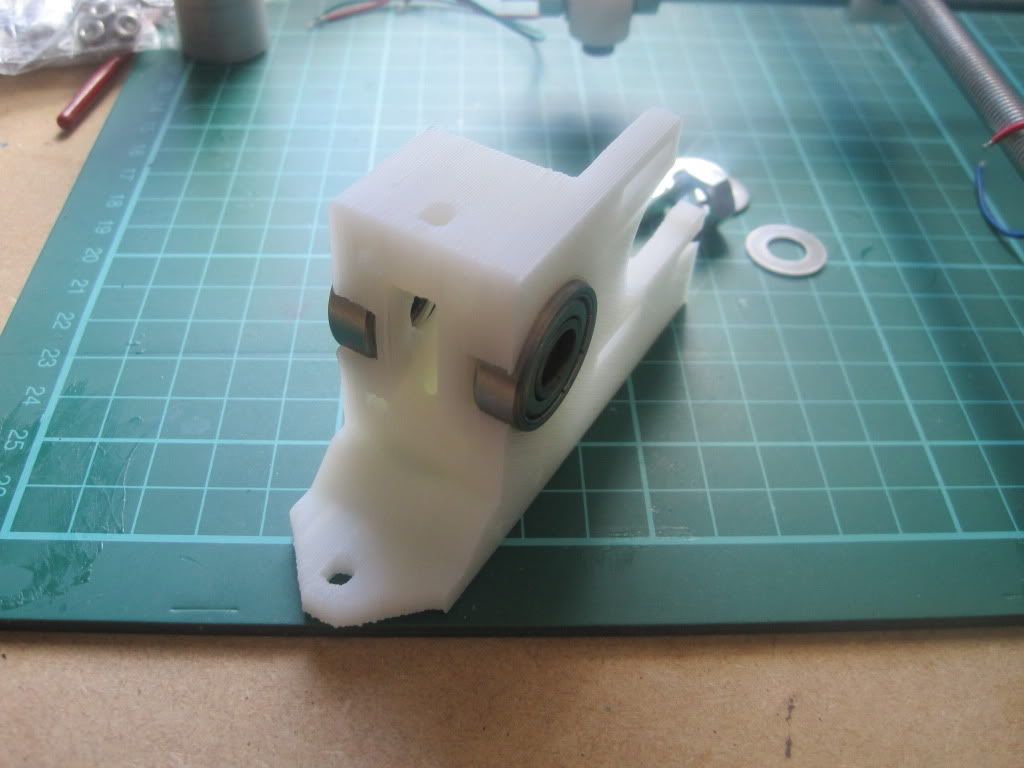
I had a little trouble fitting the bearings into the extruder body, but a little work with a file ensured that they sat flush:


I had a peice of threaded rod left over from cutting the frame bars down, so I cut it to 50mm and used it to mount the idler bearing. The bearing seems a little loose though, so I may have to change it out in the future.


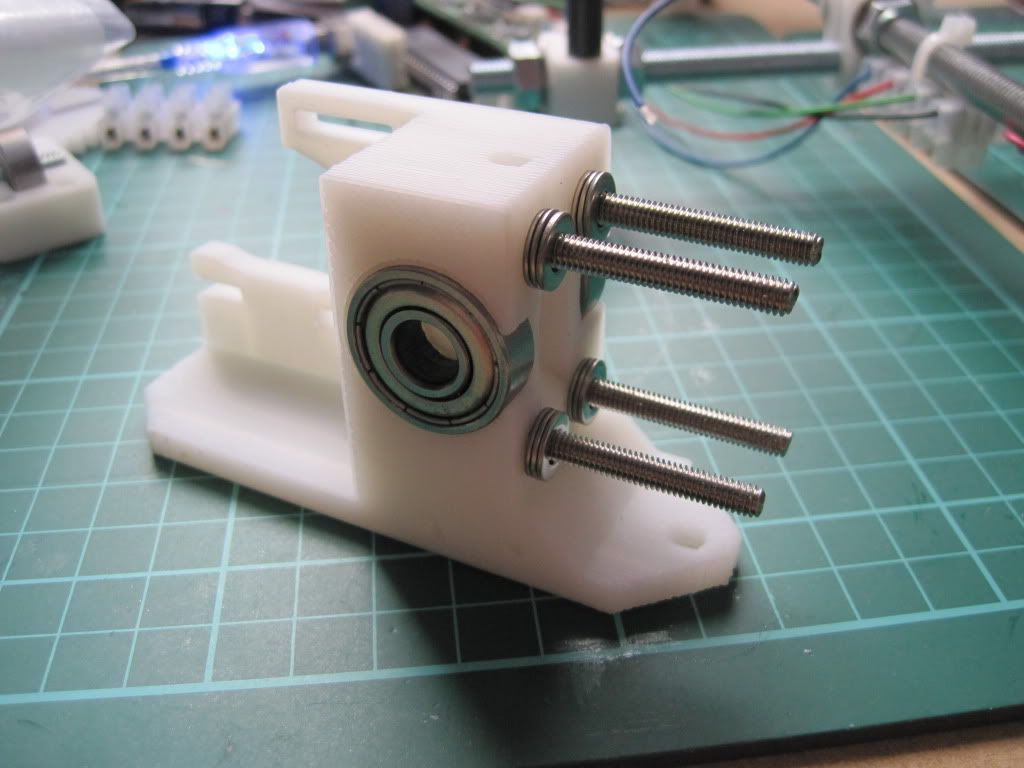
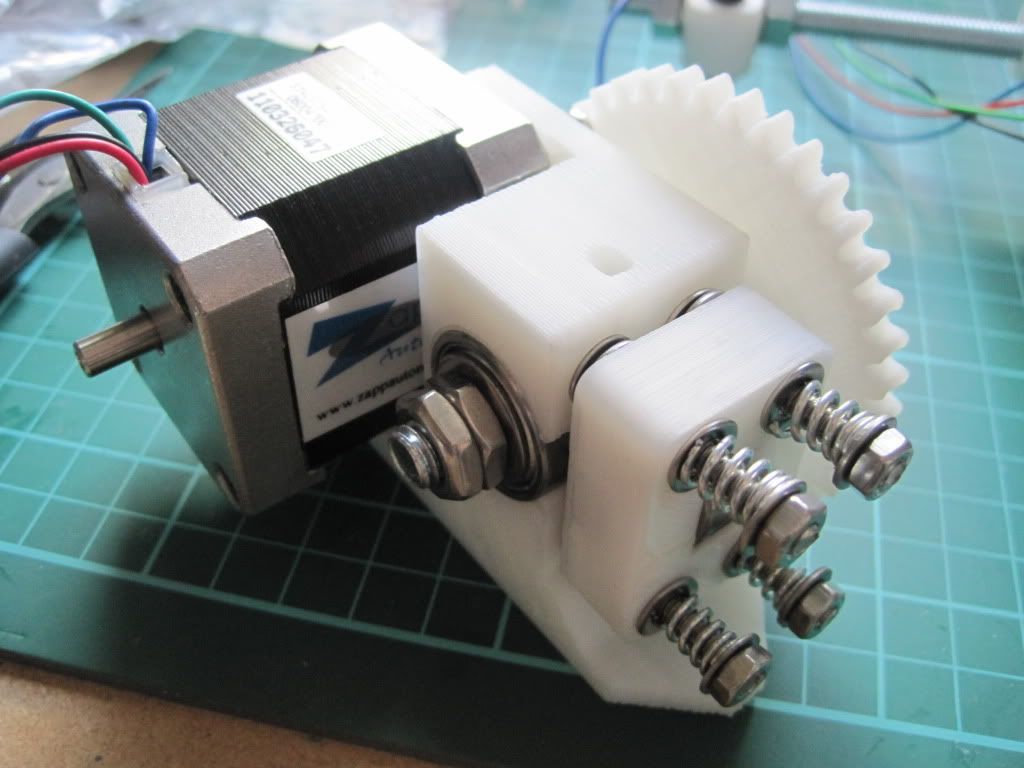
I fitted M4 by 50mm bolts through the extruder body, and fitted a pair of washers to each one. I had to file out the screw holes a little to make the bolts fit.


I fitted the idler block over the bolts - this was harder that I had thought it would be, due to having to keep the block square or the bolts would bind up.

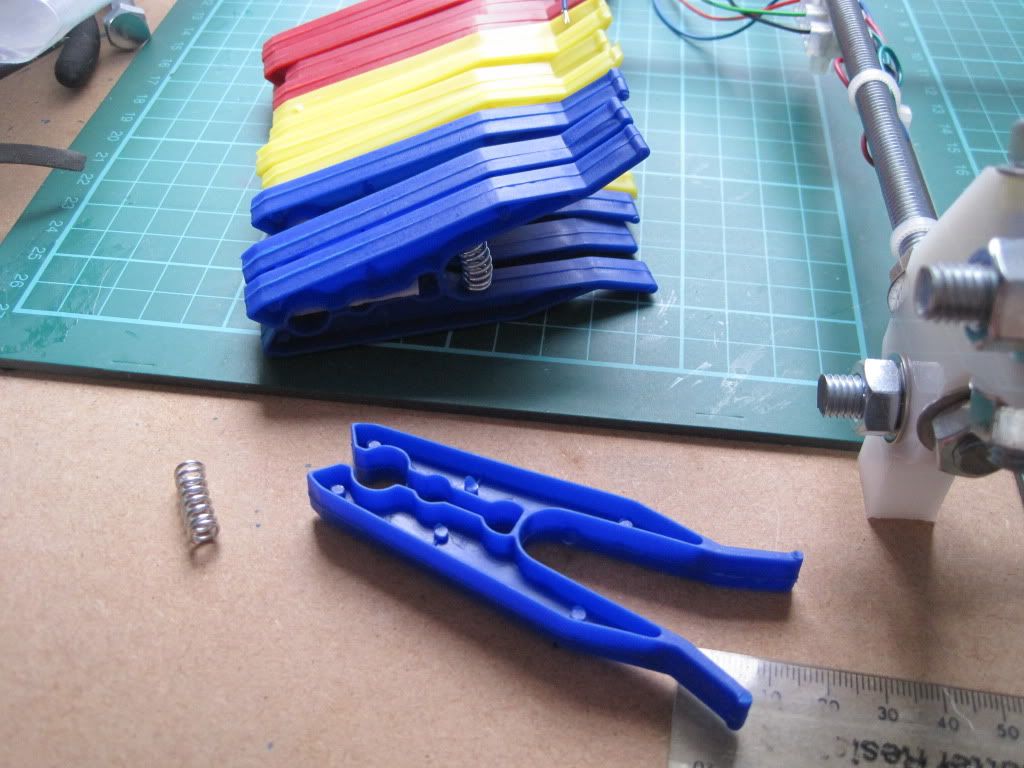
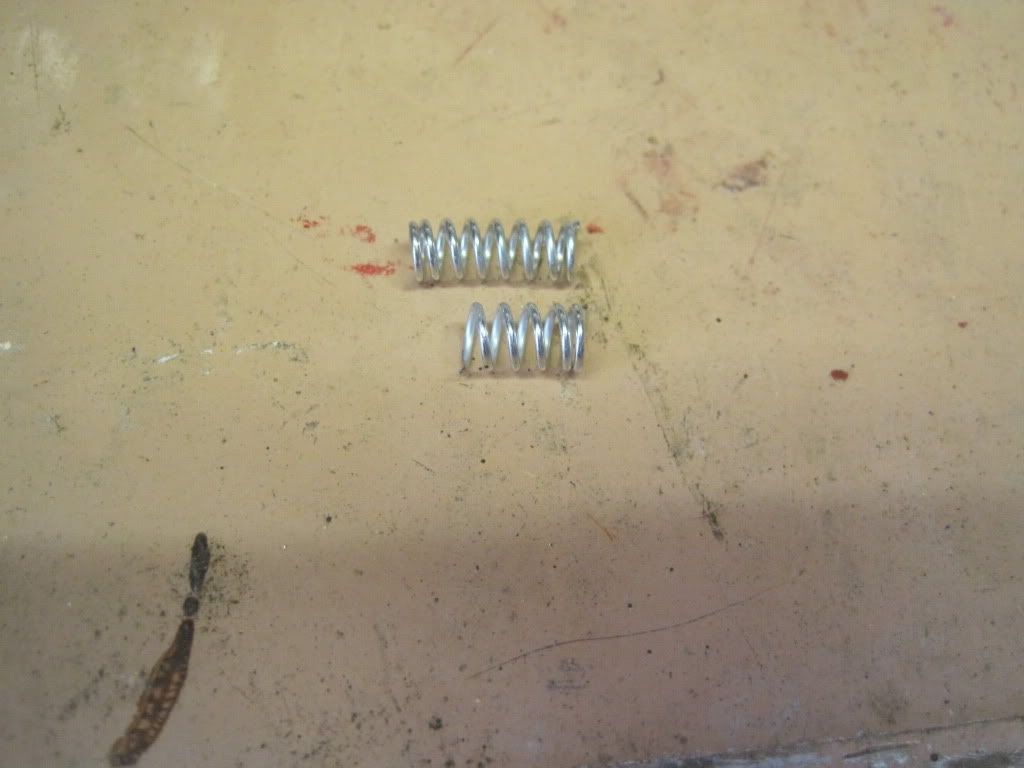
Now, time for the all important springs. As I mentioned here, I had found a source of springs in a certain shape of clothes peg. I had ordered some after scouring ebay for the right type. Unfortunately when they arrived they were the traditional, sideways-action spring type. I got in touch with the company, whoi were able to find some of the kind their listing showed. Lesson learned by me - some photos on ebay are for illustrative purposes only. Once I had the new, correct, pegs in hand, I set about de-springing them.


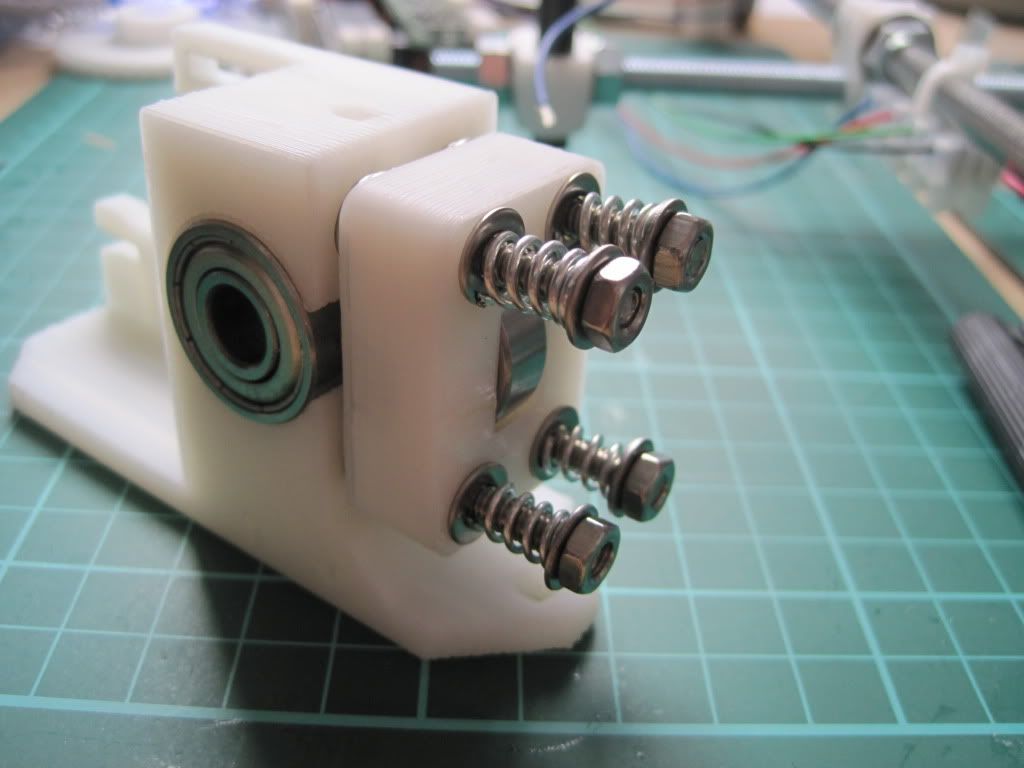
Having removed 4 springs, I was faced with another problem - they are too long for the bolts. After failing to compress them enough to get a nut onto the thread, I took them to the garage and took a hacksaw to them.  I cut them down to just the right length to allow them to be fastened on, with only a little compression.


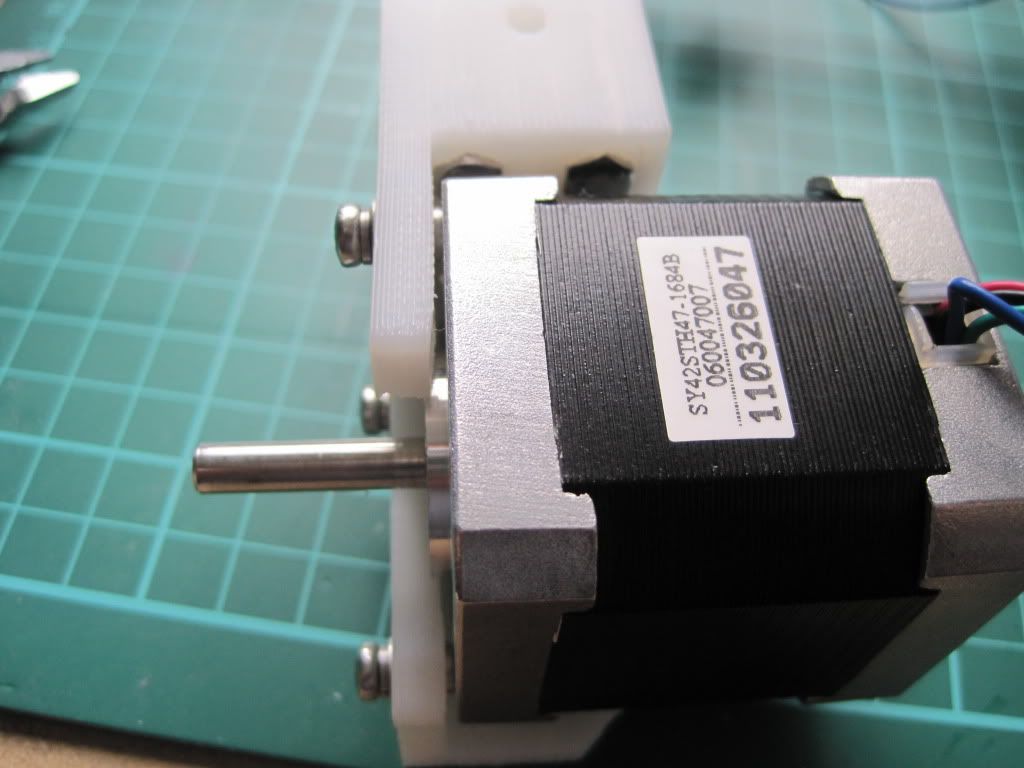
The motor mount on the extruder is thinner then that of the Y axis, so I though I could use the same trick of doubling-up the washers as I did on the x-end-motor. However, This made the Screw heads stick out too far, and they interfered with the gears. I opted for the solution below, with one set of spring washers between the motor and the extruder, and the other next to the screw heads:


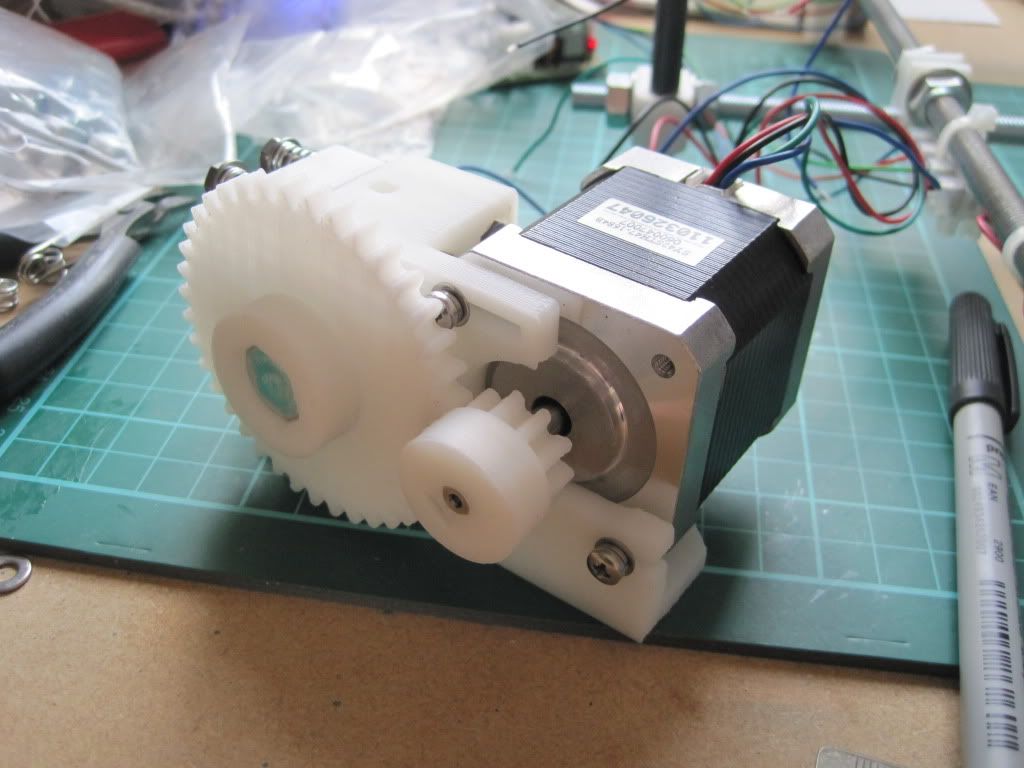
I fitted up the hobbed bot and large gear. I had to use 4 M8 washers to space the bolt correctly, because the hobbing had drifted to one side.


I had used a couple of M8 halfnuts that I found to hold the hobbed bolt in place, but have subsequently moved to one half nut and one full nut as I had problems getting the tension right and the locking tight enough.

Because of the extra washers spacing the big gear, I had to mount the small gear in reverse. This is actually suggested in some of the instructions, and won't cause any trouble due to the grub screw still being securely on the shaft.


Next up: talking to the machine

Wednesday, 31 August 2011

Chapter 14 - In which my power drill pretends to be a lathe

Saturday. Inspired by Friday's success with the electronics, I decided to tackle something that had been on my mind for a while - the hobbed bolt.

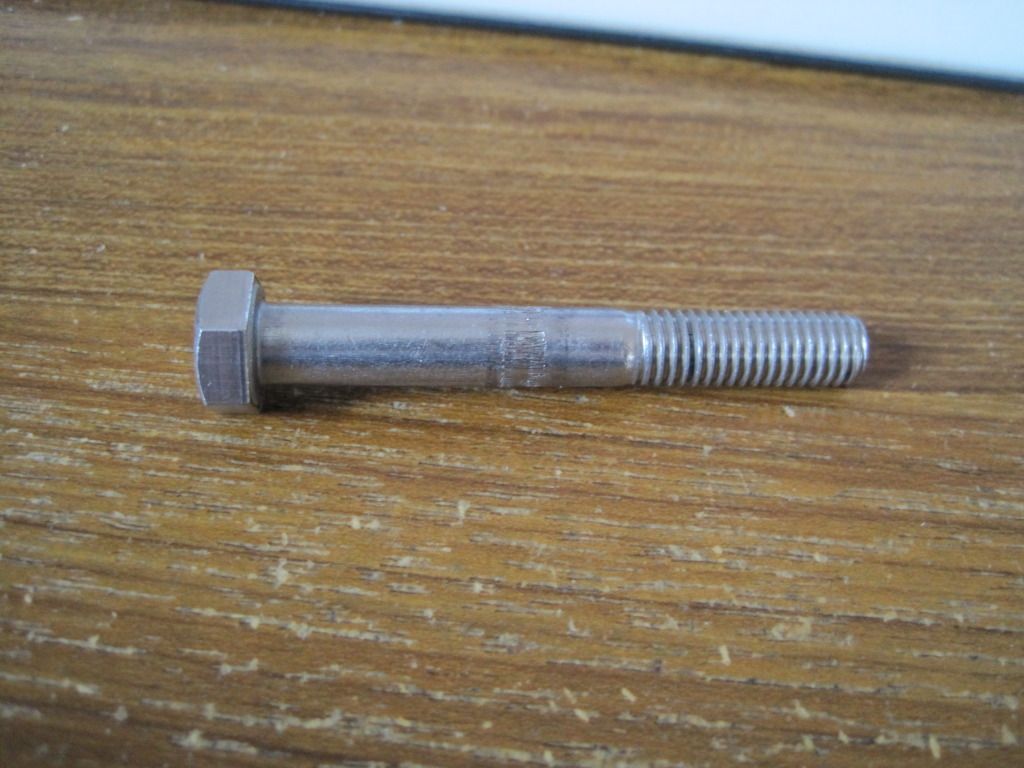
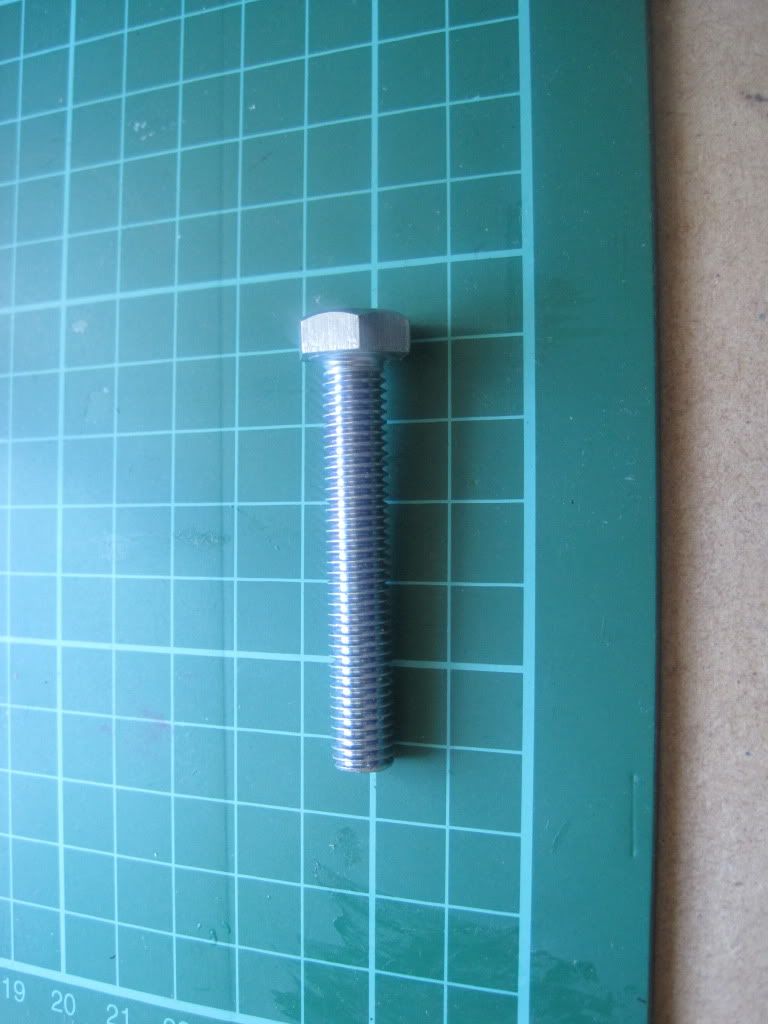
I dug the bolt out of my dwindling box of parts. I couldn't find a shoulder bolt when I was collecting materials, so I had to make do with a full length thread:


I started by test-assembling the extruder so I could mark off where the hobbed section needed to be. I pushed a pair of bearings into the extruder body. They were a very tight fit, but didnt sit flush in the housing. I'll have to look at this in more detail when I come to build the extruder for real:


I assembled the rest of the drive, and used a CD marker to mark the position. I disassembled the drive, and maesured the marks. I  made a crude dimensioned drawing, so I would know where to put the hobbing when the pen marks wore off.


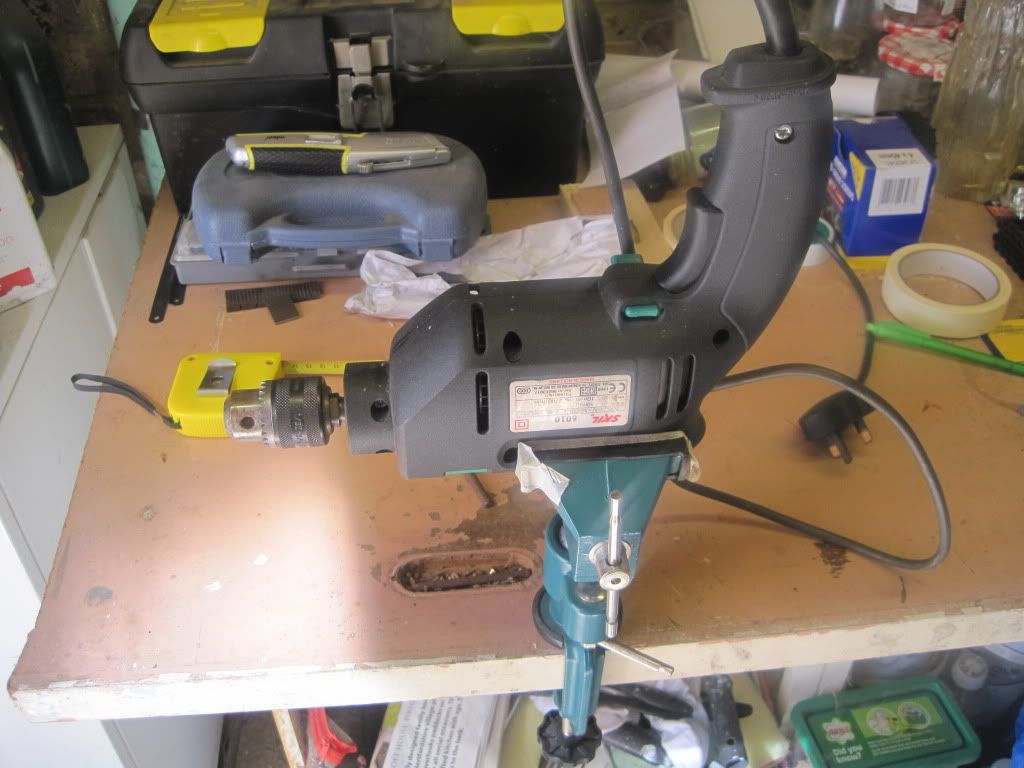
Time to go back to the garage. I only have 2 power tools available to me (power drill and an electric screwdriver) and for this job I needed both of them. I mounted the drill upside down in my vice.


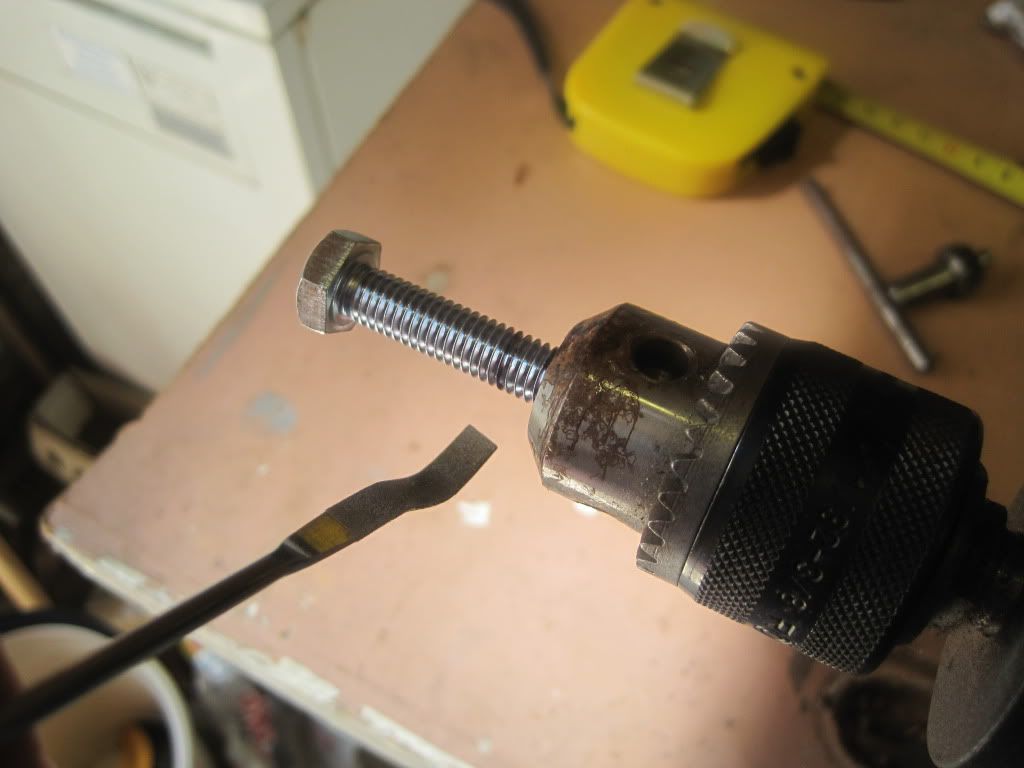
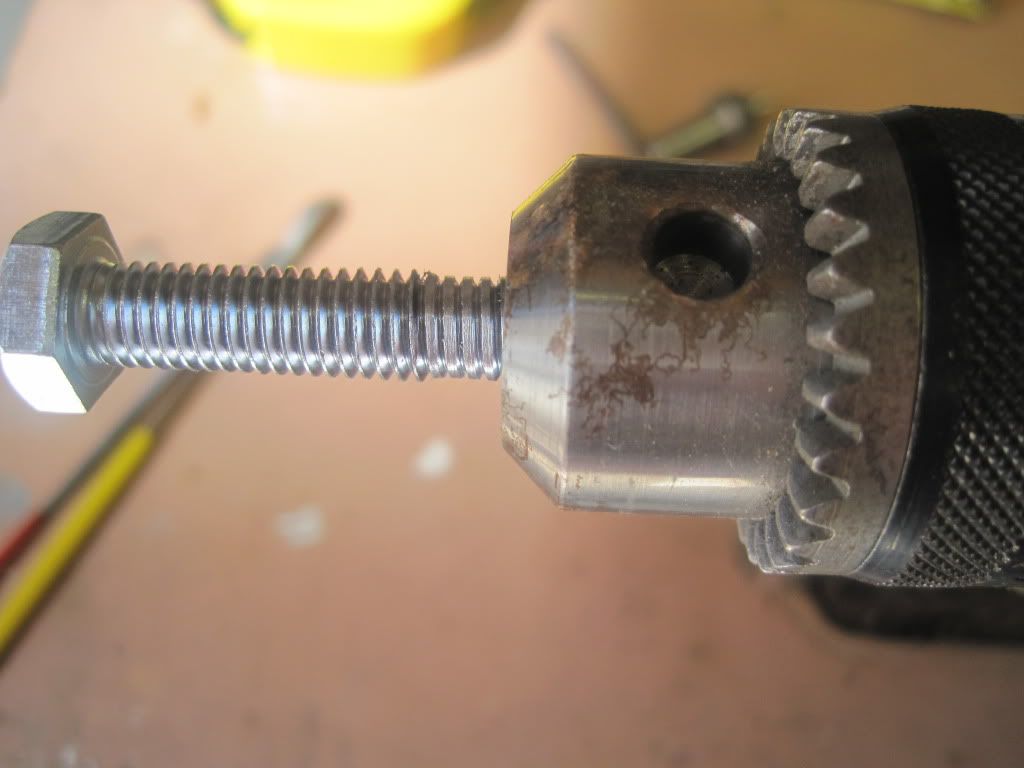
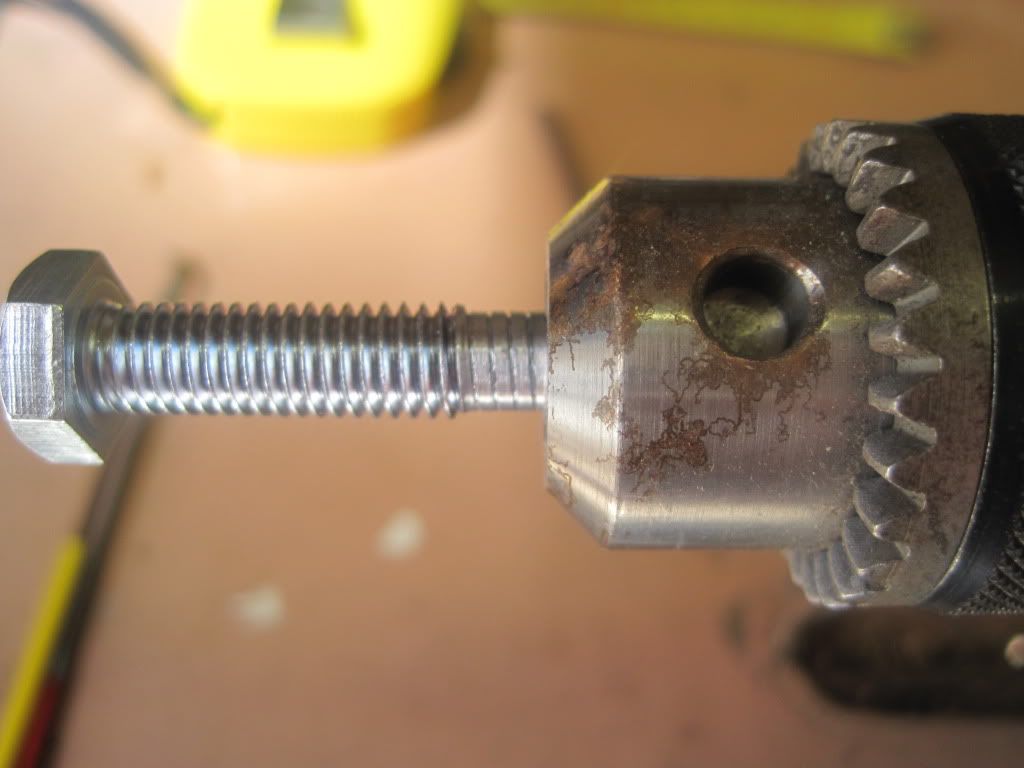
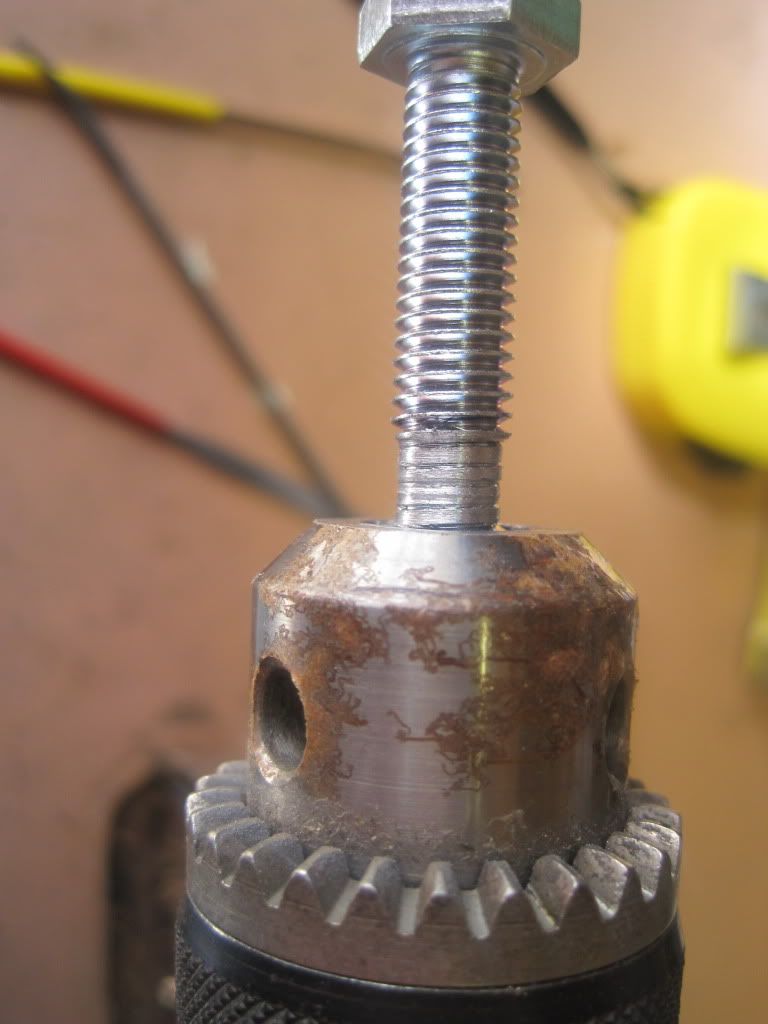
I fitted the bolt into the chuck, right up to the line. I was lucky in that the chuck is quite small, and the jaws are retracted right into the housing and so don't show at all.


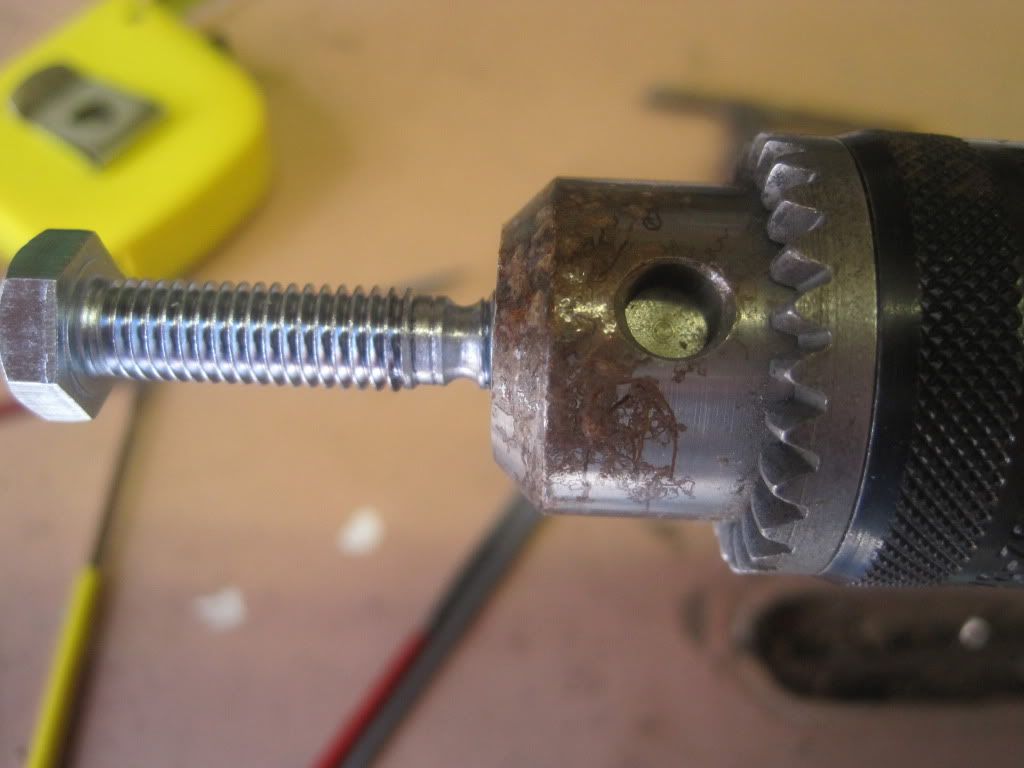
I set the bolt spinning away from myself, and started to reduce the width of the section to be hobbed. This is pretty dangerous! I made especially sure the bolt was true in the chuck, and didn't wobble, and was sure to move my head out of the line of the chuck/workpiece when it was spinning, just in case. I used a selection of files to made the reduction, and was sure to move them along their length to reduce wear and heat buildup.


It was pretty hard work. I know that stainless is hard, but I had forgotten just how hard! Reducing the width took some time. Eventually I stopped, and used the edge of a file to mark a straight line around the bolt.


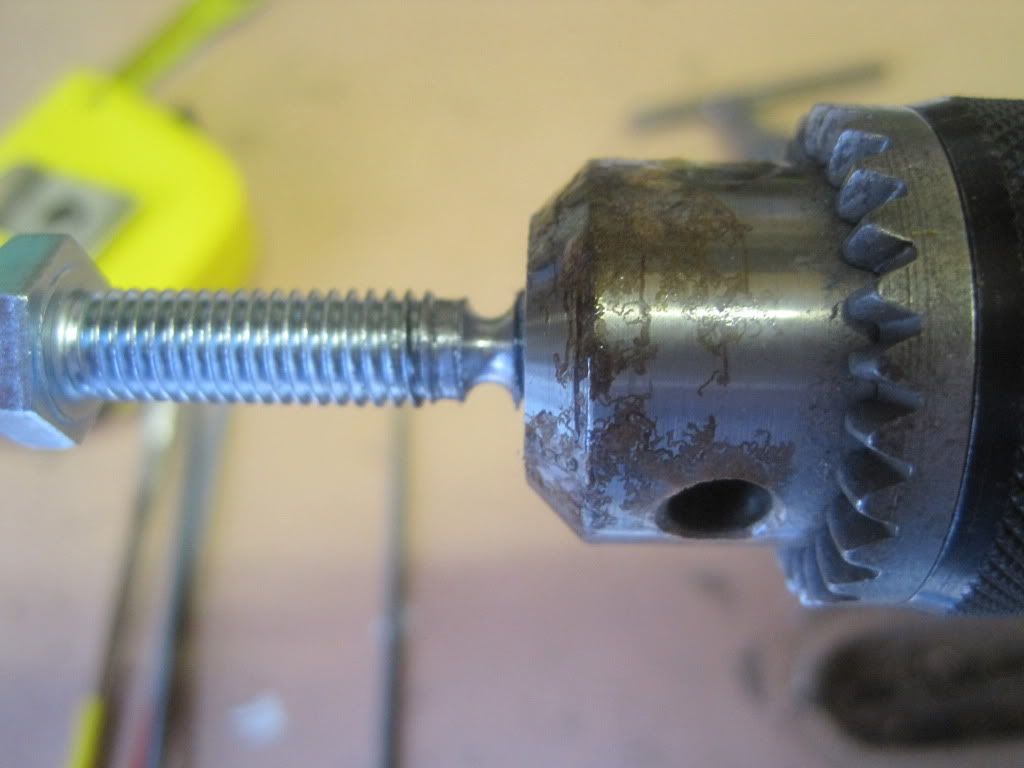
I used a 3mm round needle file to make the groove:


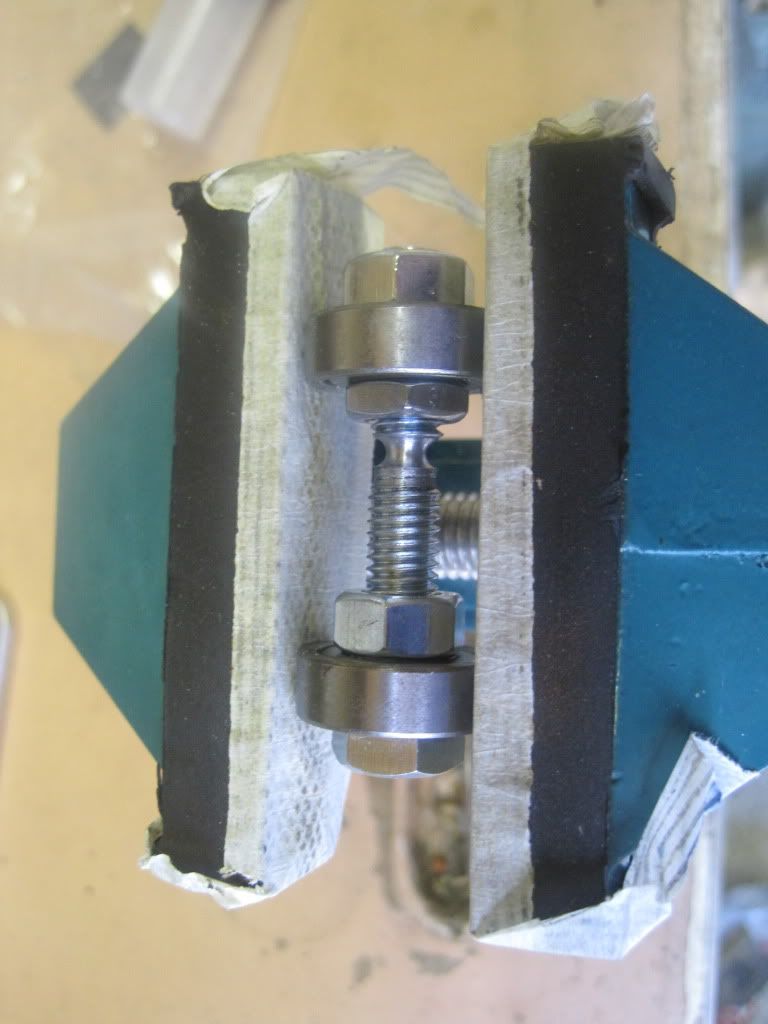
As you can see, the groove has wandered off-centre. Its only a couple of millimetres though, and I think I can space it out using washers. I found a couple of M8 halfnuts the other day, and they will do for locking up the bolt in the extruder if the standard height nuts are too big.

Once the groove was of a sufficient depth, I removed the bolt from the drill, and remounted it in the vice with a couple of bearings:


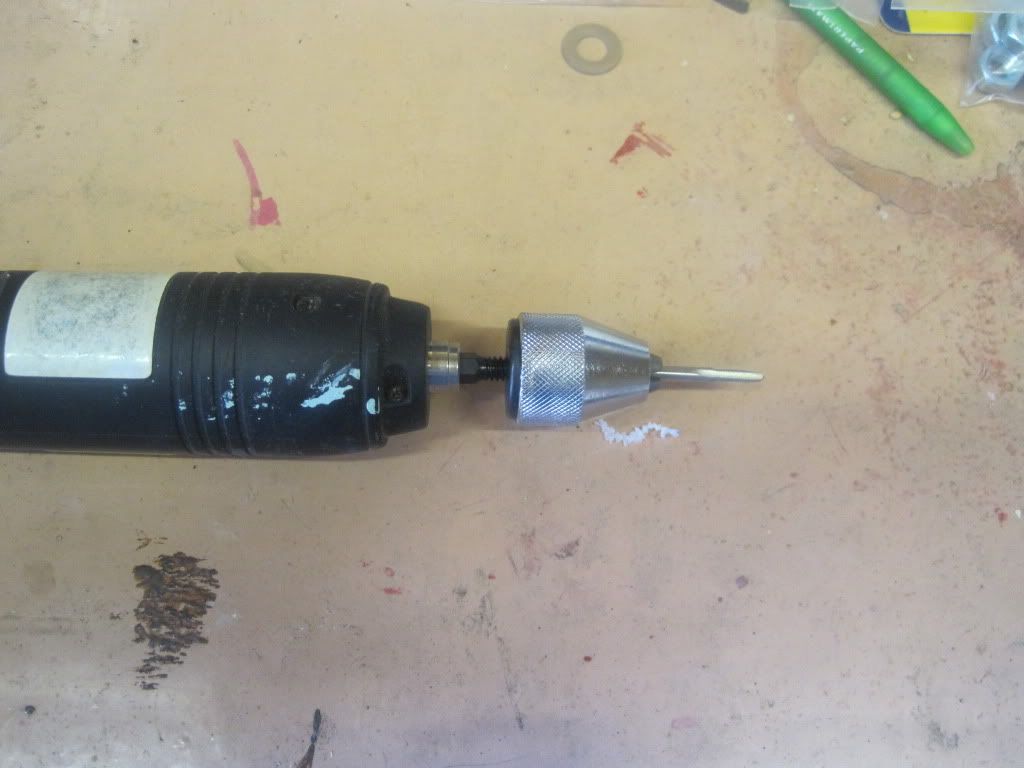
The power drill is only single speed, and way too fast for this operation, so I mounted an M3 tap in a hex-chuck and fitted it to the screwdriver.


I hobbed the bolt by pushing, hard. The bolt really ought to turn under the tap, but I found the tap would rather advance, and I would pull it back to turn the screw. This was hard going, and the tap kept slipping. I adjusted the nut nearest the groove to prevent this.

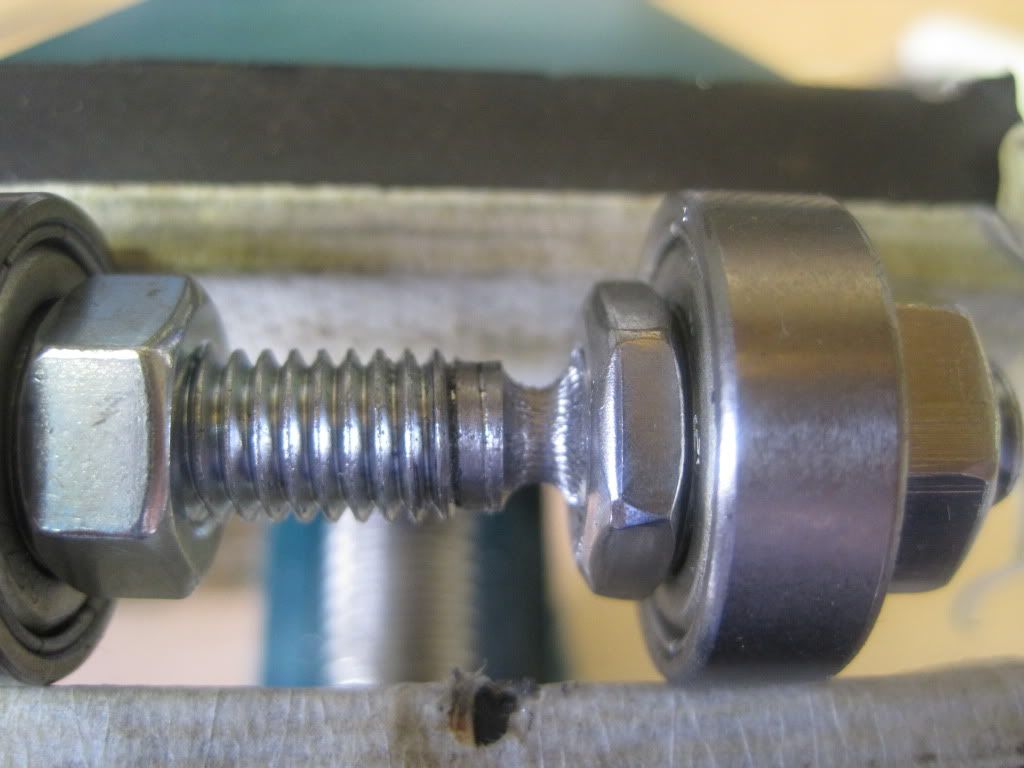
The end result:


It has a groove and teeth - good enough for me! The stainless is so hard the tap didn't bite very deeply, despite going round several times. This is probably due to my not being able to put enough force on it, and the screwdriver battery giving up near the end!

Just need to see how well it drives feedstock now.

Next up - more electronics.

Sunday, 10 July 2011

Chapter 4 - In which I get frustrated at B&Q, and the postman has a busy day

So a lot of stuff has been turning recently - the postman had 5 parcels for me the other day! I think I now have all of the parts to start building the frame.

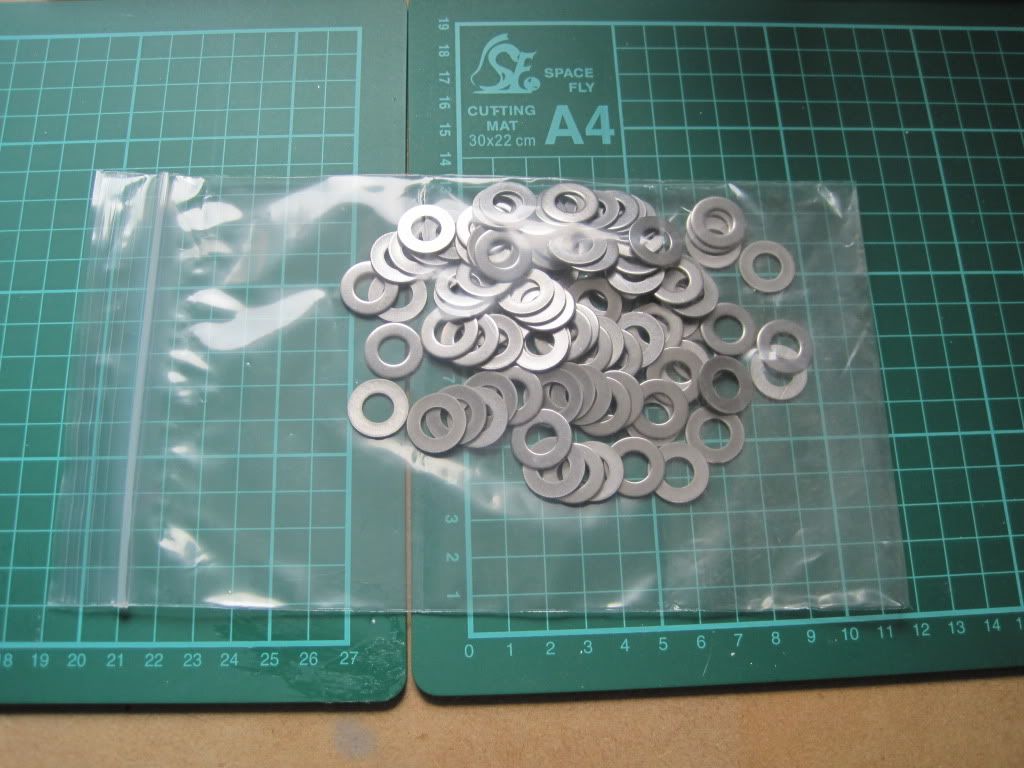
So what turned up? Firstly we have the frame washers. This is a 100 pack from ebay:


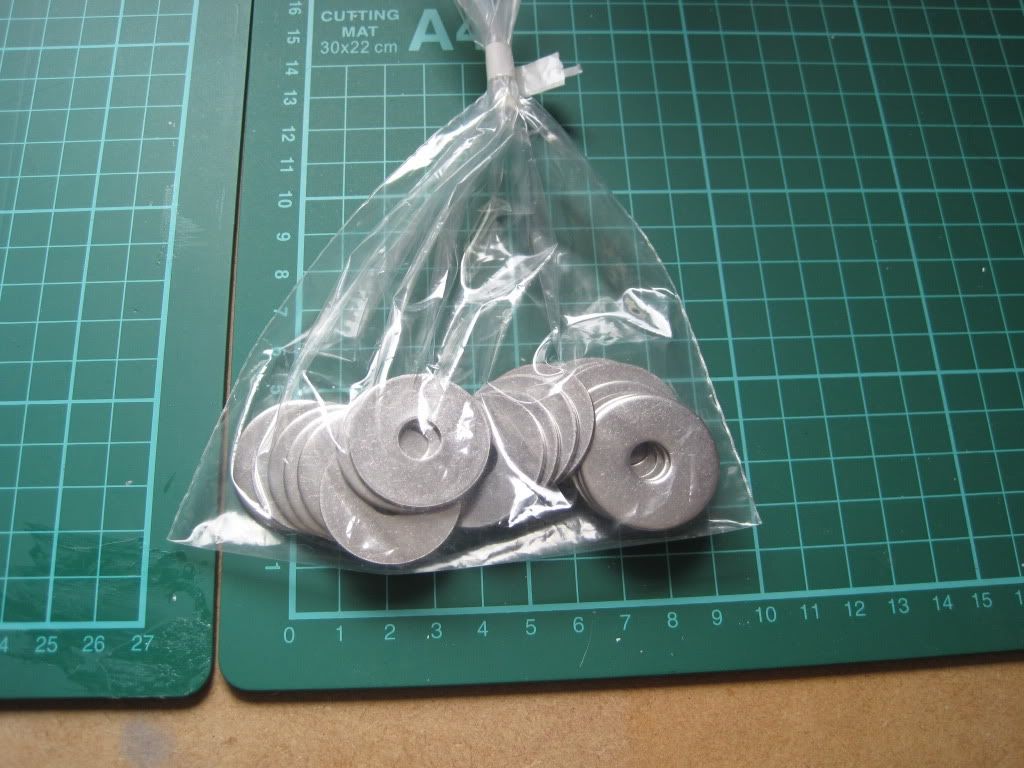
Next we have the M8x30 (fender/mudguard) washers. I got a 20 pack, again from ebay, so as to have some spares etc.


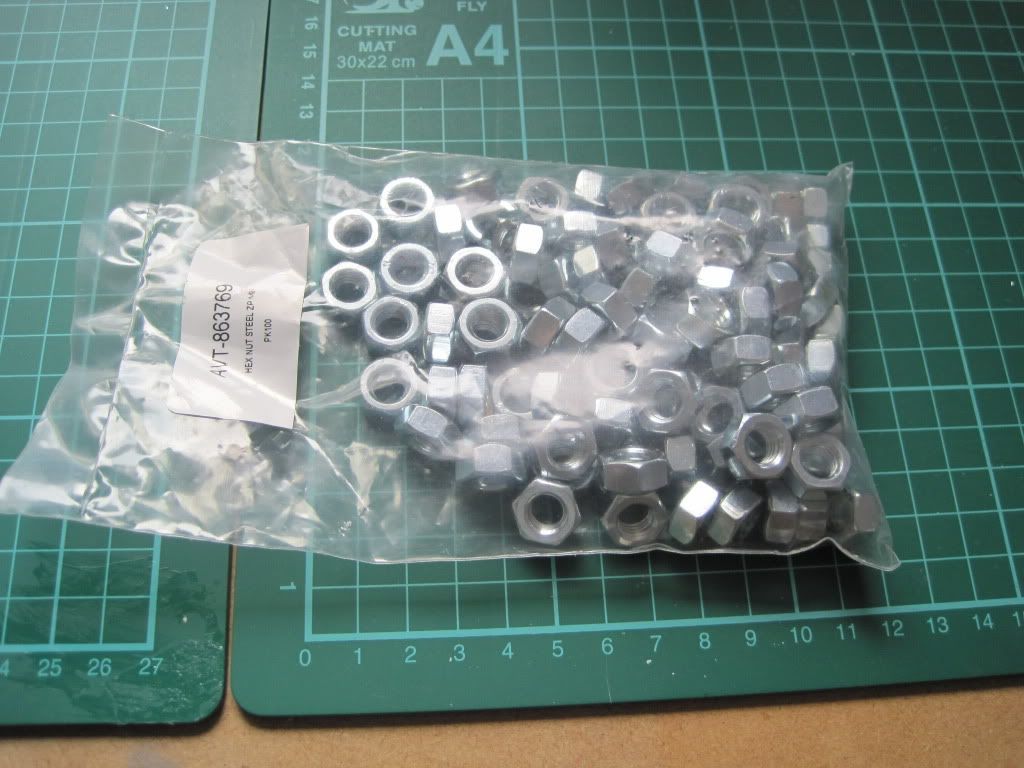
M8 nuts. Again a 100 pack, again from ebay.


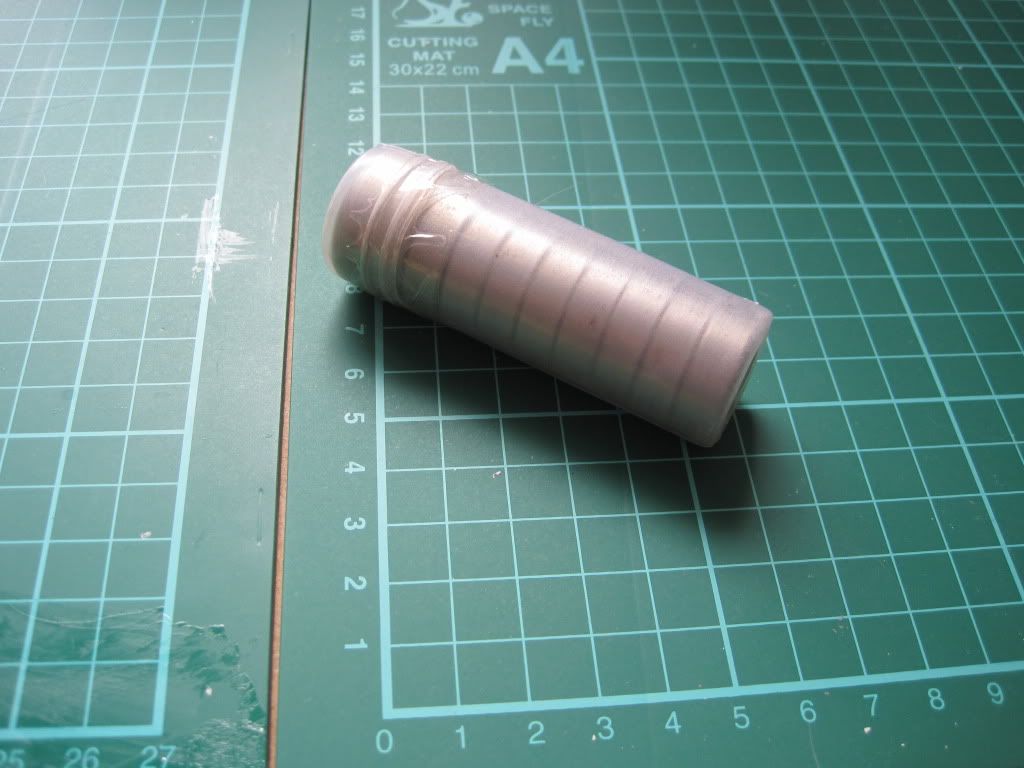
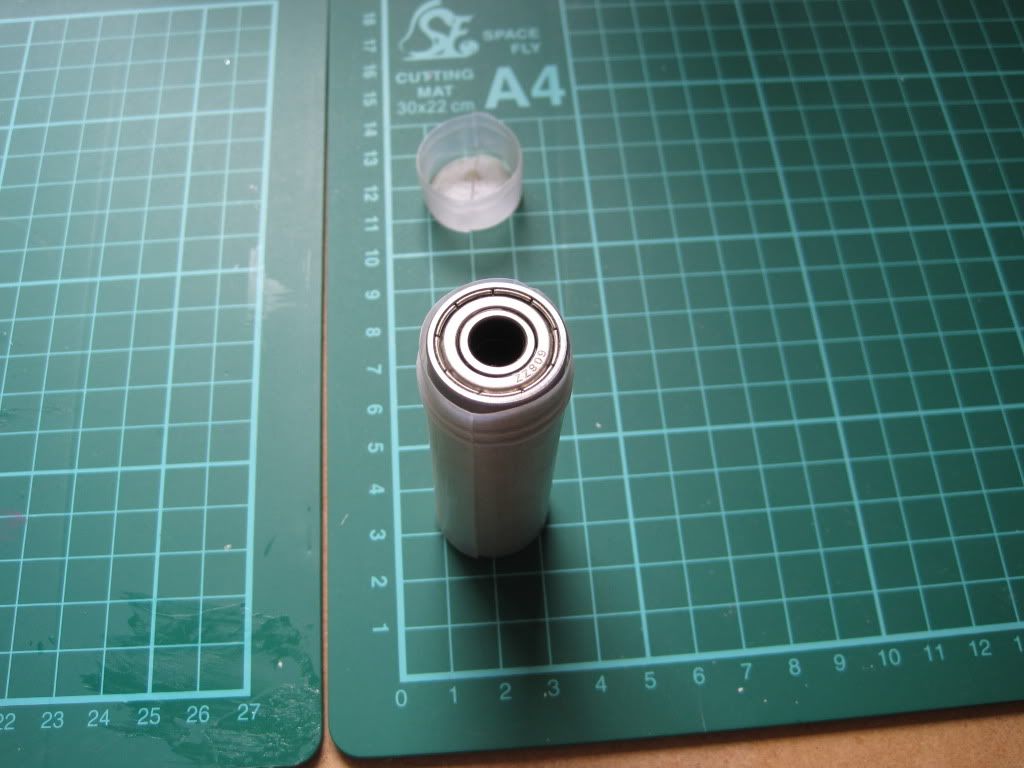
'608 skate bearings', 10 off. I know I only need 6, but again I wanted a spare or 2. I may also want to build a new extruder somewhere down the line. Did I mention I really like ebay for these sorts of things?


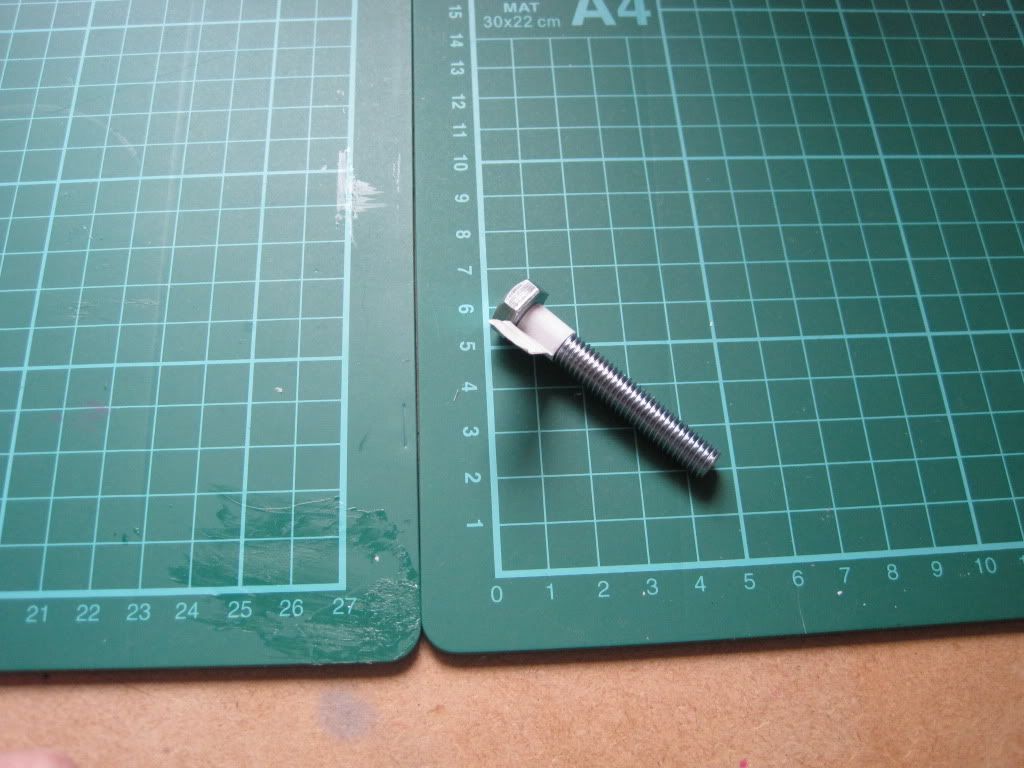
Whilst on the hunt for fasteners etc, I figured I'd get the bolt needed for Wade's extruder. Turns out it's really tricky to get hold of an M8x50 shoulder bolt here. I haven't been able to find them anywhere I've looked (oh ebay, you've let me down :-( ).  I eventually resorted to spending 20 or so minutes looking at every M8 bolt I could find on the shelf at B&Q (I had to go back with my girlfriend, after one of the lampshades we got last week while hunting for threaded rod turned out to be damaged). I came away dissapointedly with a standard M8x50 bolt. I'll see what I can do with it when I come to making the extruder.


The other 4 parcels contained the hot end parts I mentioned in my last post. I'll put up photos etc later on, in a dedicated hot end post - I've got a plan, I just need to bring it all together.

"Next time on 'forays into 3d': Building the frame!"