I dug the bolt out of my dwindling box of parts. I couldn't find a shoulder bolt when I was collecting materials, so I had to make do with a full length thread:

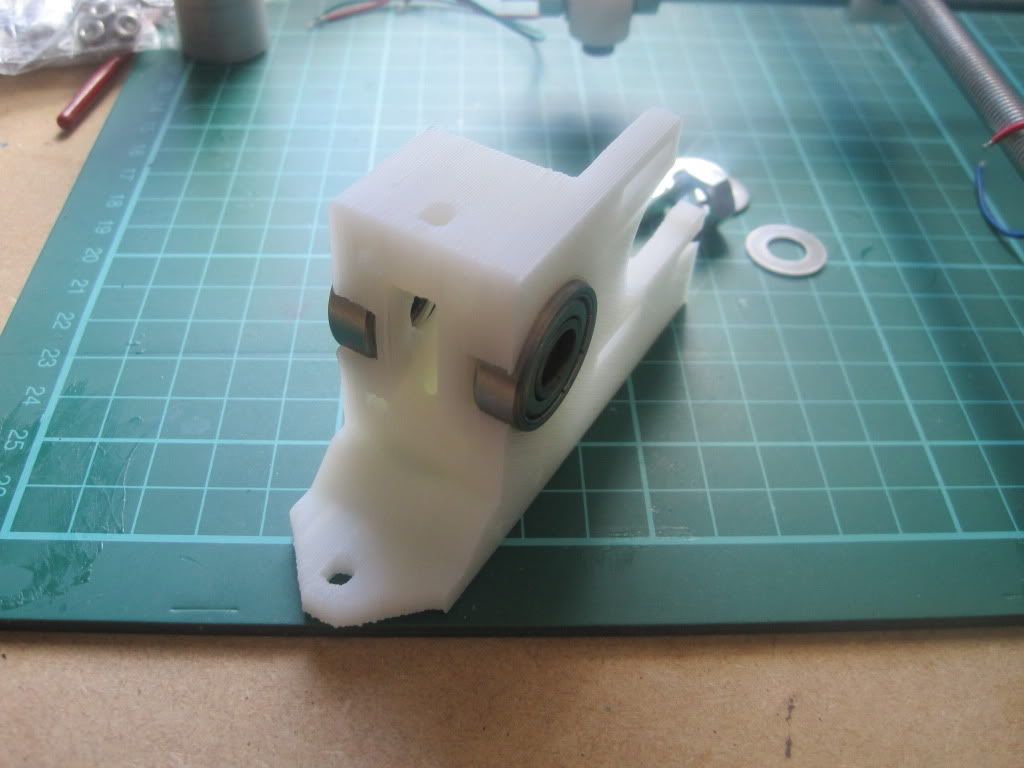
I started by test-assembling the extruder so I could mark off where the hobbed section needed to be. I pushed a pair of bearings into the extruder body. They were a very tight fit, but didnt sit flush in the housing. I'll have to look at this in more detail when I come to build the extruder for real:
I assembled the rest of the drive, and used a CD marker to mark the position. I disassembled the drive, and maesured the marks. I made a crude dimensioned drawing, so I would know where to put the hobbing when the pen marks wore off.

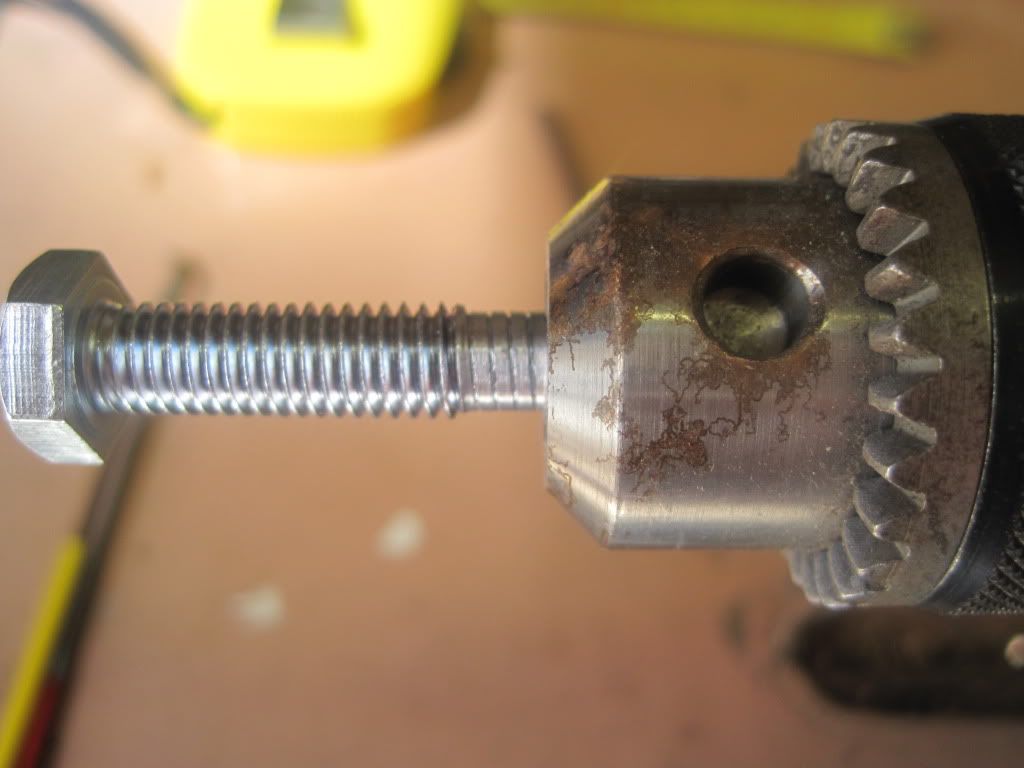
Time to go back to the garage. I only have 2 power tools available to me (power drill and an electric screwdriver) and for this job I needed both of them. I mounted the drill upside down in my vice.
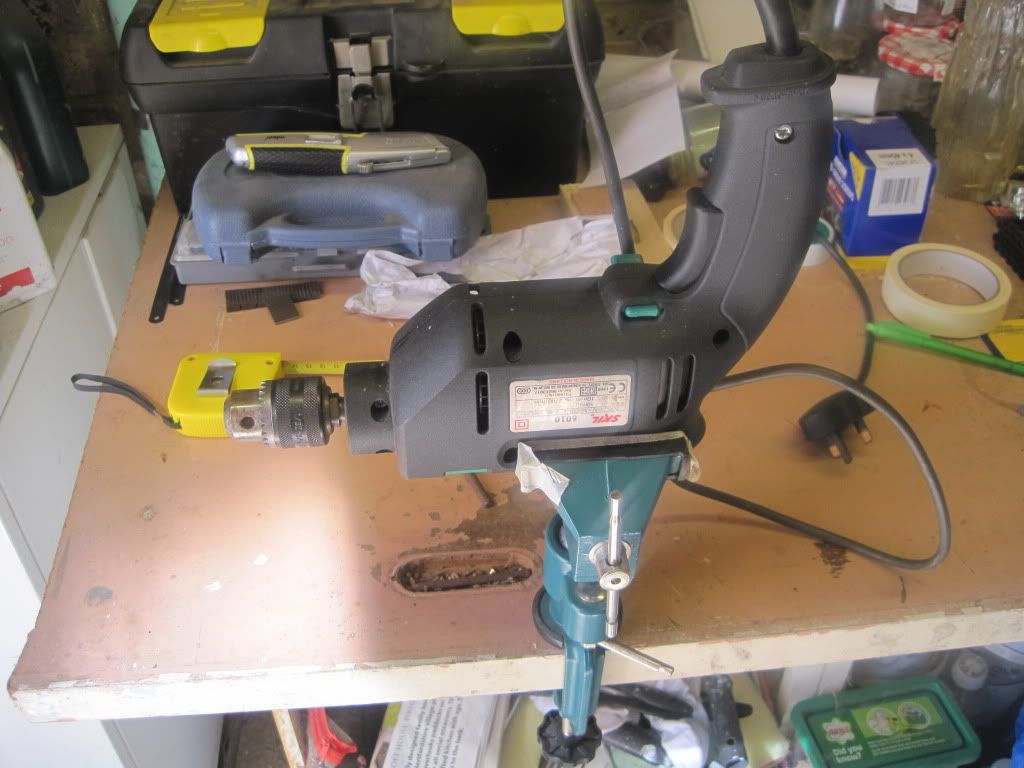
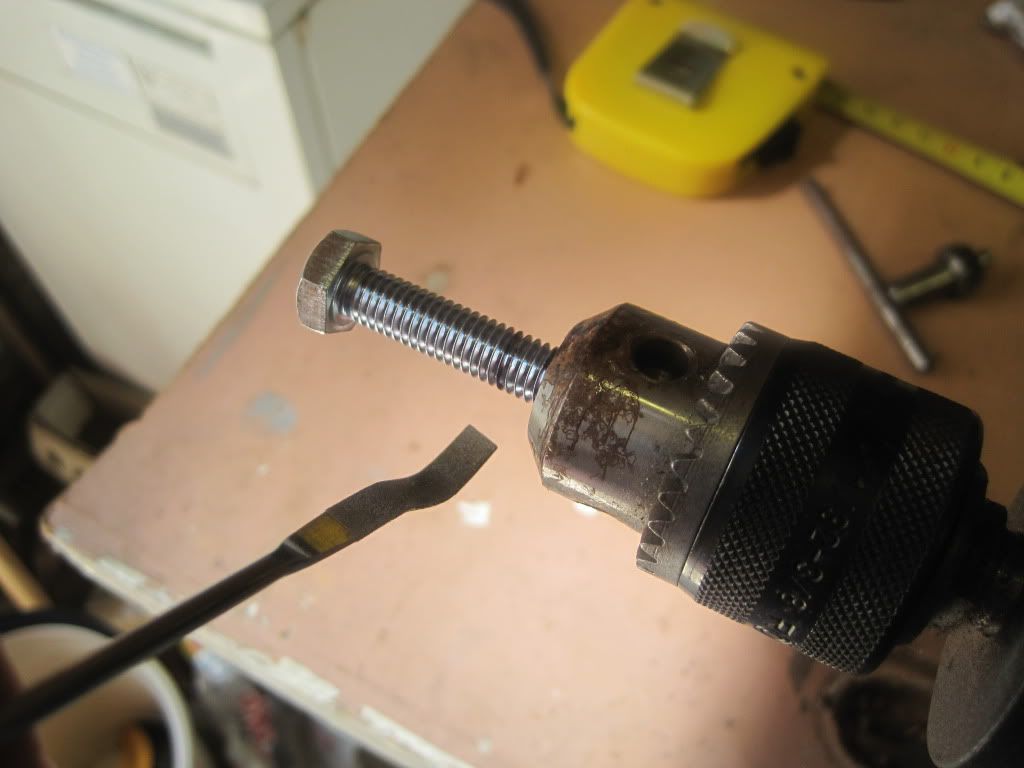
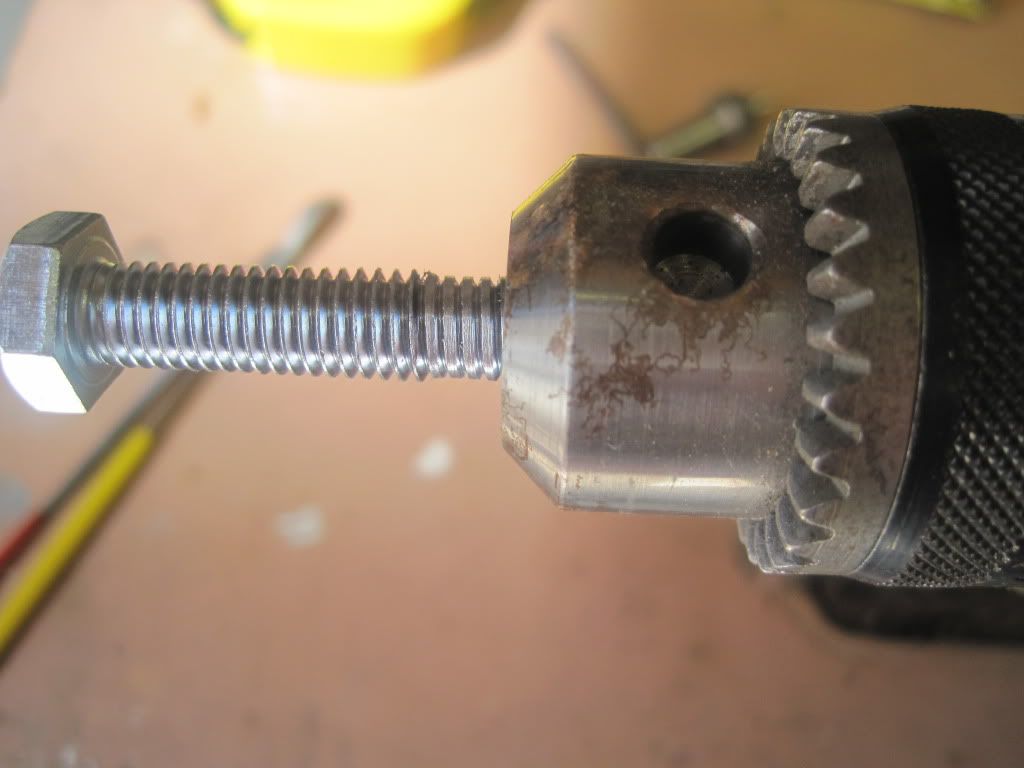
I fitted the bolt into the chuck, right up to the line. I was lucky in that the chuck is quite small, and the jaws are retracted right into the housing and so don't show at all.
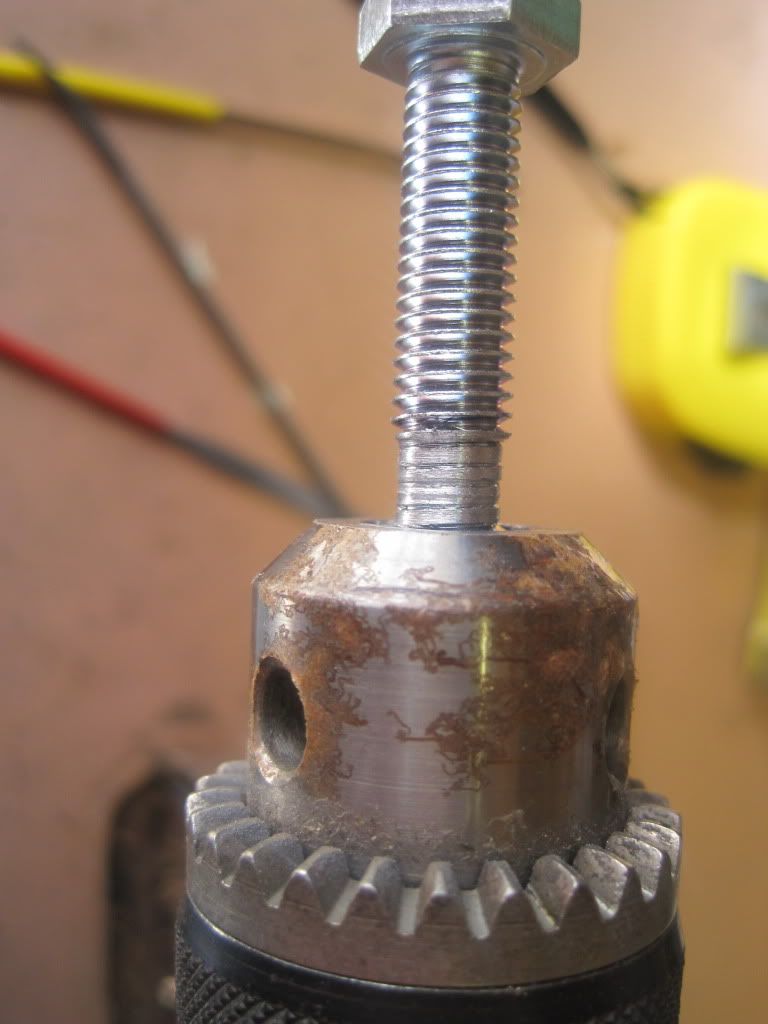
I set the bolt spinning away from myself, and started to reduce the width of the section to be hobbed. This is pretty dangerous! I made especially sure the bolt was true in the chuck, and didn't wobble, and was sure to move my head out of the line of the chuck/workpiece when it was spinning, just in case. I used a selection of files to made the reduction, and was sure to move them along their length to reduce wear and heat buildup.
It was pretty hard work. I know that stainless is hard, but I had forgotten just how hard! Reducing the width took some time. Eventually I stopped, and used the edge of a file to mark a straight line around the bolt.
I used a 3mm round needle file to make the groove:
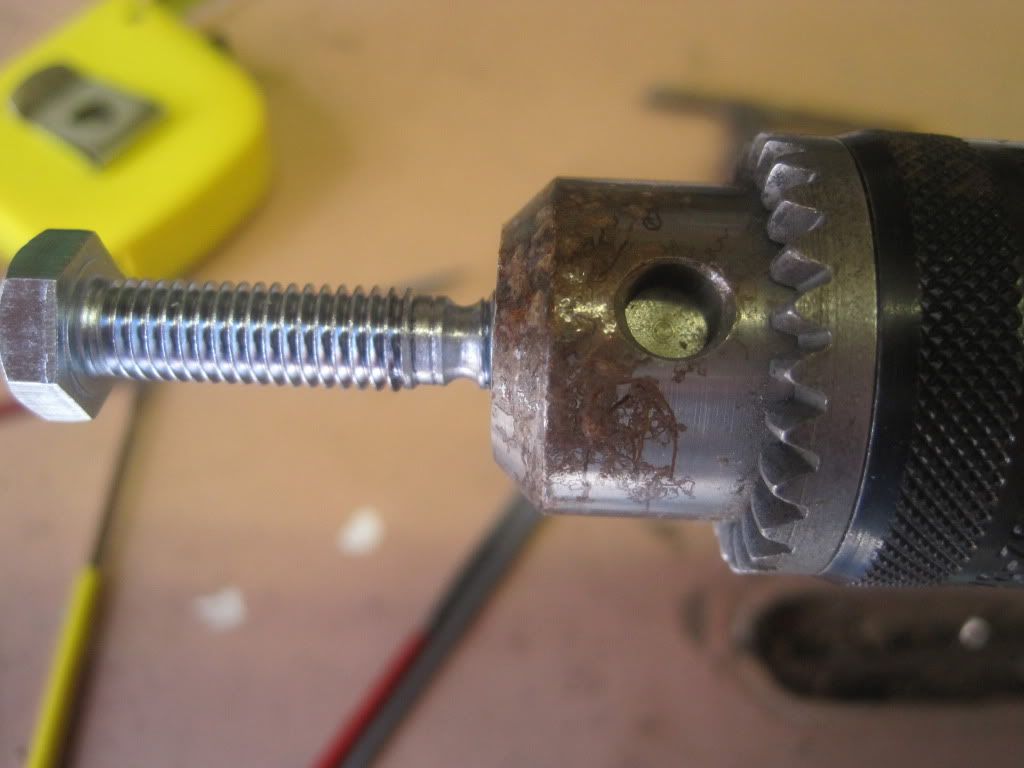
As you can see, the groove has wandered off-centre. Its only a couple of millimetres though, and I think I can space it out using washers. I found a couple of M8 halfnuts the other day, and they will do for locking up the bolt in the extruder if the standard height nuts are too big.
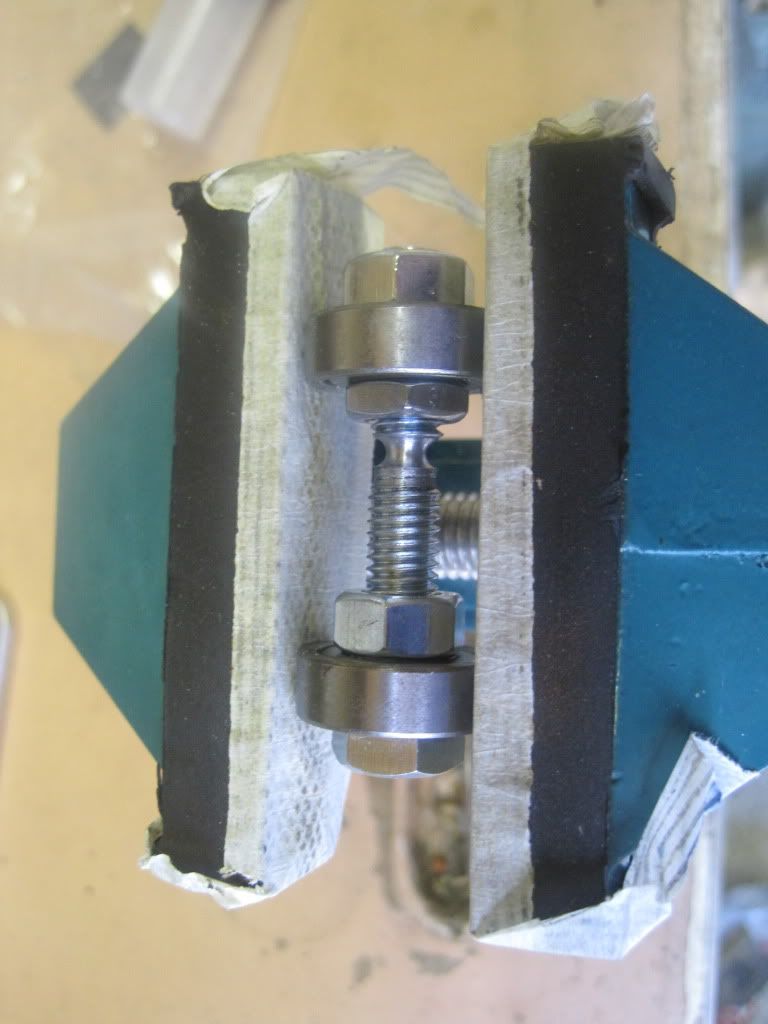
Once the groove was of a sufficient depth, I removed the bolt from the drill, and remounted it in the vice with a couple of bearings:
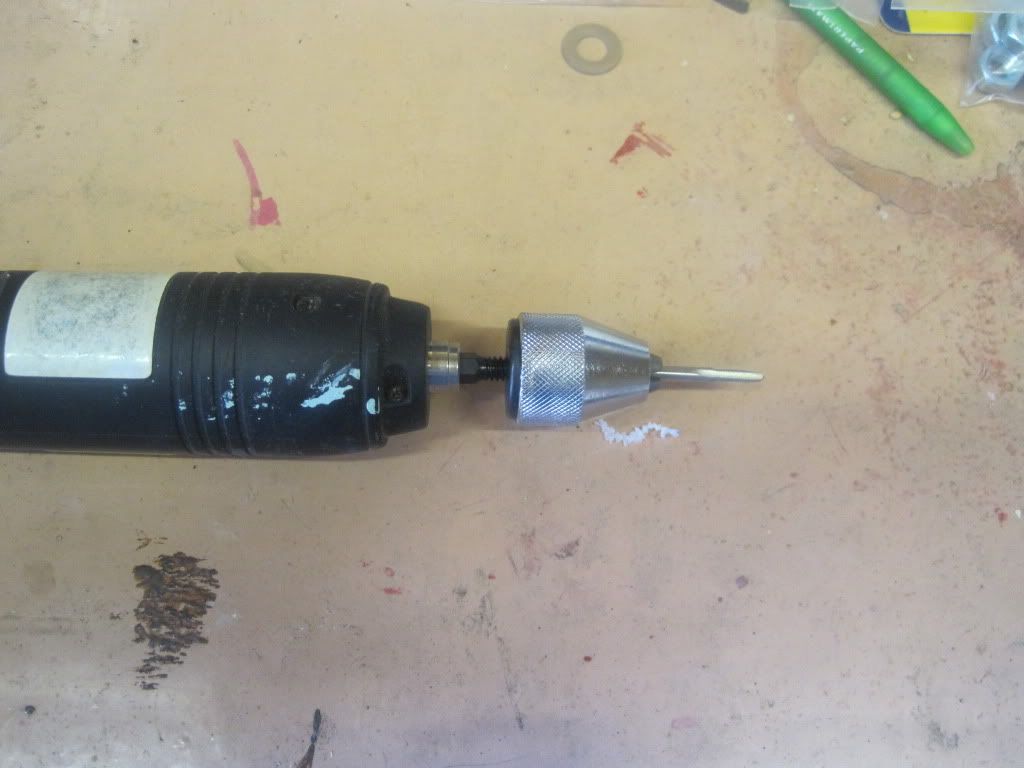
The power drill is only single speed, and way too fast for this operation, so I mounted an M3 tap in a hex-chuck and fitted it to the screwdriver.
I hobbed the bolt by pushing, hard. The bolt really ought to turn under the tap, but I found the tap would rather advance, and I would pull it back to turn the screw. This was hard going, and the tap kept slipping. I adjusted the nut nearest the groove to prevent this.
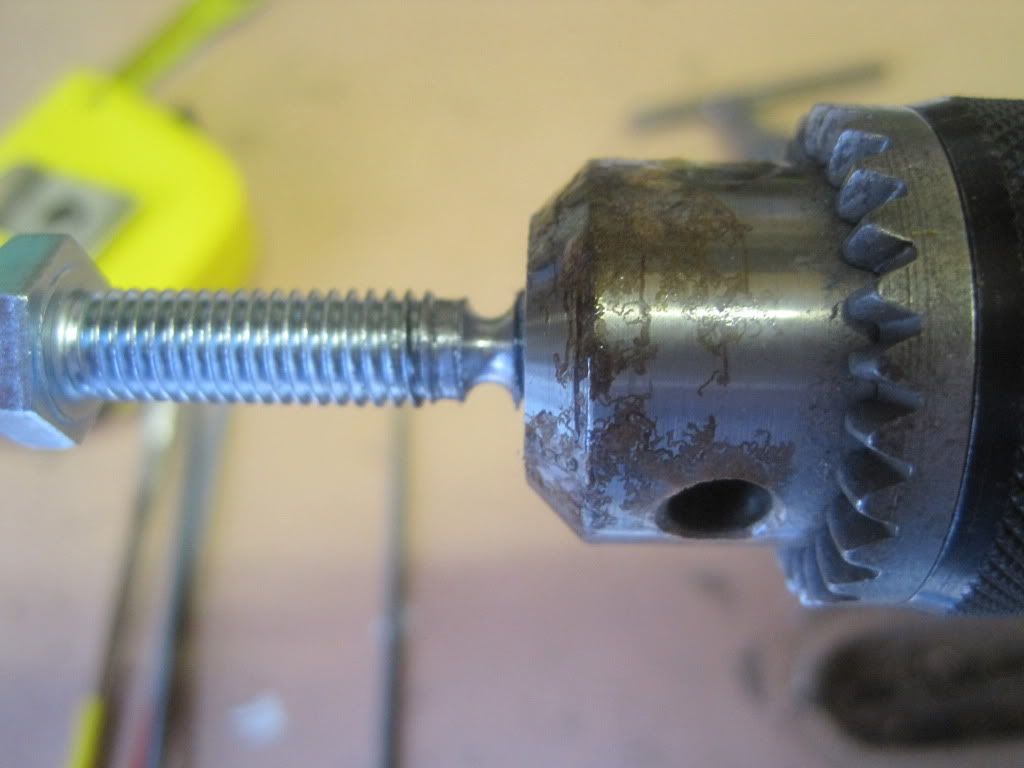
The end result:
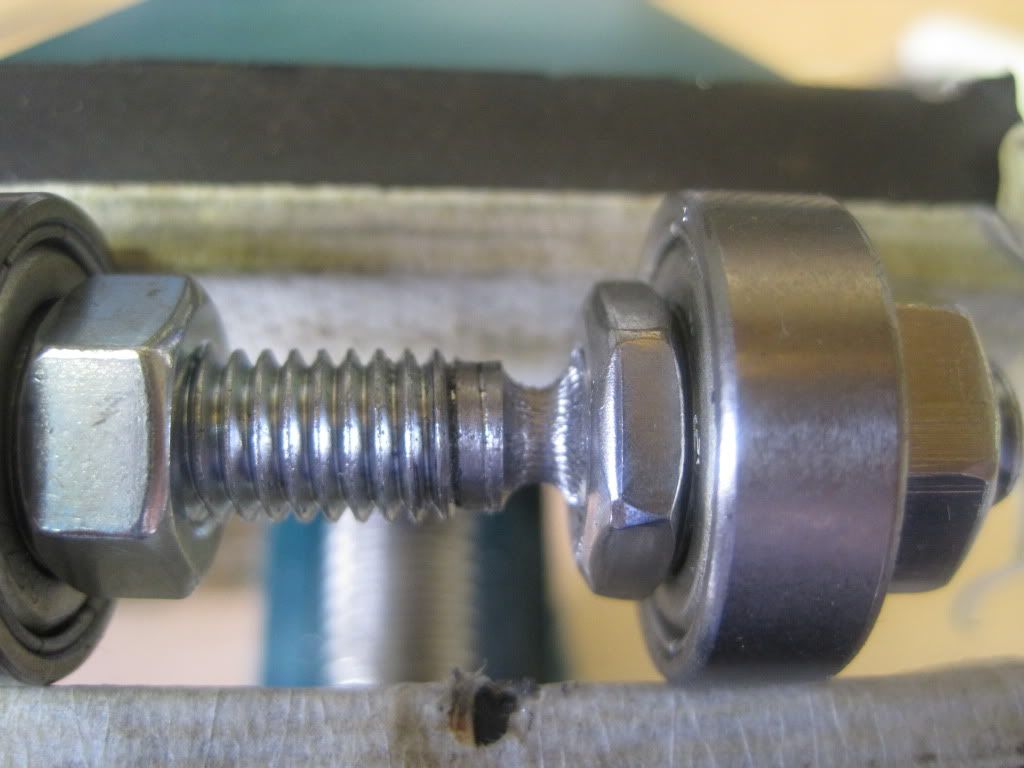
It has a groove and teeth - good enough for me! The stainless is so hard the tap didn't bite very deeply, despite going round several times. This is probably due to my not being able to put enough force on it, and the screwdriver battery giving up near the end!
Just need to see how well it drives feedstock now.
Next up - more electronics.
No comments:
Post a Comment