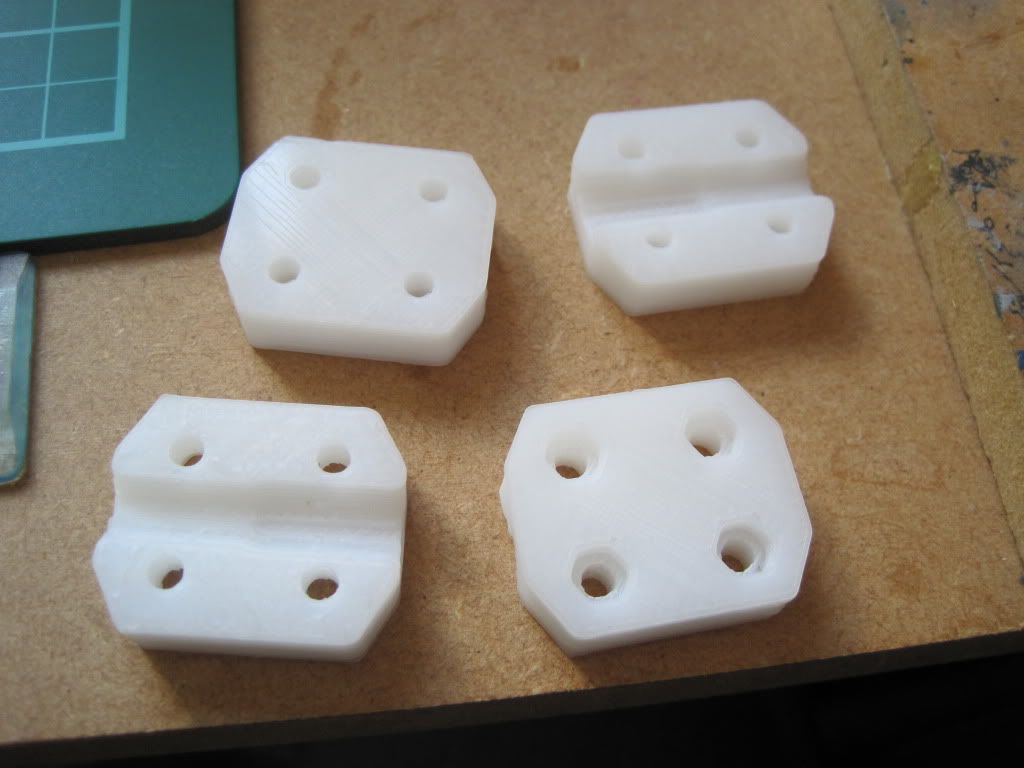
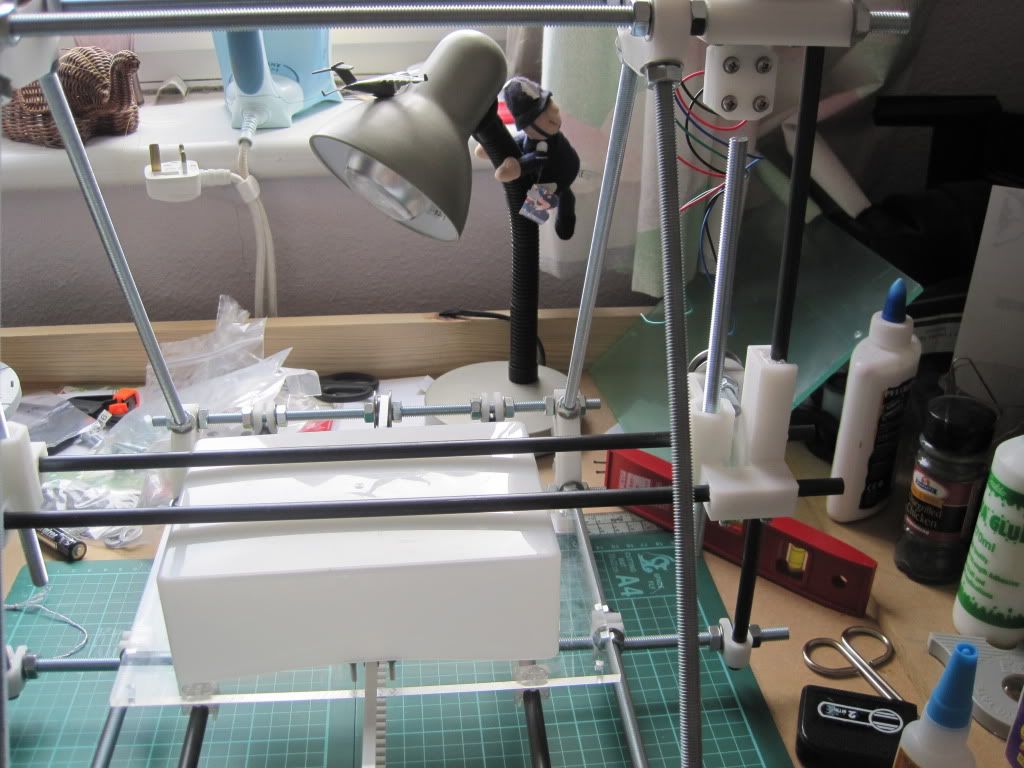
Next it was time to fit the X axis to the vertical rods. I used the bottom plate to hold it horizontal whilst I manoeuvred the bushings into place. I held them in place with blue-tac while the glue dried.

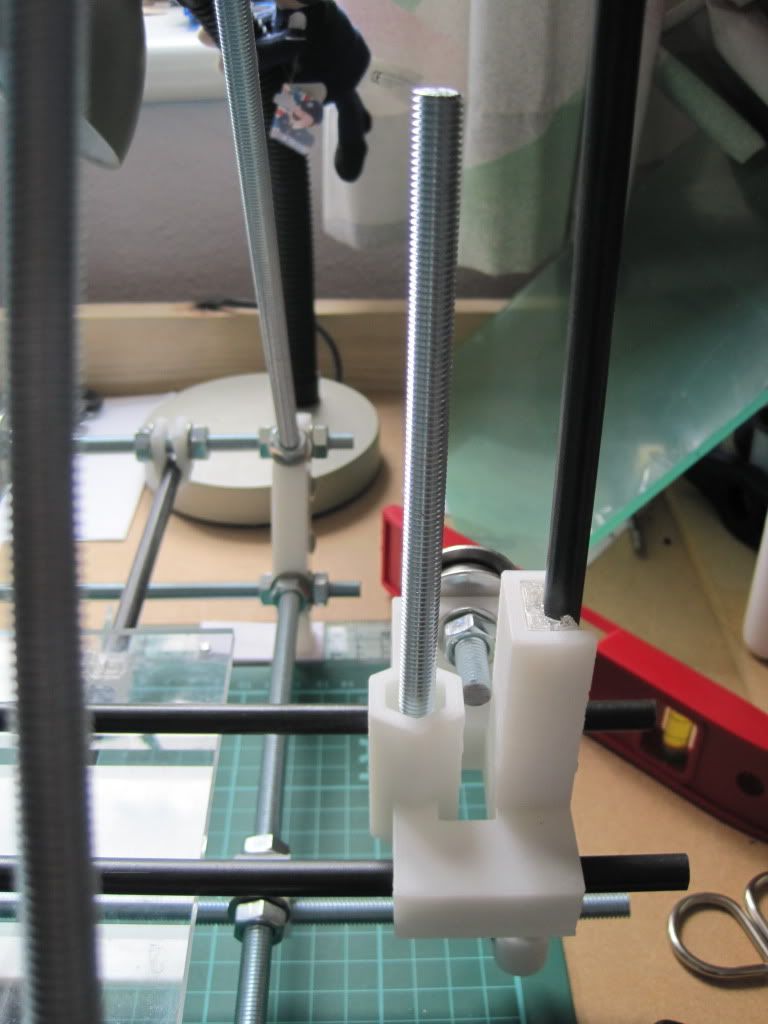
I left the screws on the X rods loose whilst the bushings were gluing, and tightened them up afterwards. Whilst the glue was drying, I made up the Z leadscrew clamps. These are the alternate clamps supplied by Nophead, and require additional M3x20 bolts, nuts and washers.
I screwed them together taking care to make sure they were the right way round.
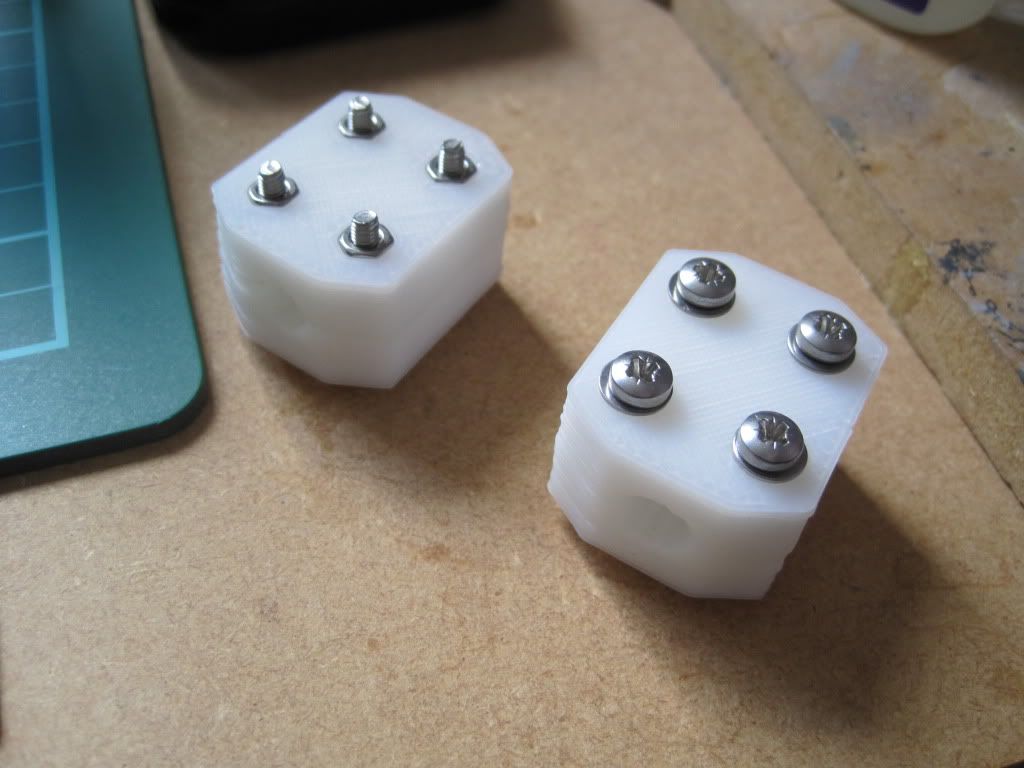
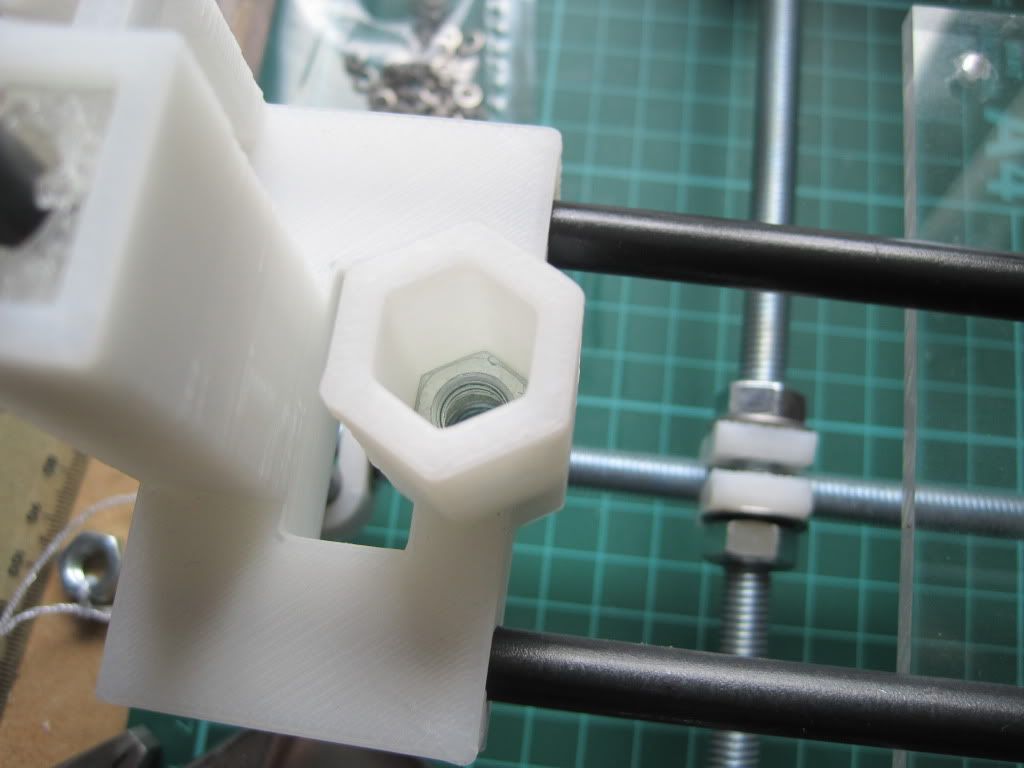
Once the glue on the bushings was dry, I added the nuts to the axis ends that will hold the leadscrews. The instructions don't make it clear whether the top nut is required if you are not using the springs (which I am not). I fitted it anyway, and will remove it if it causes trouble later.
I screwed the leadscrews home, and was about to fit them to the clamps when I remembered I needed to add the tubing.
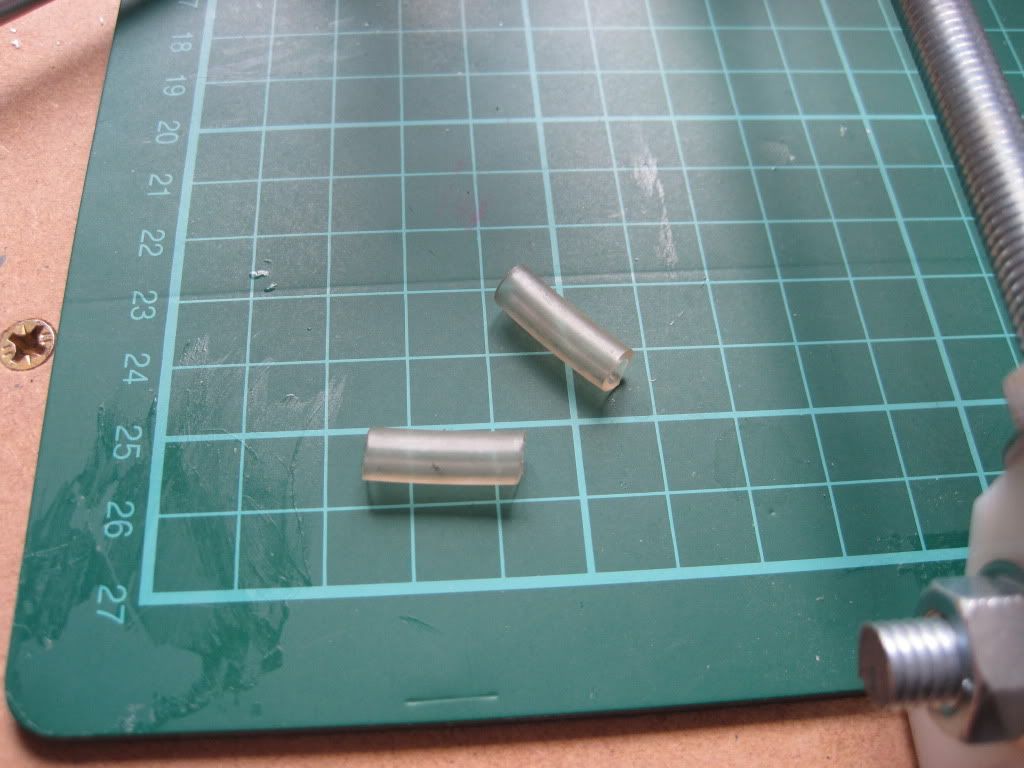
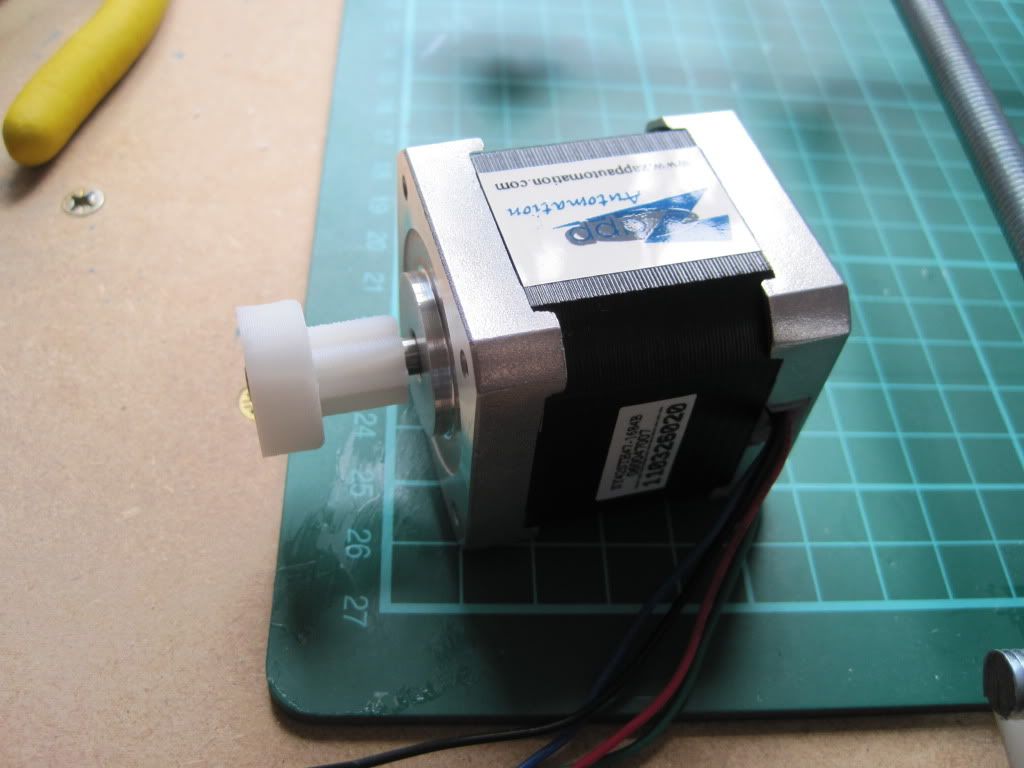
This goes around the motor shafts, and helps to eliminate wobble when used with the new clamps. I would recommend fitting it to the motor shafts before fitting the motors, rather than after - it would have been much easier! I had also fitted the motors with screws and washers, and decision that would come back to haunt me a little later.
I fitted the couplers to the motor shafts, and then propped the gantry on a small box so that I could screw the leadscrews into the couplers.
I screwed the leadscrews as far into the coupler as they would go without being forced, and tightened the screws. The coupling feels very solid and secure now it is all done up - I doubt I'll have any trouble with them coming undone or breaking! I removed the box and levelled the gantry.
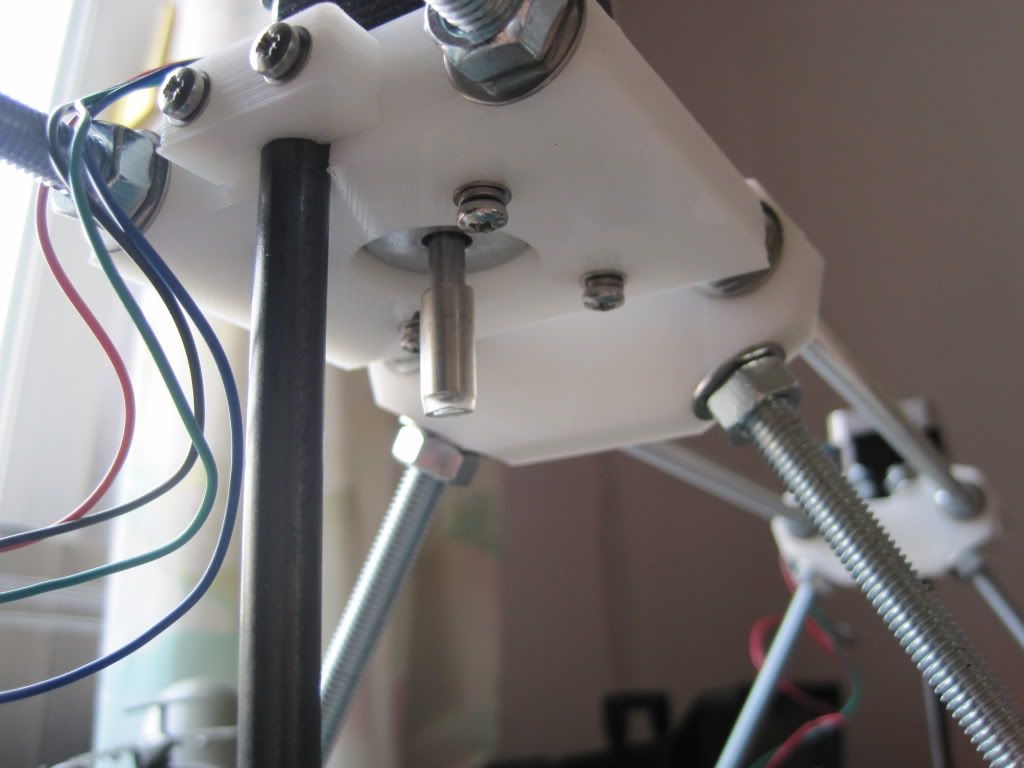
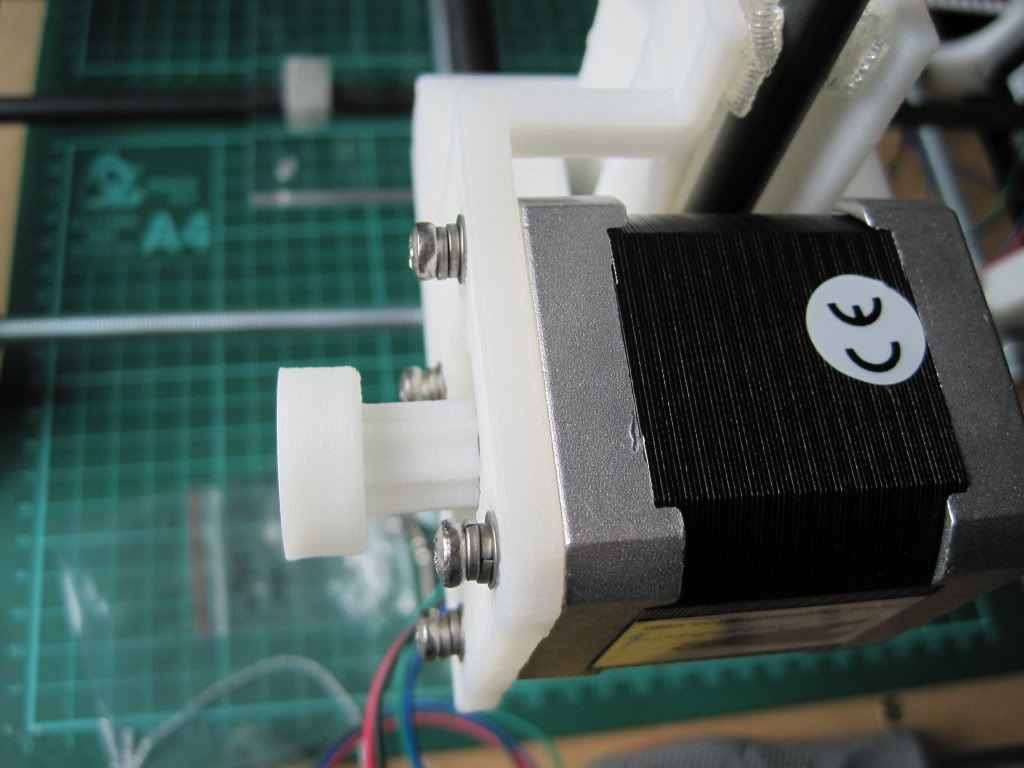
The next job was some work on the X axis. I fitted the pulley to the motor.
Then I tried to fit the motor to the axis end. However due to some mis-calculation somewhere, I had run out of M3x12 screws. I removed a pair from each of the Z axis motors (I'll replace them later), and used them to fit the X axis motor in place. The "bulkhead" that mounts the motor to the x axis end is thinner than the Y and Z axis mounts, and the screws bottomed out. I added an extra spring washer to each one and tightened them up.
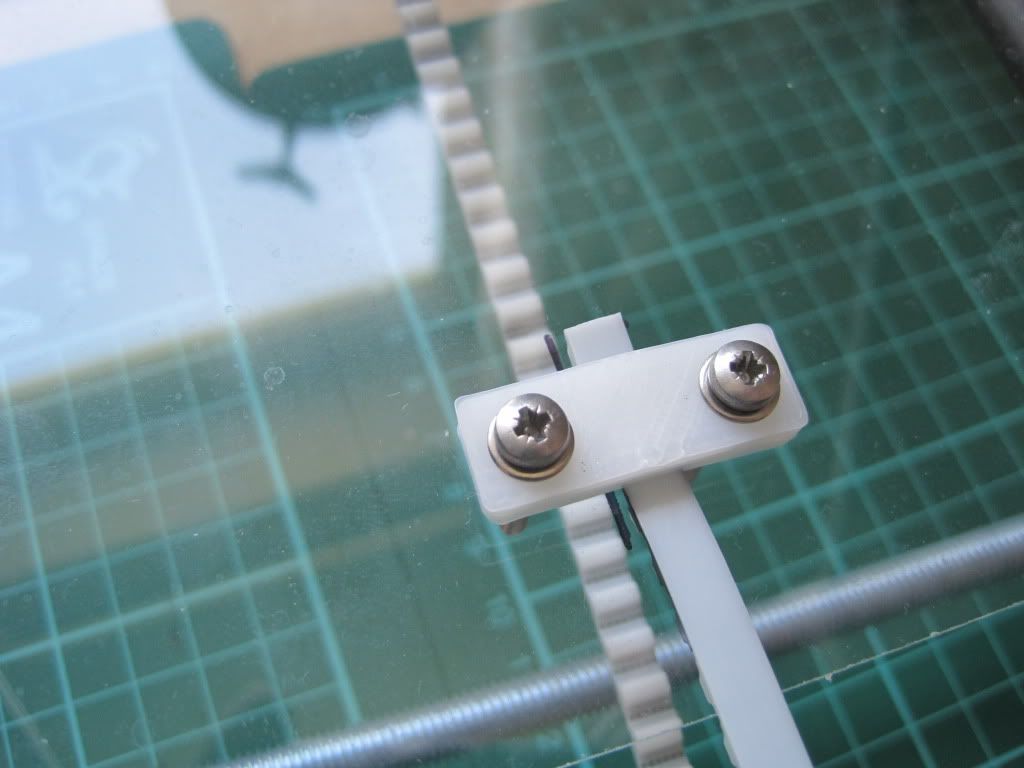
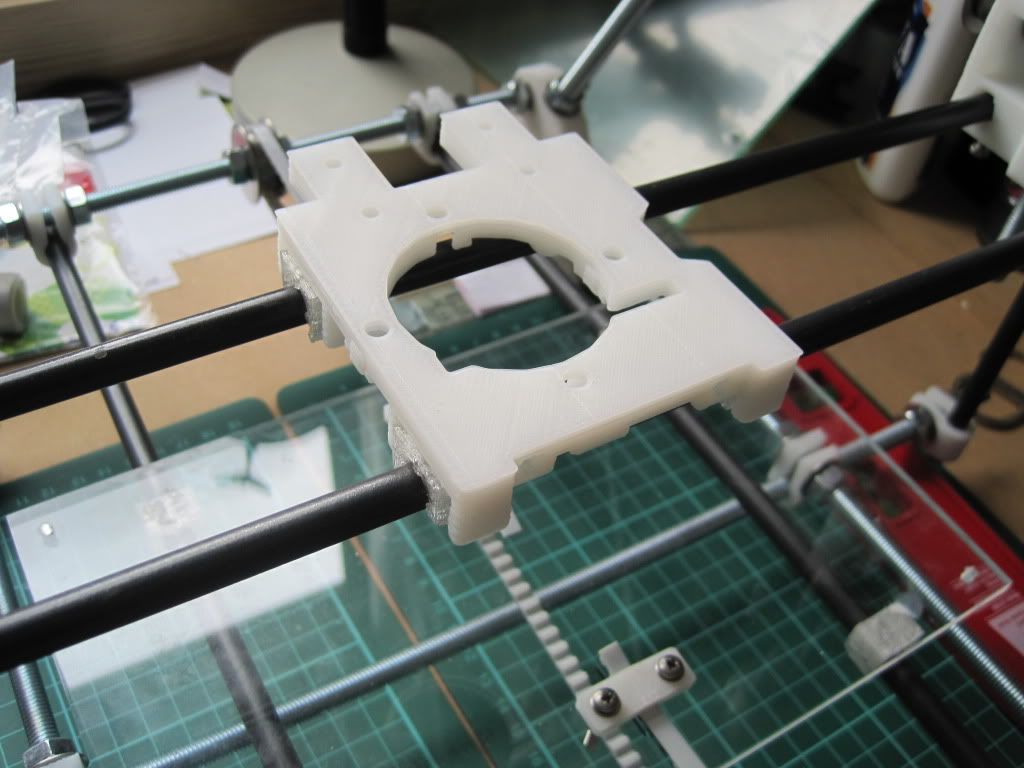
Lastly I snapped the remaining bushings in place and glued the X carriage to them.
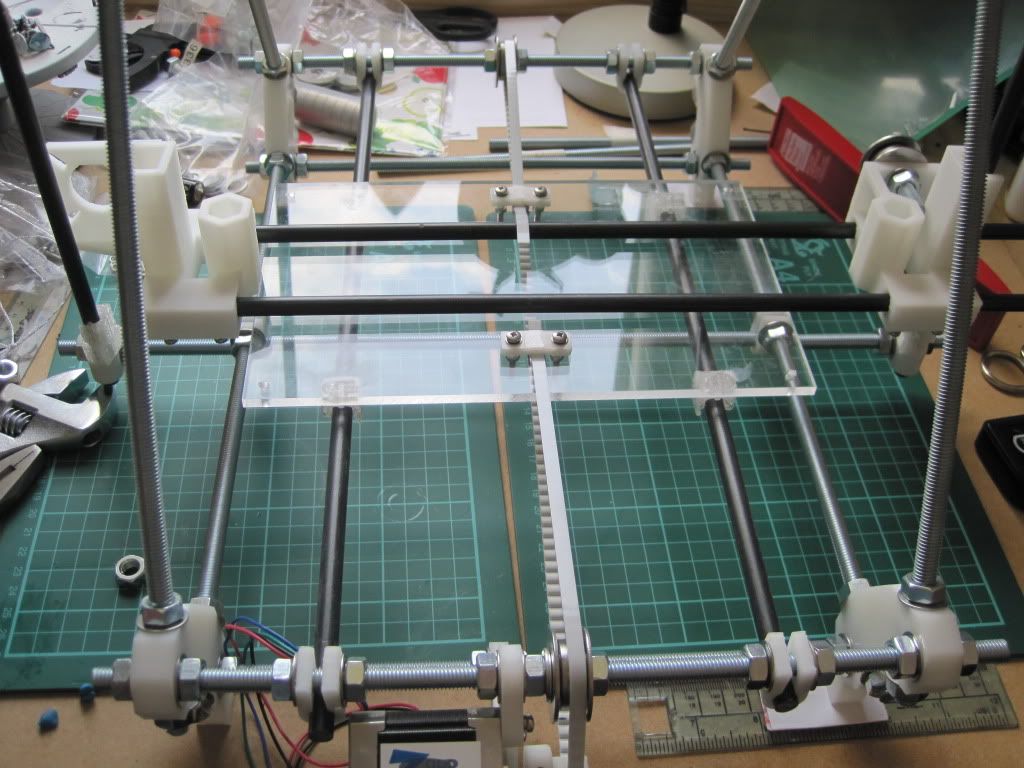
Lastly, the problem I mentioned earlier. While mounting the X axis to the leadscrews, I noticed something was a bit wonky. It looks as if the lower bed plate may have shifted whilst it was re-gluing, and has become wonky. I really don't want to have to do it again, but might have to if it is too bad. I'll wait until I fit the upper bed to see how badly misaligned it is.
Next up: fitting the X belt.
No comments:
Post a Comment