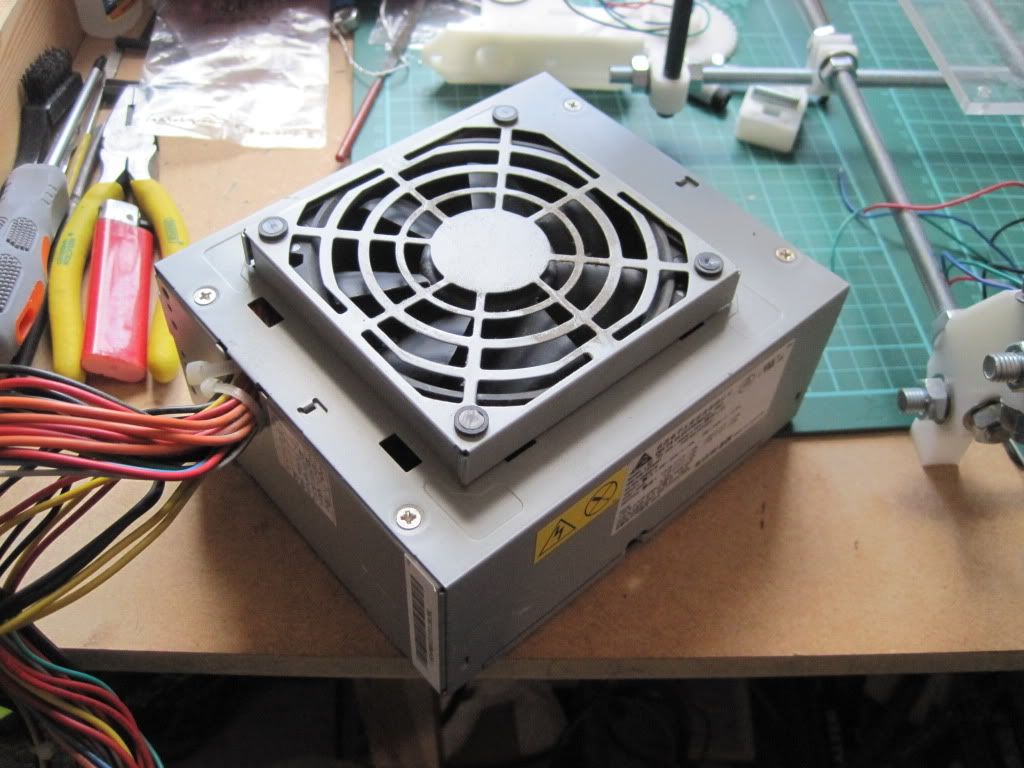
I had already build the sanguiniololu board with the screw terminals and 5V regulator fitted, rather than the ATX parts. It is believed that the 5v line on ATX power supplies isn't as smooth as it could be. Still, I figured that I could use the 12v output from a similar supply and feed that into the regulator. That should supply smooth(er) 5v to the low power side, and 12v to the high side without a massively high voltage on the inputs.
It just so happened that work was in the process of throwing out a load of old IT equipment. I raided the waste electricals skip and came away with a couple of (hopefully) identical ATX power supplies. They're rated to 185 watts max, and can deliver 10A over the 12 volt line, which should be enough to get started with. I will run the machine from one, and perhaps use the other to power the heated bed, when I build one.
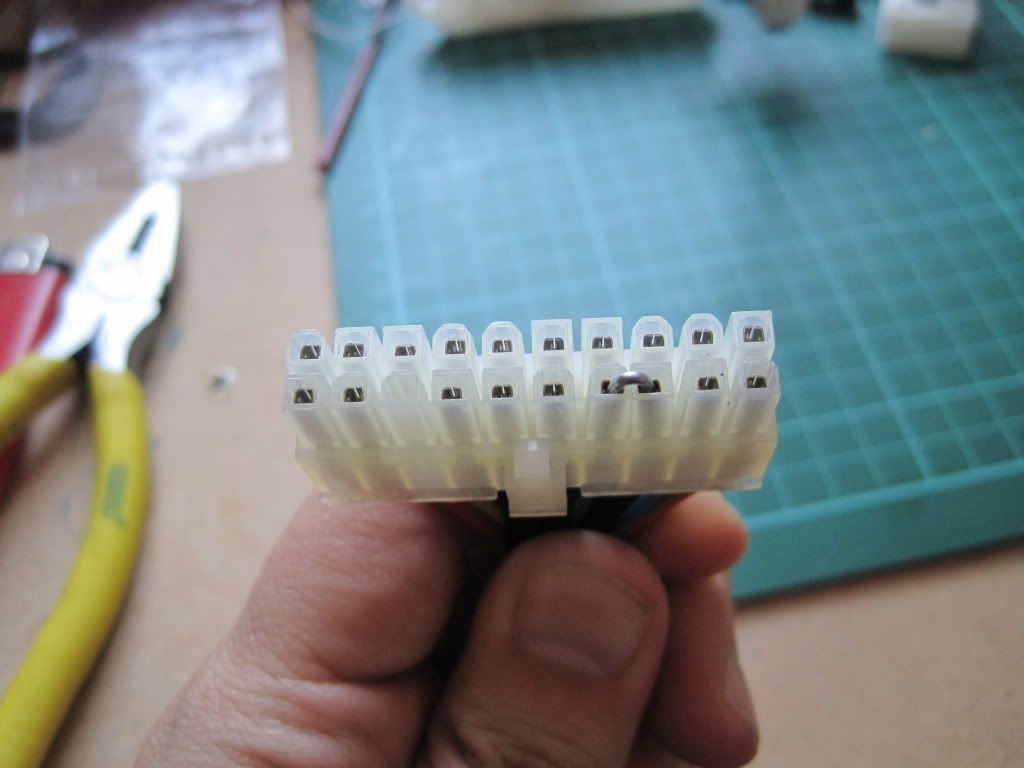
The reprap wiki has a page on using PC power supplies. ATX supplies have a power sensing circuit, and so to make it work I took a section of paperclip and bent it:
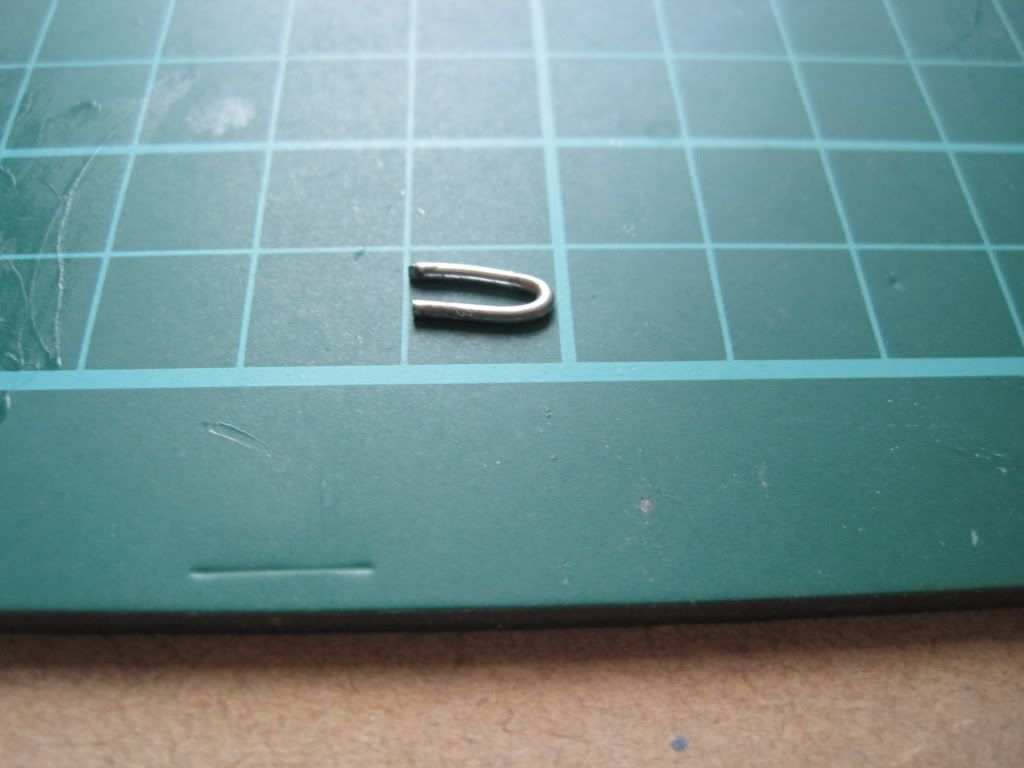
I used a fairly thick one to keep the resistance down. It links the green "power sense" pin to a black ground pin, thus turning the supply on.
This is a temporary solution - I will put in a proper switch at a later date, along with tidying up the extraneous wiring.
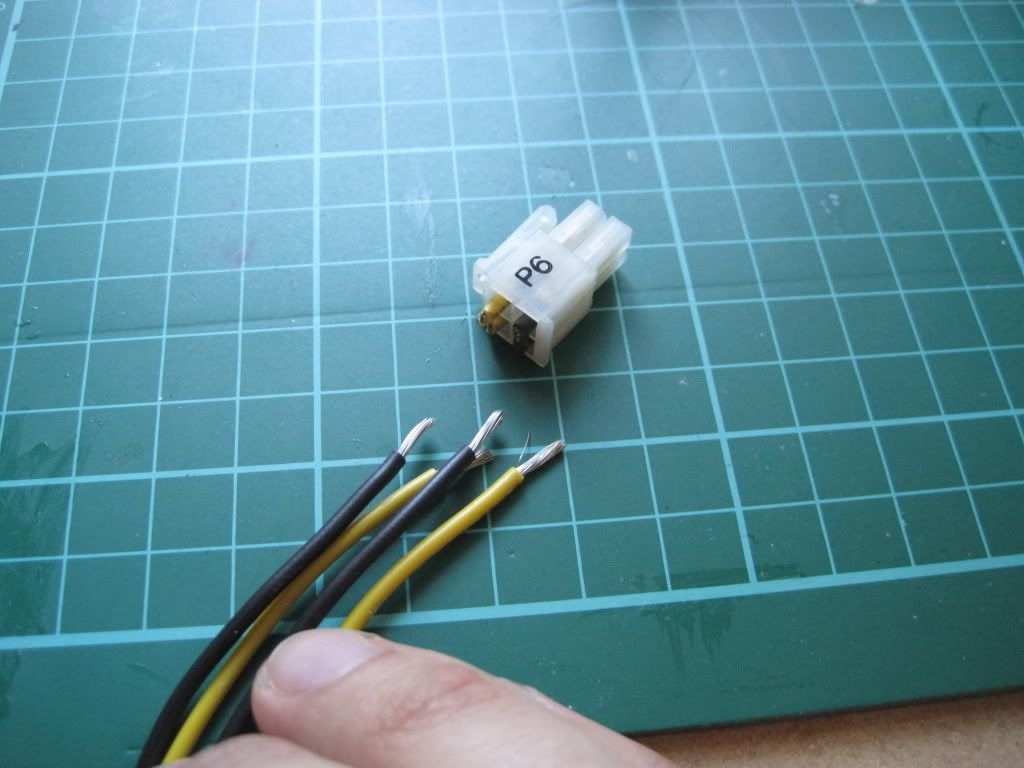
I took the high-current ATX-4 connector, and took (cut) off the plug. I stripped the ends and twisted the yellows (+12v) and blacks (ground) together. They will go into the screw terminals.
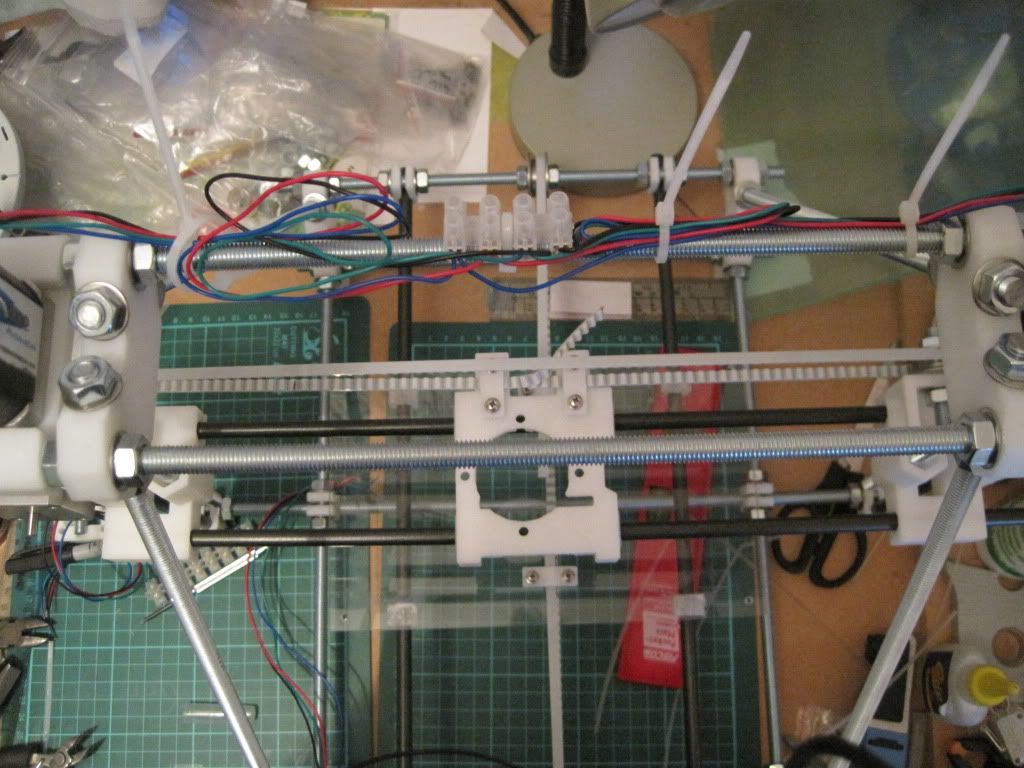
Lastly I stared to wire up the motors. I used some terminal block on the top rods to link the Z motors in parallel. I twisted the ends of the motor cables together, and fed them into one side of the terminal block. The other side is fitted with cabling that runs down the side of the frame vertex to the back-left of the machine, where the electronics will live.
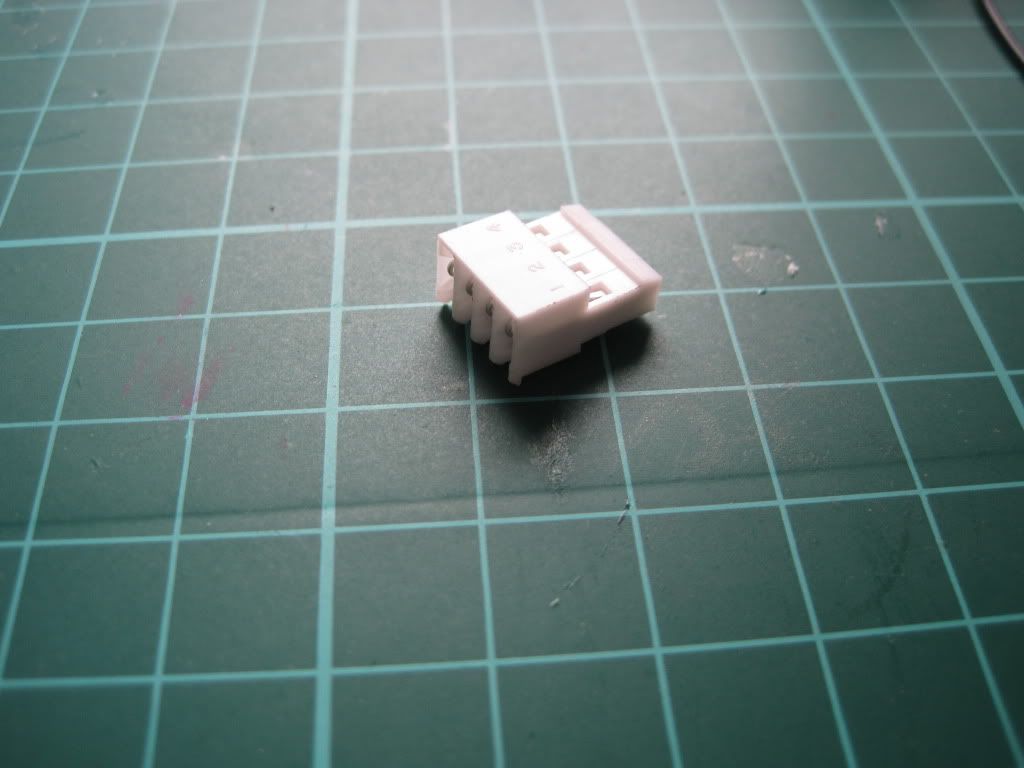
I'm using "amp" insulation-displacement plugs to connect the motors etc to the PCB.
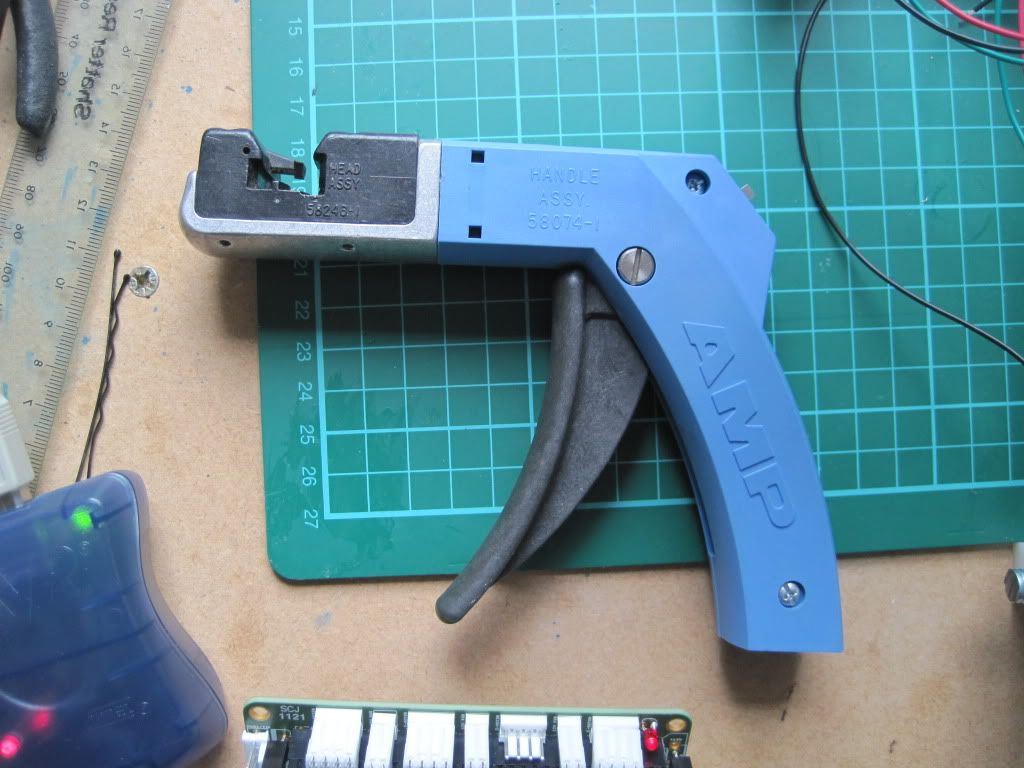
I borrowed an "amp-gun" criming tool, and crimped the cables into the plug.
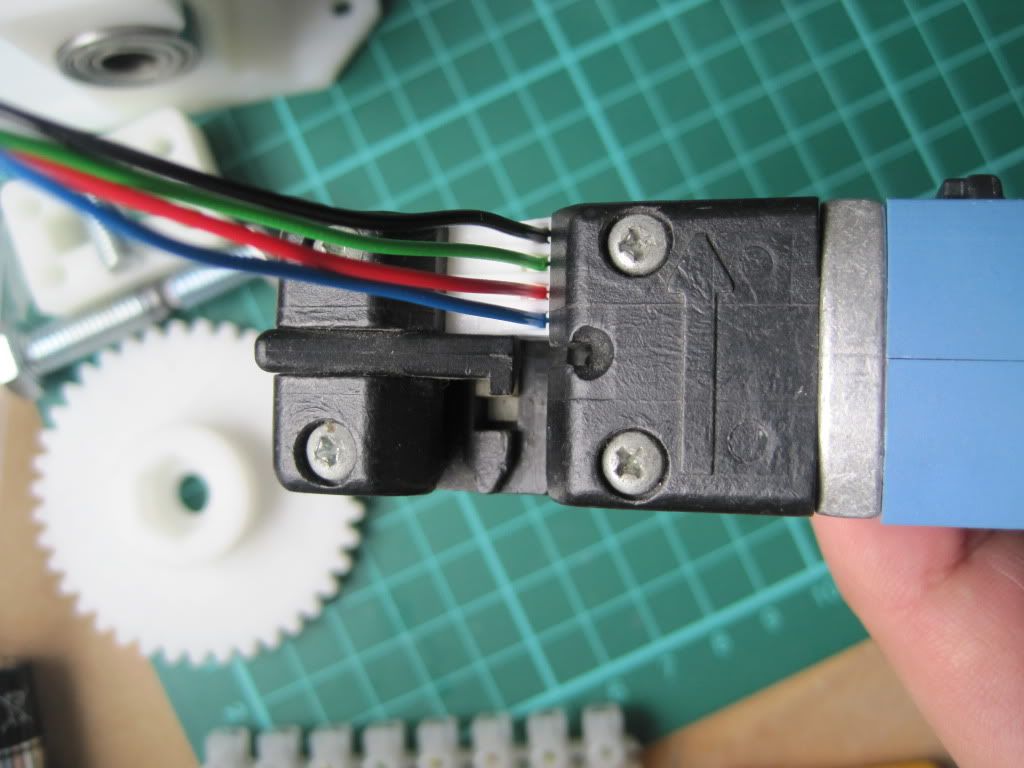
To connect the motors to the board, the wires to each coil have to be next to each other. I checked the datasheet for my motors, and put the black and green together, and the red and blue. Lastly I used a CD marker to label the plug "Z".
Next up: that pesky bootloader.
No comments:
Post a Comment