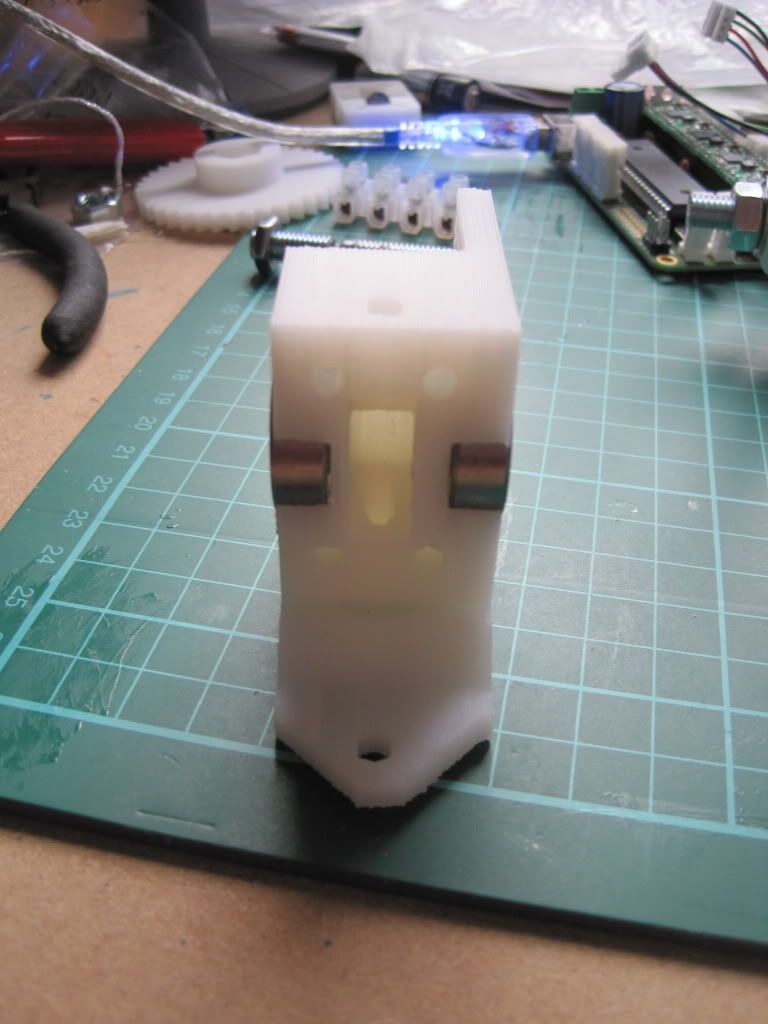
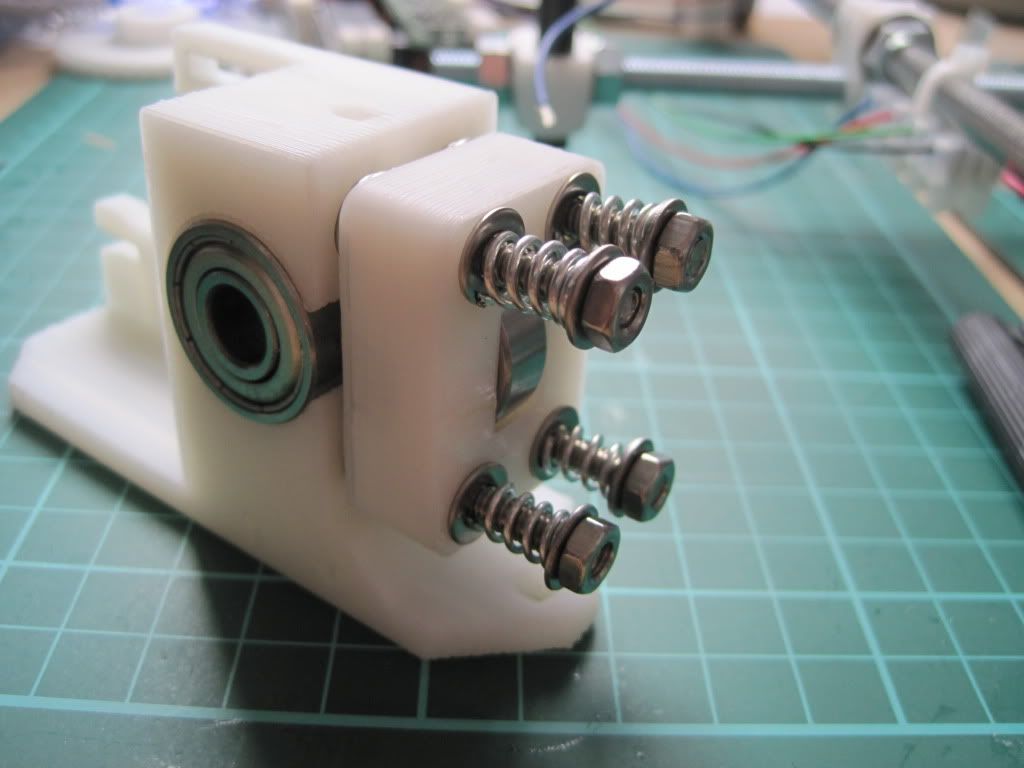
I had a little trouble fitting the bearings into the extruder body, but a little work with a file ensured that they sat flush:
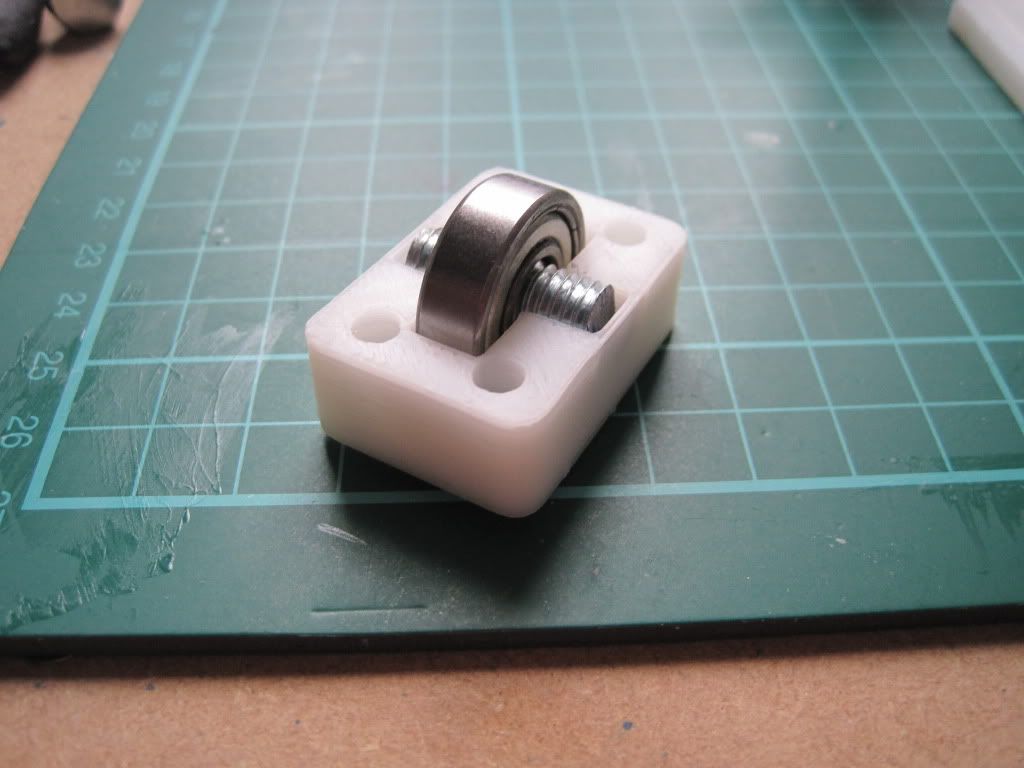
I had a peice of threaded rod left over from cutting the frame bars down, so I cut it to 50mm and used it to mount the idler bearing. The bearing seems a little loose though, so I may have to change it out in the future.
I fitted M4 by 50mm bolts through the extruder body, and fitted a pair of washers to each one. I had to file out the screw holes a little to make the bolts fit.
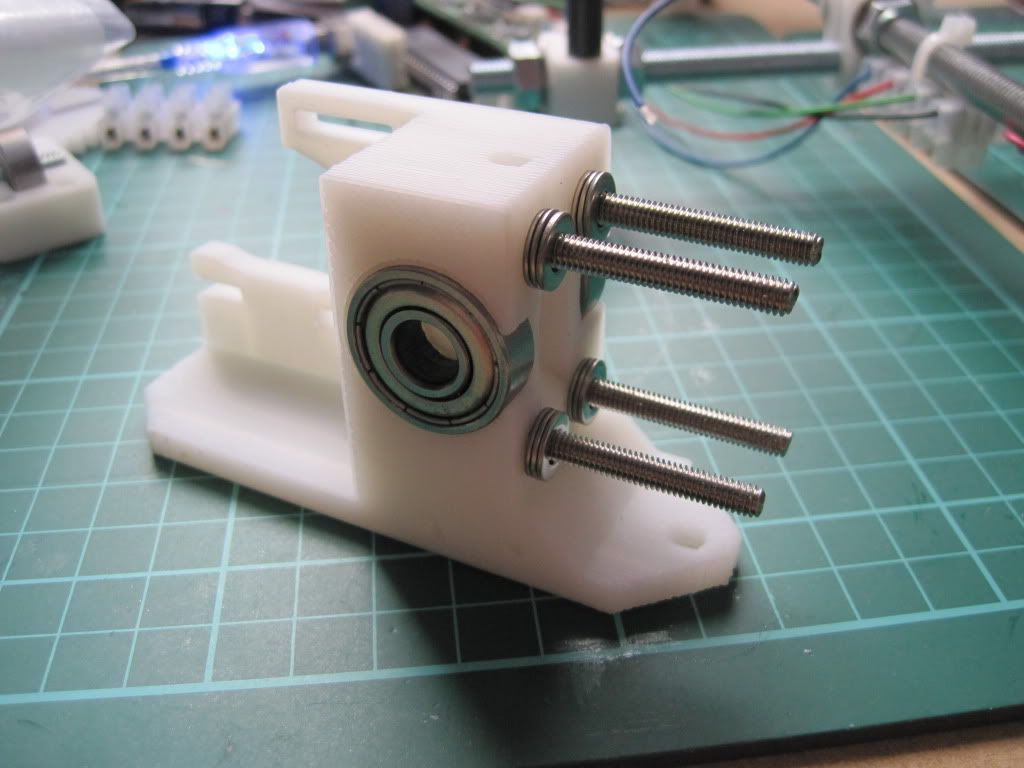
I fitted the idler block over the bolts - this was harder that I had thought it would be, due to having to keep the block square or the bolts would bind up.
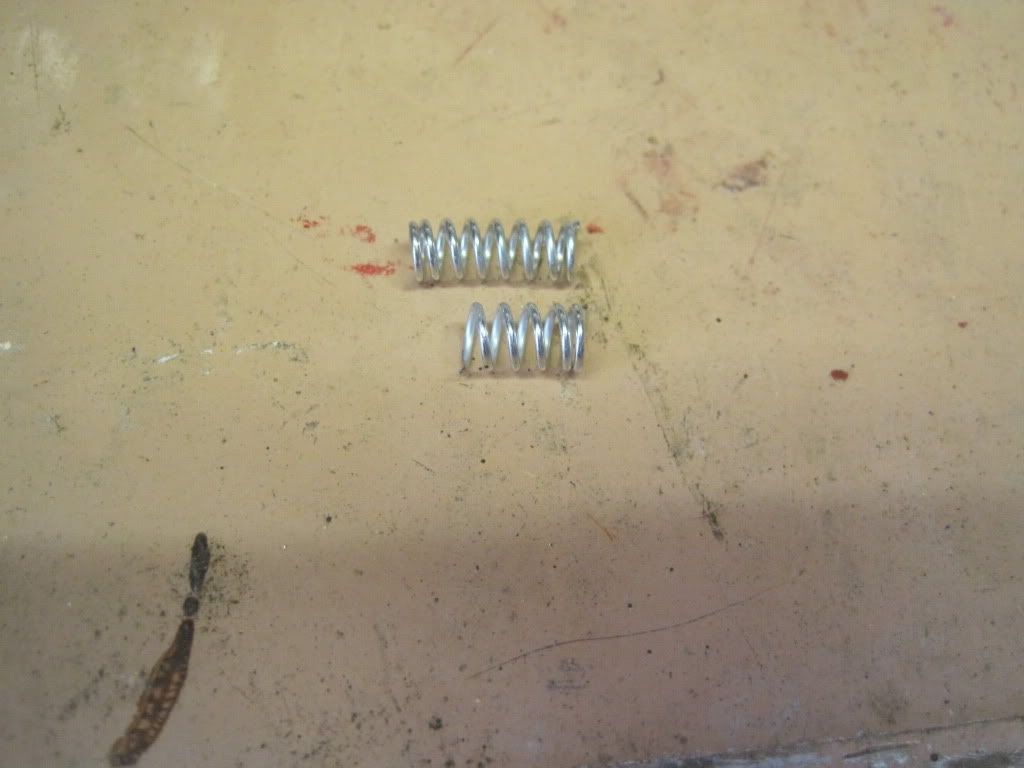
Now, time for the all important springs. As I mentioned here, I had found a source of springs in a certain shape of clothes peg. I had ordered some after scouring ebay for the right type. Unfortunately when they arrived they were the traditional, sideways-action spring type. I got in touch with the company, whoi were able to find some of the kind their listing showed. Lesson learned by me - some photos on ebay are for illustrative purposes only. Once I had the new, correct, pegs in hand, I set about de-springing them.
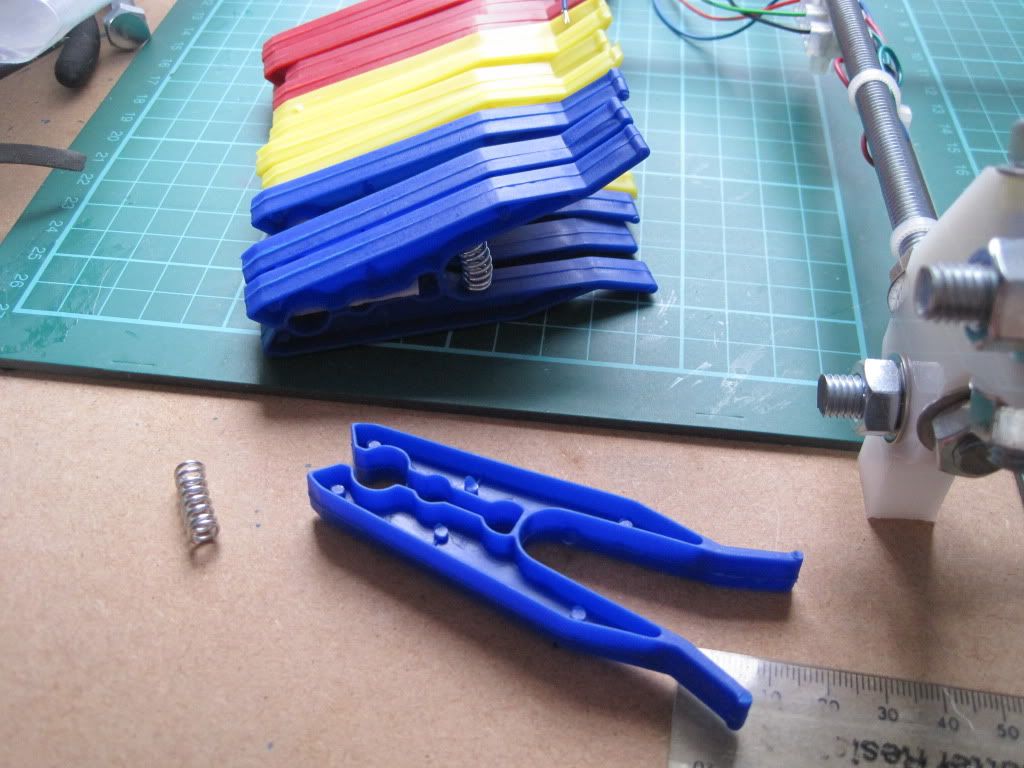
Having removed 4 springs, I was faced with another problem - they are too long for the bolts. After failing to compress them enough to get a nut onto the thread, I took them to the garage and took a hacksaw to them. I cut them down to just the right length to allow them to be fastened on, with only a little compression.
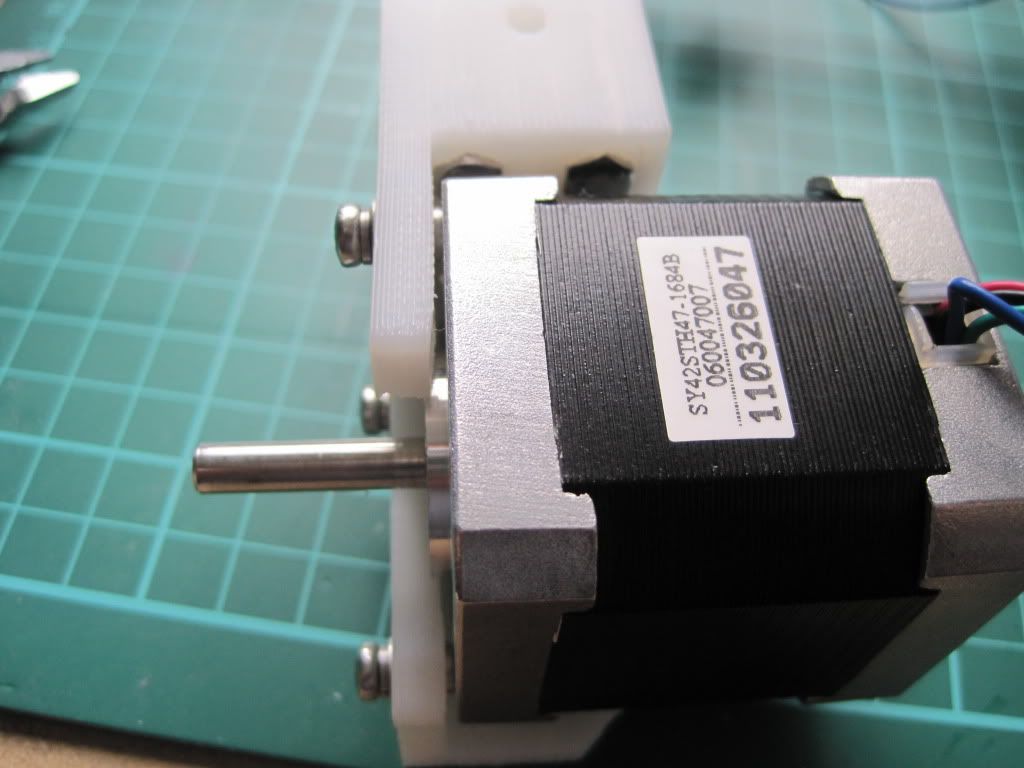
The motor mount on the extruder is thinner then that of the Y axis, so I though I could use the same trick of doubling-up the washers as I did on the x-end-motor. However, This made the Screw heads stick out too far, and they interfered with the gears. I opted for the solution below, with one set of spring washers between the motor and the extruder, and the other next to the screw heads:
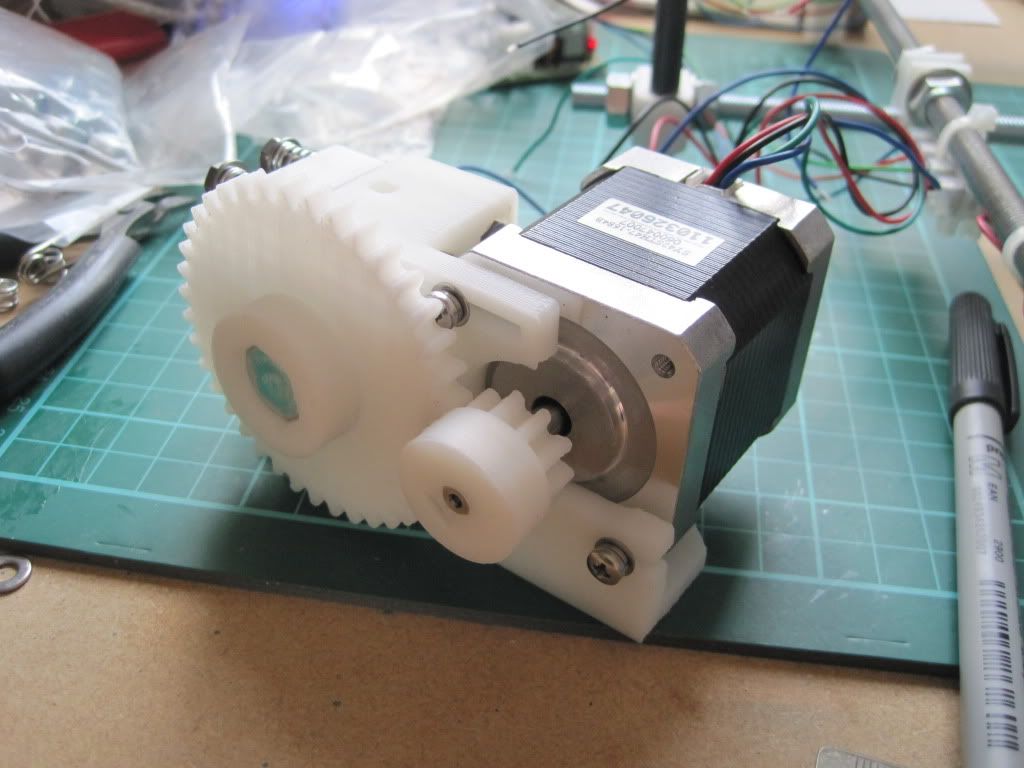
I fitted up the hobbed bot and large gear. I had to use 4 M8 washers to space the bolt correctly, because the hobbing had drifted to one side.

I had used a couple of M8 halfnuts that I found to hold the hobbed bolt in place, but have subsequently moved to one half nut and one full nut as I had problems getting the tension right and the locking tight enough.
Because of the extra washers spacing the big gear, I had to mount the small gear in reverse. This is actually suggested in some of the instructions, and won't cause any trouble due to the grub screw still being securely on the shaft.
Next up: talking to the machine
No comments:
Post a Comment