I picked up the first threaded rod, and got to work.
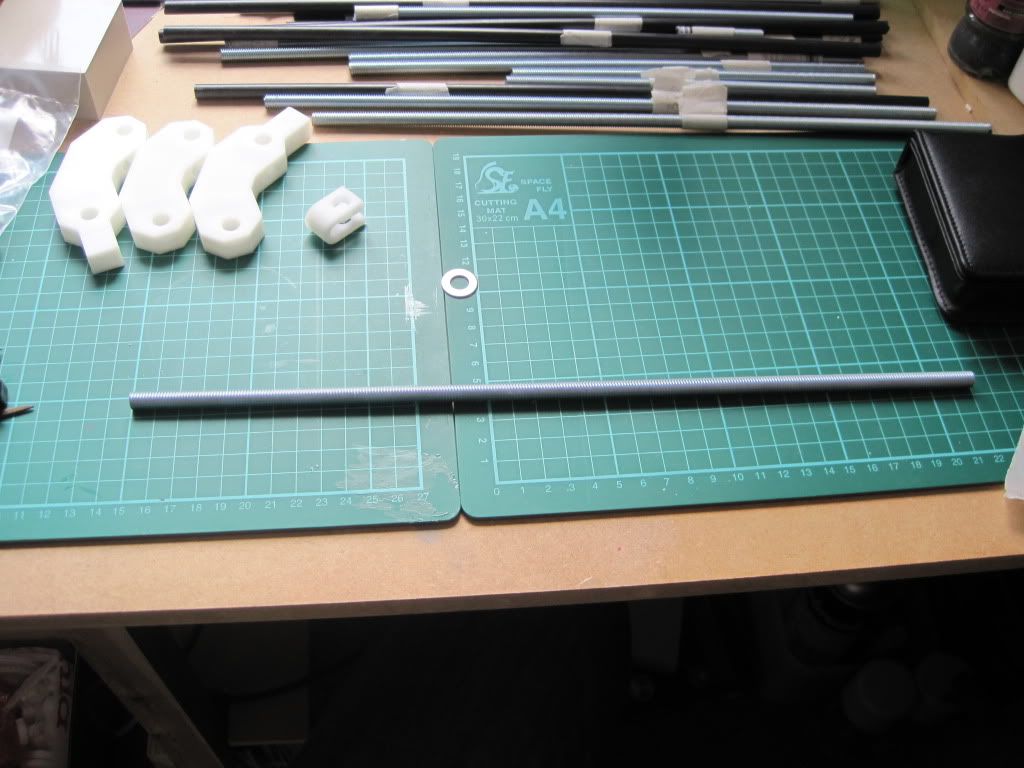
Some of the rods had burrs left on them from the saw.
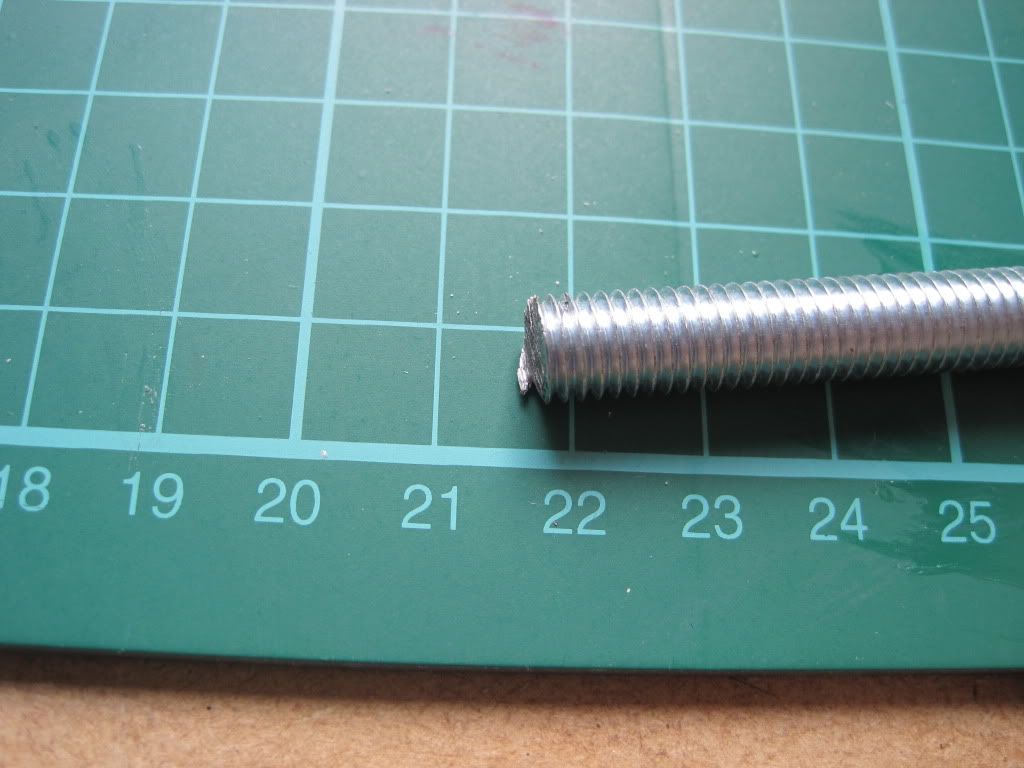
I had tried to find a big file to take them down with, but in the end resorted to a needle file. I filed off the burrs and rounded the edges a little to take off all the sharp edges.
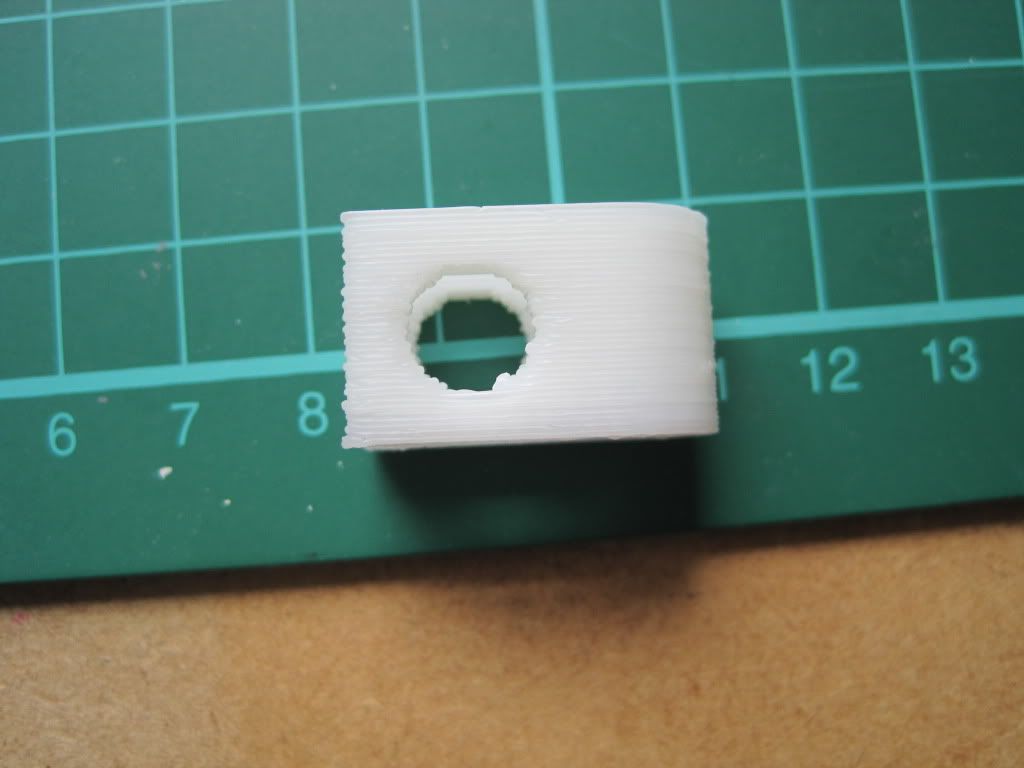
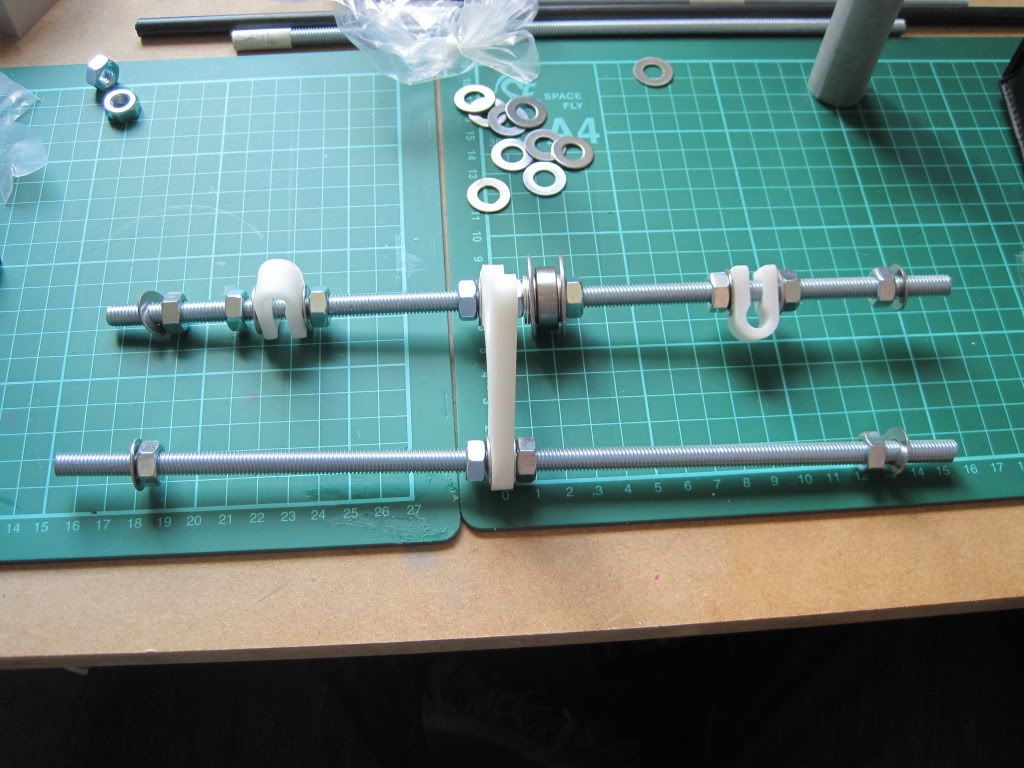
I started the thread the bar clamps onto the rod, and they stuck. Having been built vertically to preserve their strength, the holes weren't entirely round, and had little nodules in them.
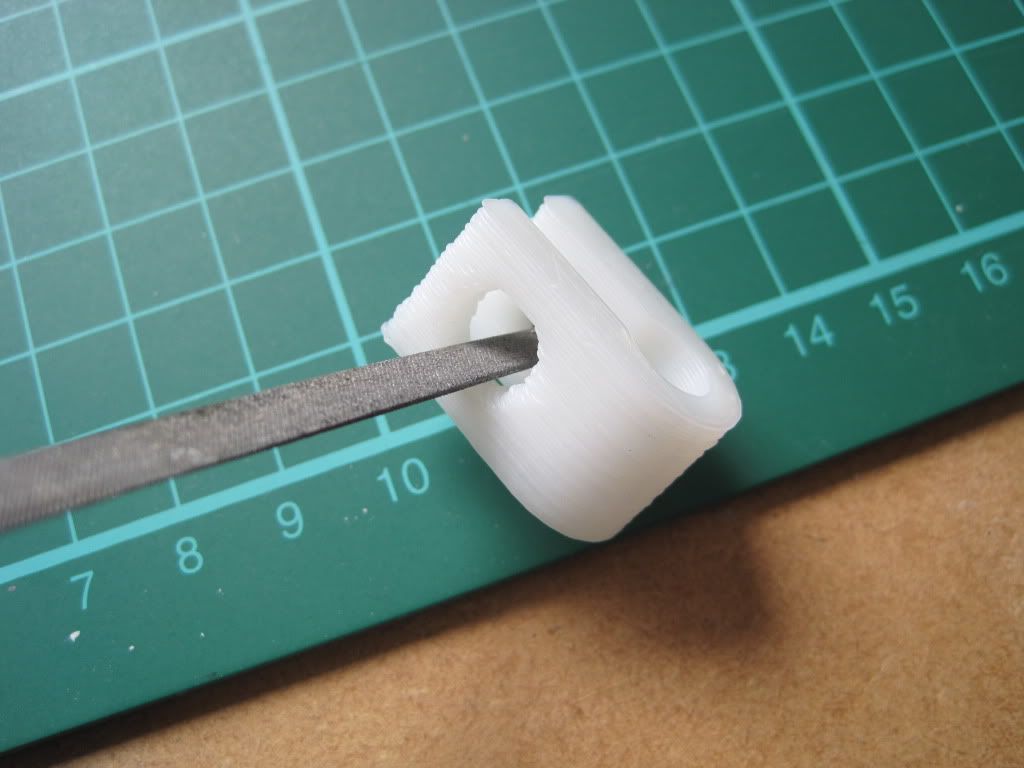
A little work with a half-round file soon sorted them out, and they slid down the rod smoothly.
I put the ends on, and set with length using a tape measure.
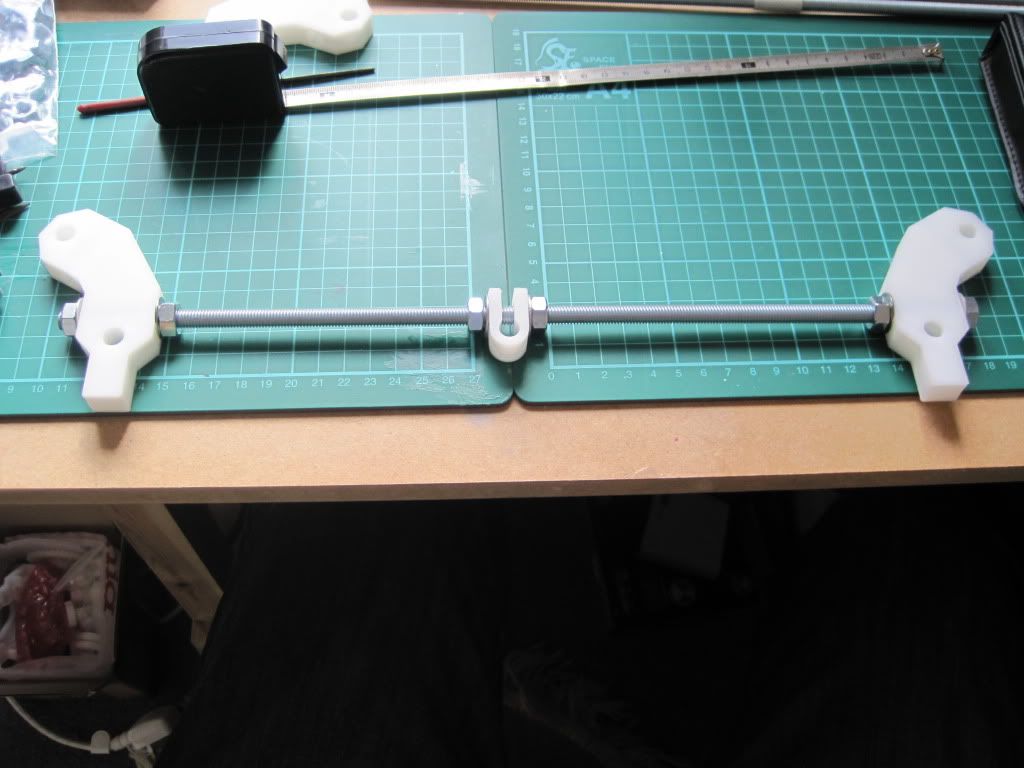
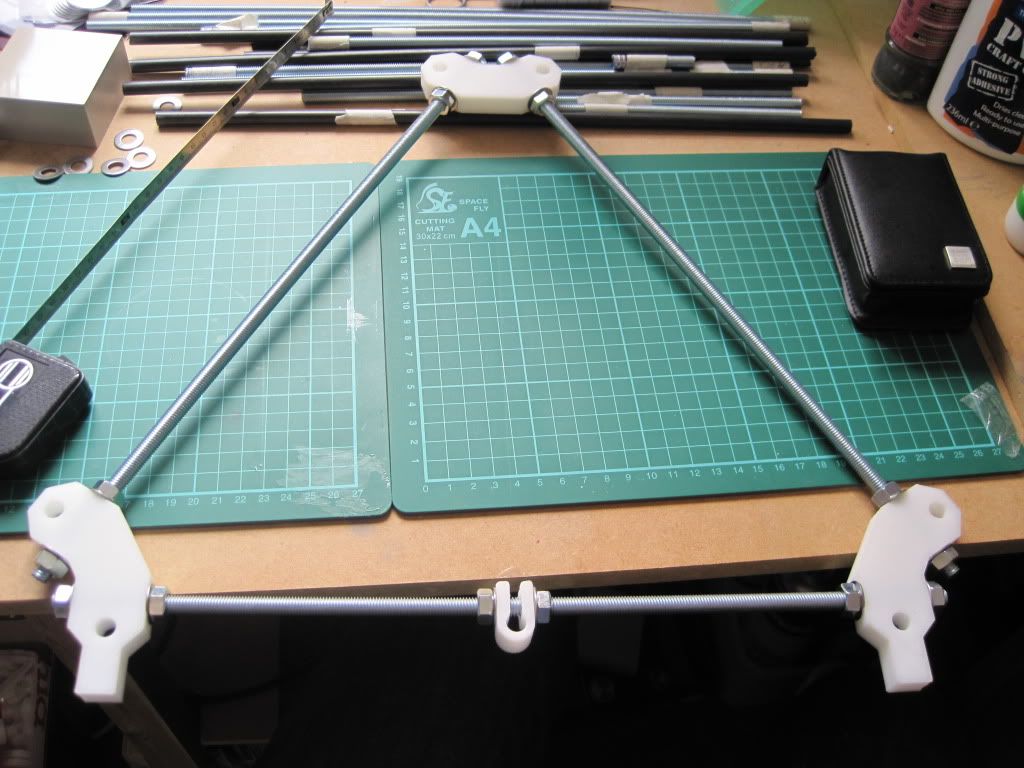
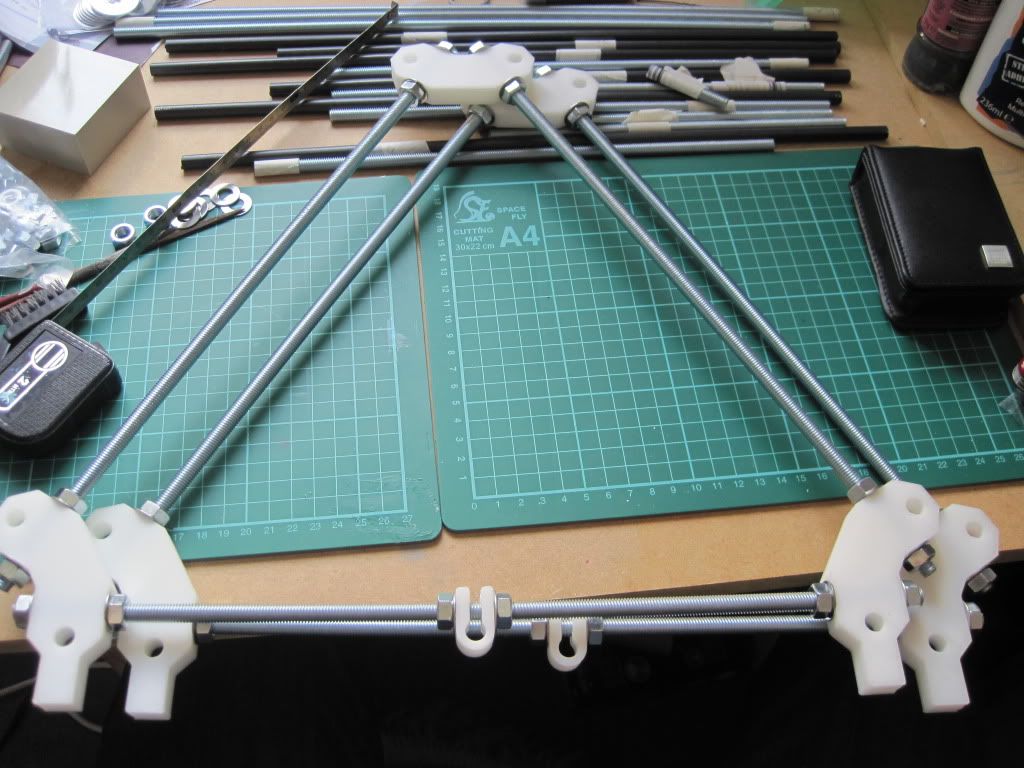
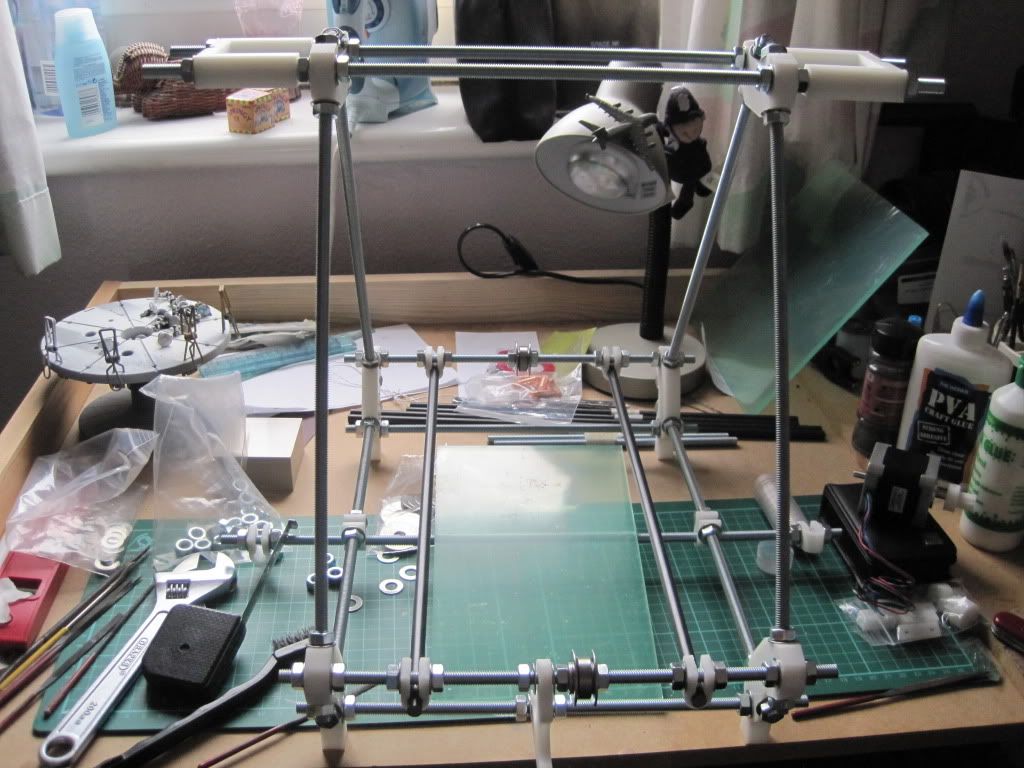
I started on the sides of the triangle,
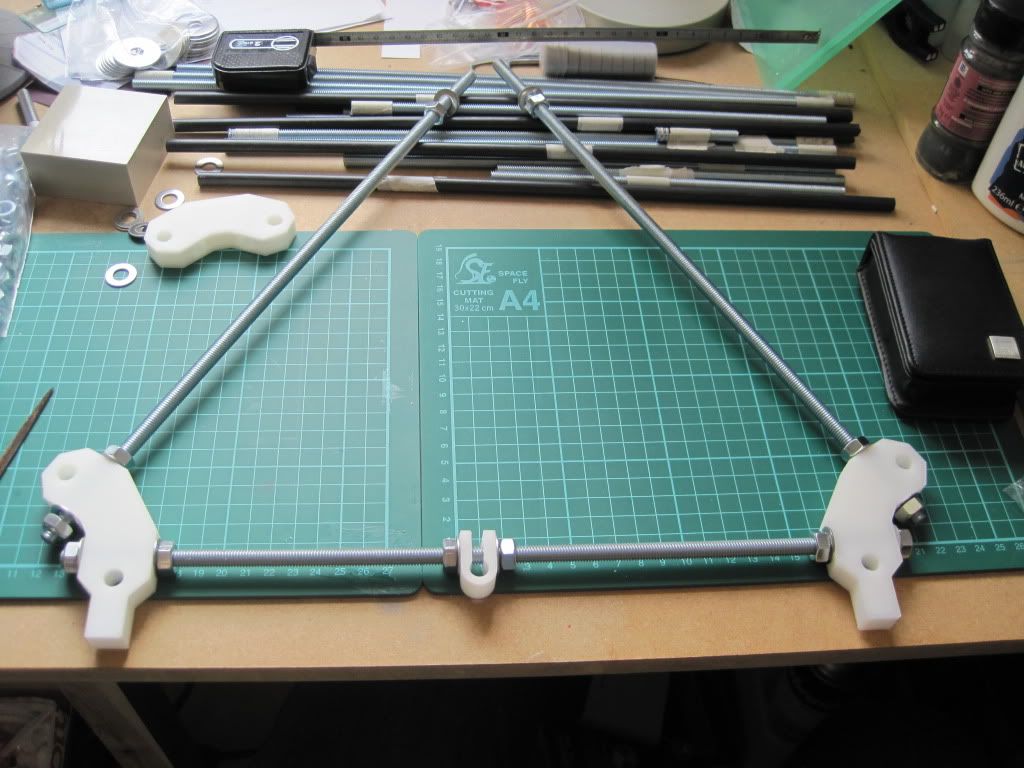
And finished them off by adding the top piece.
I set the lengths of the sides with the tape measure, and tightened everything up. Once everything was tight, I checked the lengths again. One of the sides had moved by a millimetre or so, but was easily corrected.
With one side built, the other was done in a flash (ok, so maybe not a flash, but it was certainly quicker than the first one).
I started to build the front rods next. I found that the visual instructions had helpfully included the length of the rods when talking about the sides, but now only used a description. I got confused, and started to use the 440mm rods to build the front (they are labelled as "top / bottom" in the Prusa parts list, and the instructions said "top rod"). If I can work out how to do it, I'll submit a modification request along with anything else I discover.
I cross referenced the wiki build manual, and started again with the correct length rods.
One thing that the wiki mentions in this section is about spacing the front bearing. The nut and washer next to the Y axis motor carrier are there to space the bearing away from the motor. I checked the distance and alignment of my motor/gear in relation to the bearings. Whilst not perfectly aligned, I elected to keep the spacing nut in place, and make any adjustments by moving the gear along the motor shaft. The difference isn't that large, but if it becomes problematic I'll remove the spacing nut.
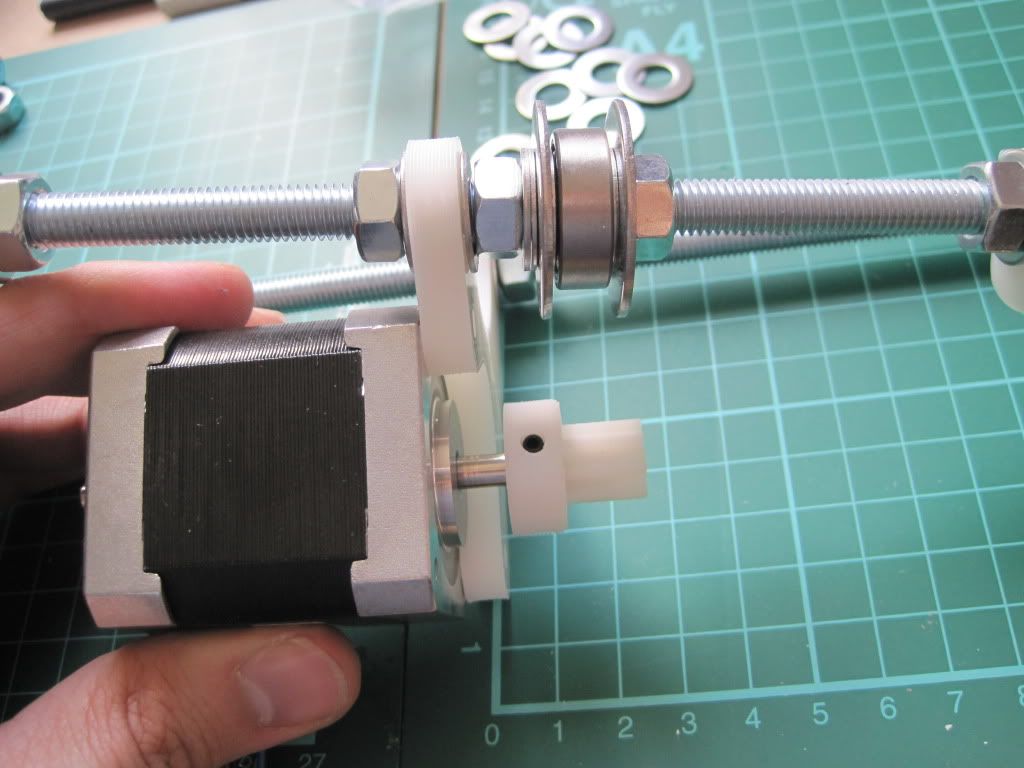 |
| The spacing here is just rough, and the nuts are loose. Tightened up, the gear doesn't sit quite this far along the shaft. |
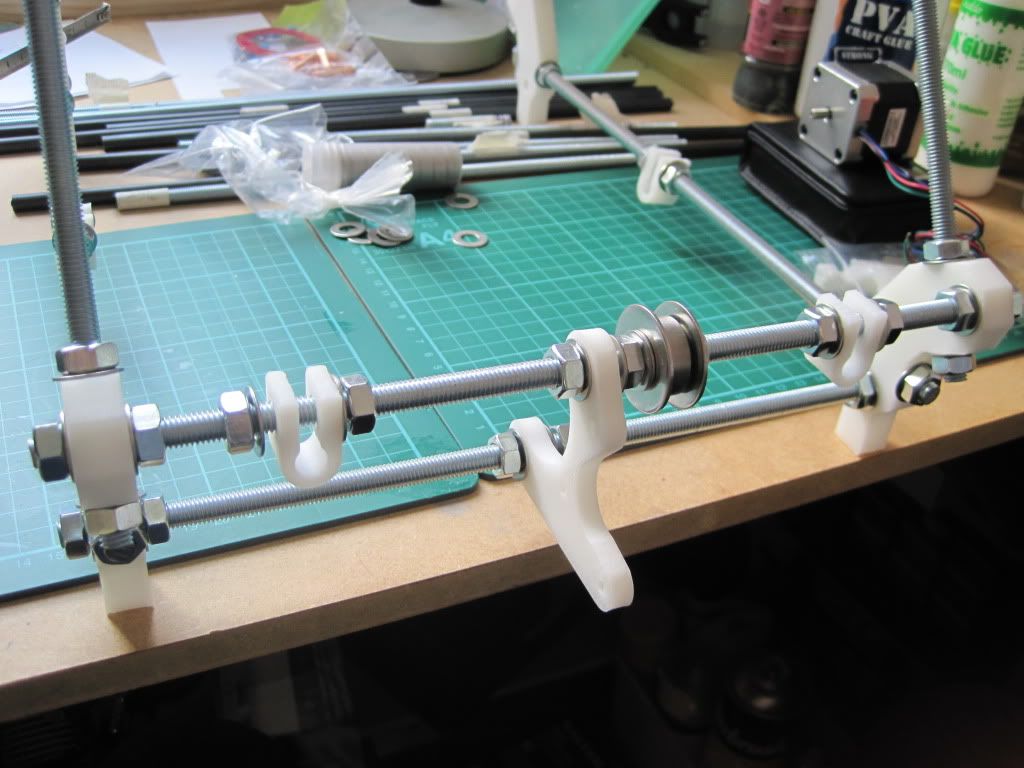
The back rods were easier to assemble, as they are not connected to one another (and I knew which lengths to use this time...).

I fitted the back bars to the rest of the frame.
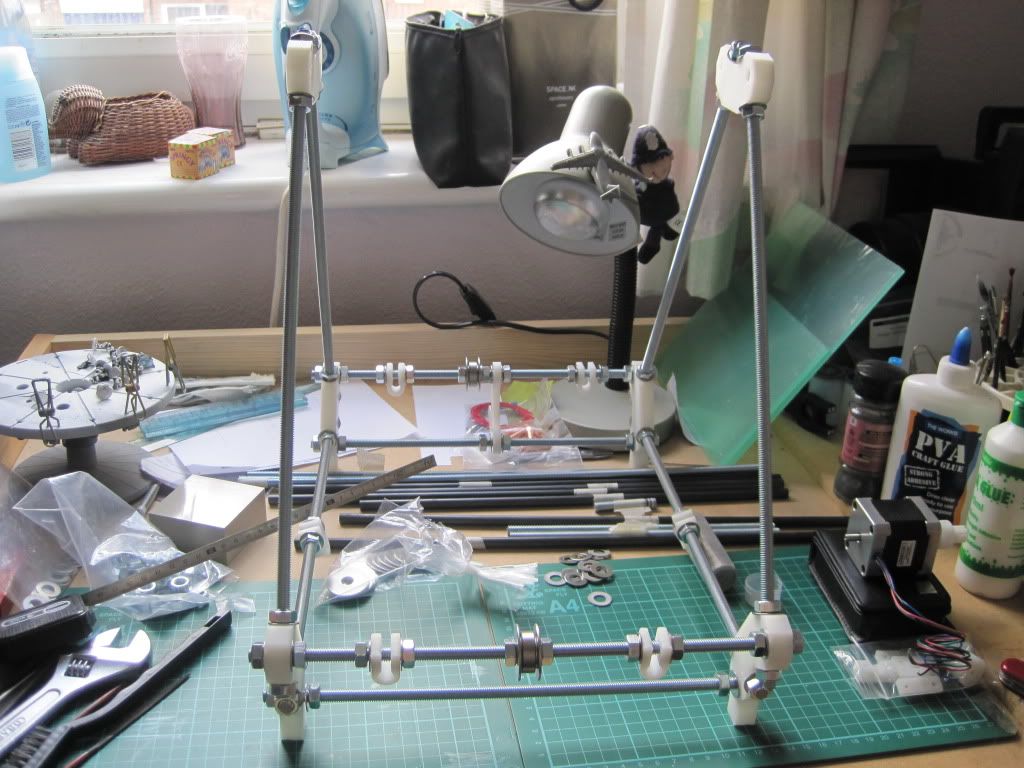
I finally used the top rods for their intended purpose, and mounted the Z axis motor holders. I adjusted the frame using the tape measure, and tightened up all the nuts. I also fitted the smooth rods, and the lower bar for the z axis ends. I have the smooth rods just about centred and the spacing set, but had difficulty with getting the bottom bar into the correct position. I think it is right, but will need more checking and adjustment when I come to work on the z axis parts.
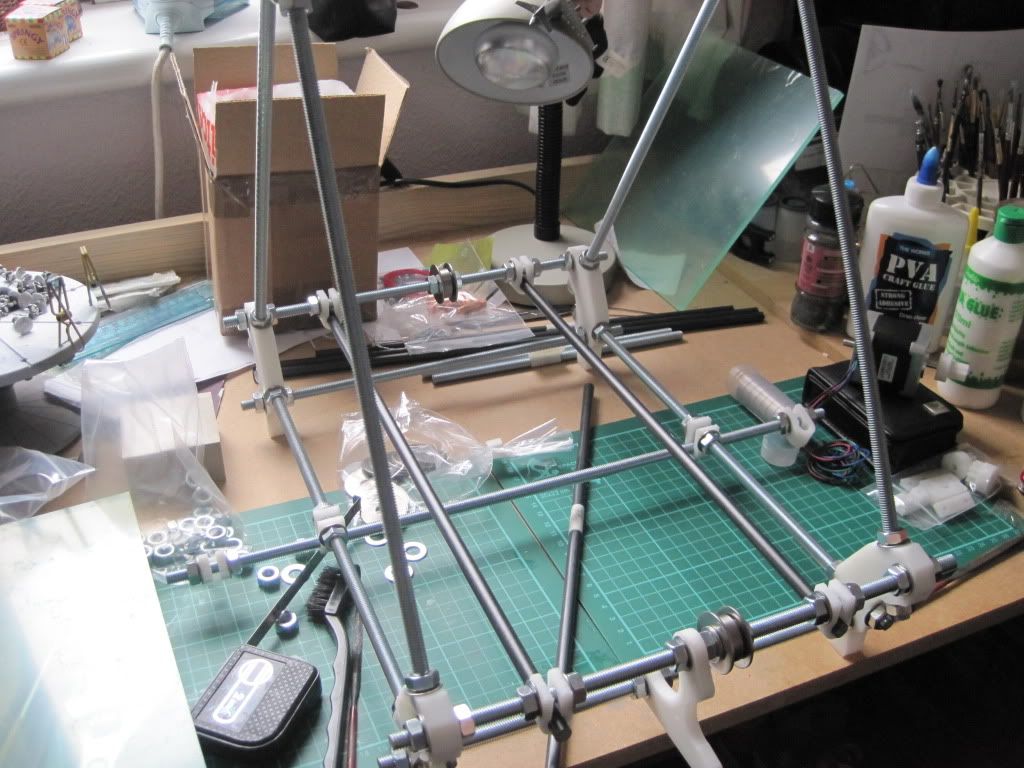
And there I have had to stop, as the next part requires things that I don't yet have - namely glue and M3 screws. Also the British Grand Prix was just starting.
Next up: buying more stuff, and drilling acrylic.
Laurence, Looking good ! I've bitten the bullet an ordered the plastic part and a Wade extruder from reprepltd. Once theyve arrived I might have to follow your lead and go down to B&Q. Whatever I can't get from there I'll have to order online (the large washers and the skateboard bearings dont appear on the B&Q site for starters).
ReplyDeleteI've printed out the visual instructions too - they look really detailed and I'll be studying them daily until I start my build.
Once again, yours is looking excellent - I tip my hat to you sir !
Buks
Hi Paul, glad to see you've decided to build a machine! B&Q aren't too bad for things like the rods, but make sure you look along them whilst giving them a turn - if you have a choice, only get the straightest ones. I think I have mitigated some of the effects of the bent rods by using them in short lengths, and to build the frame. Because they won't move when in use (unlike the z leadscrews), hopefully it won't matter that they are slightly bent.
ReplyDeleteOne of the reasons it took so long for me to compile the BOM (I'm still working on it!) was that I spent a long time looking for the best price on things. For example, while B&Q stock the M8 nuts, they do them in packs of 10 for about £2.50. I searched ebay for a while and picked up a 100 pack for around £3.50. It pays to shop around a bit!
Good luck with your build, and if you have any questions about mine just ask.