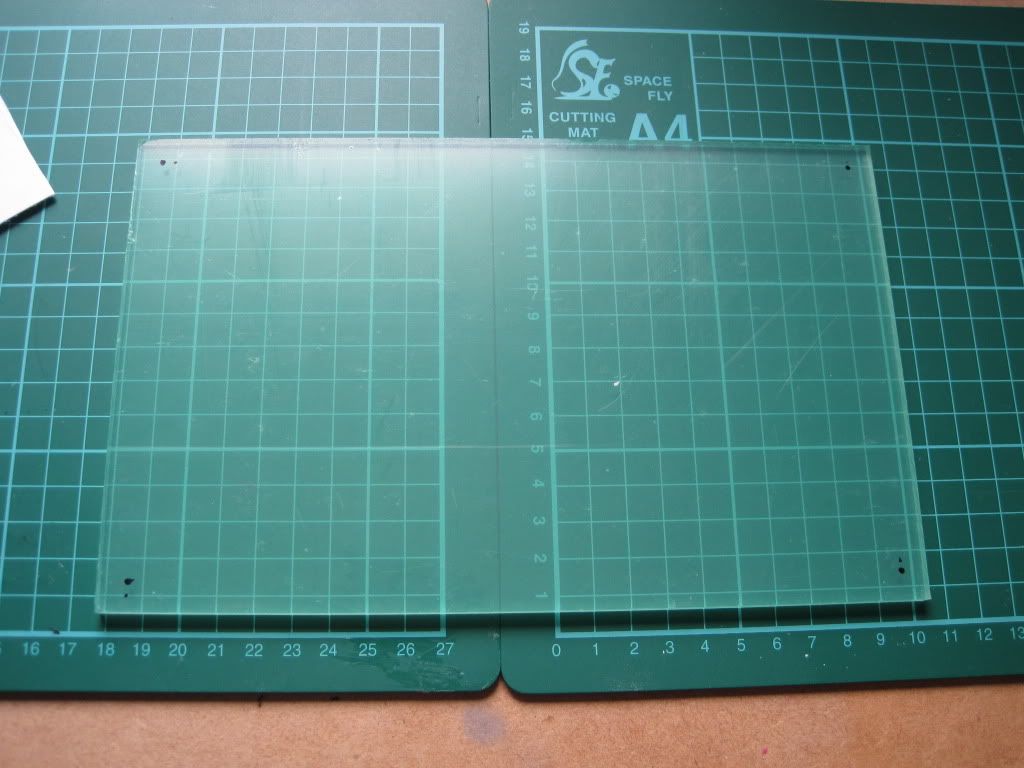
Here is the bottom plate (5mm acrylic, with the protective film still on). I have marked up the corners at 8mm (the larger dots).
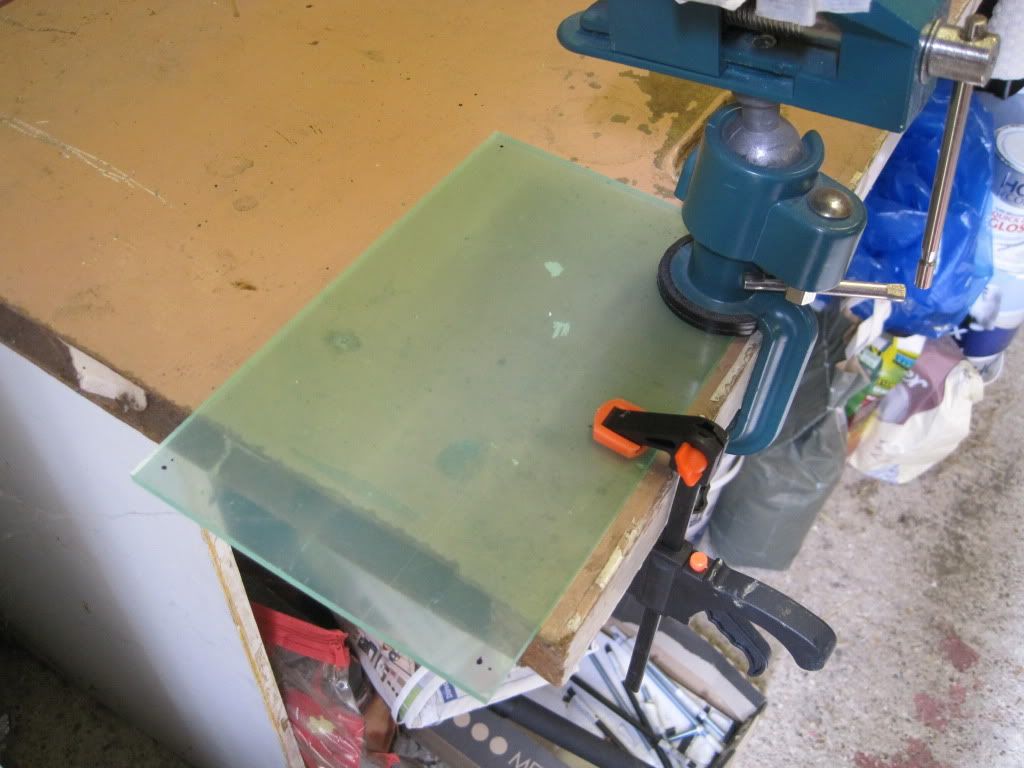
I took it to the garage and clamped it down. I couldn't find my other expanding clamp, so I used the vice to hold to the other end in place.
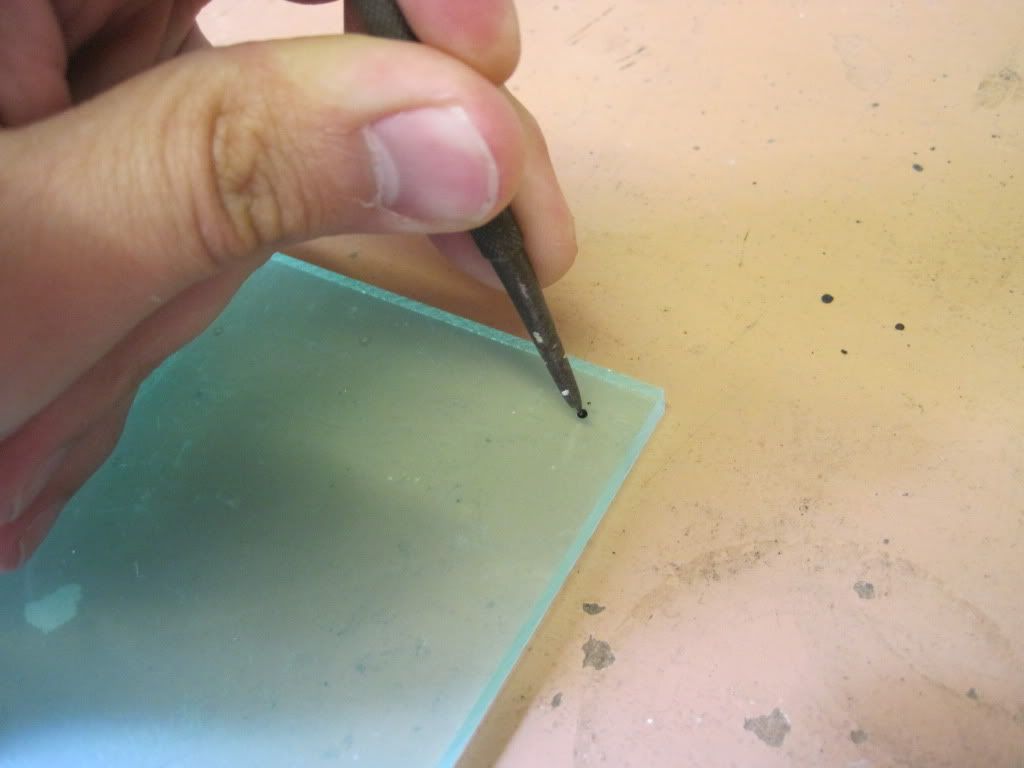
I used a scribe to mark the centres of the holes, and hopefully stop the drill bit from wandering.
I loaded up the 3mm bit and drilled all four corners.
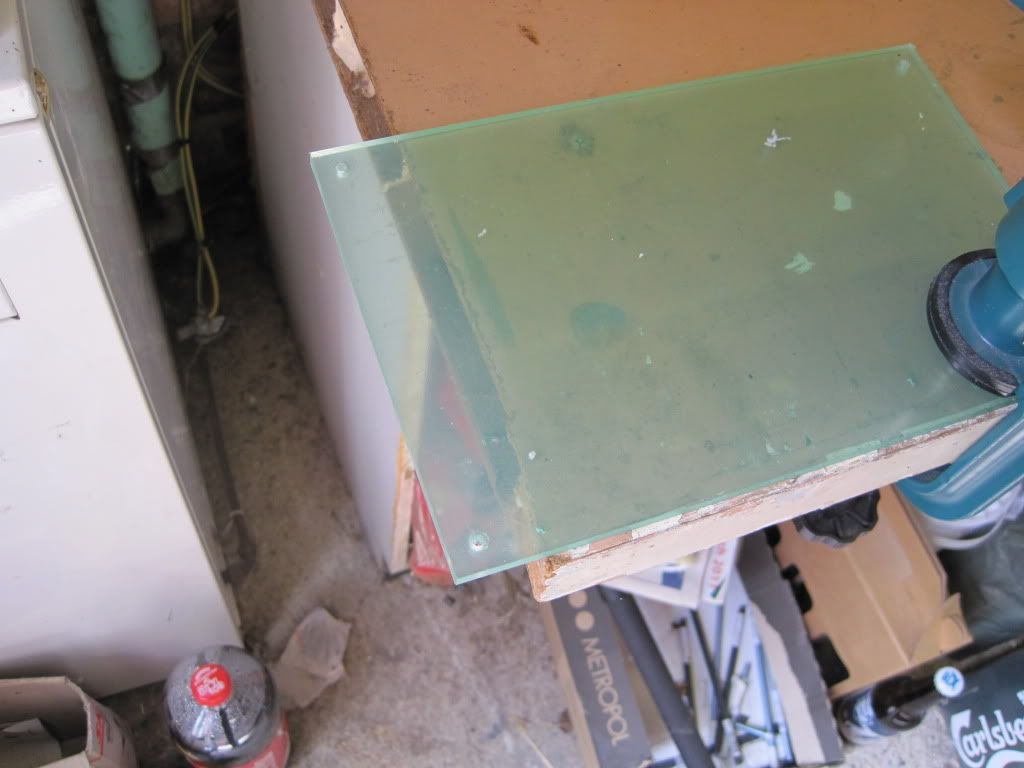
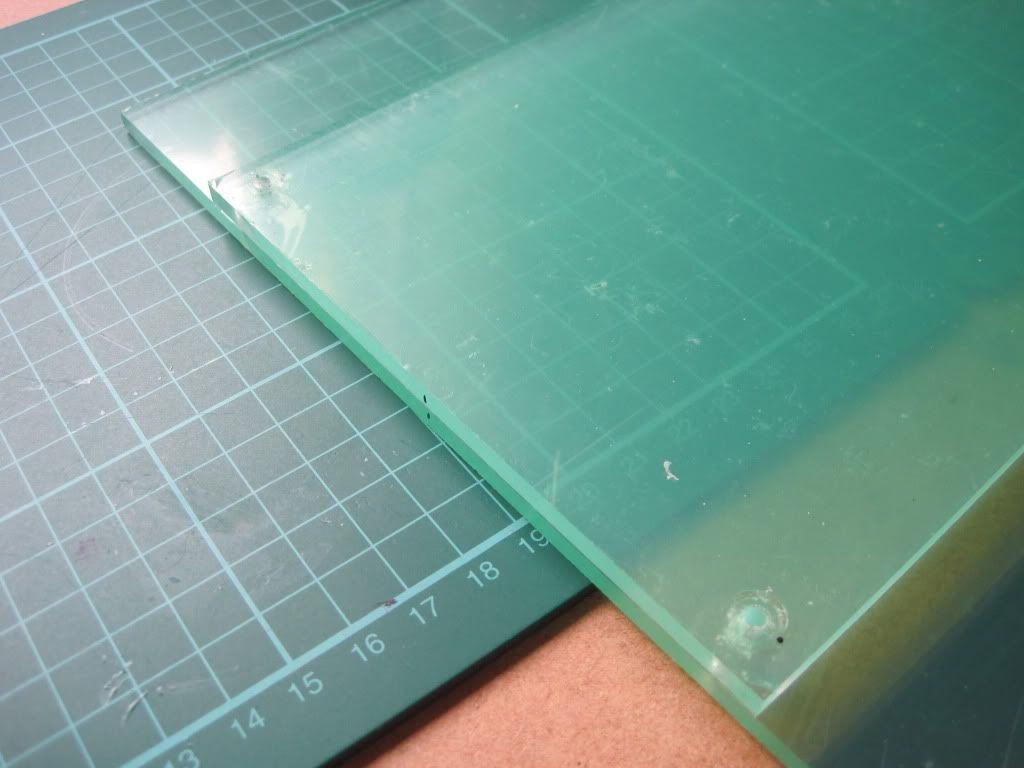
I centred the bottom plate on the top plate and redrilled.
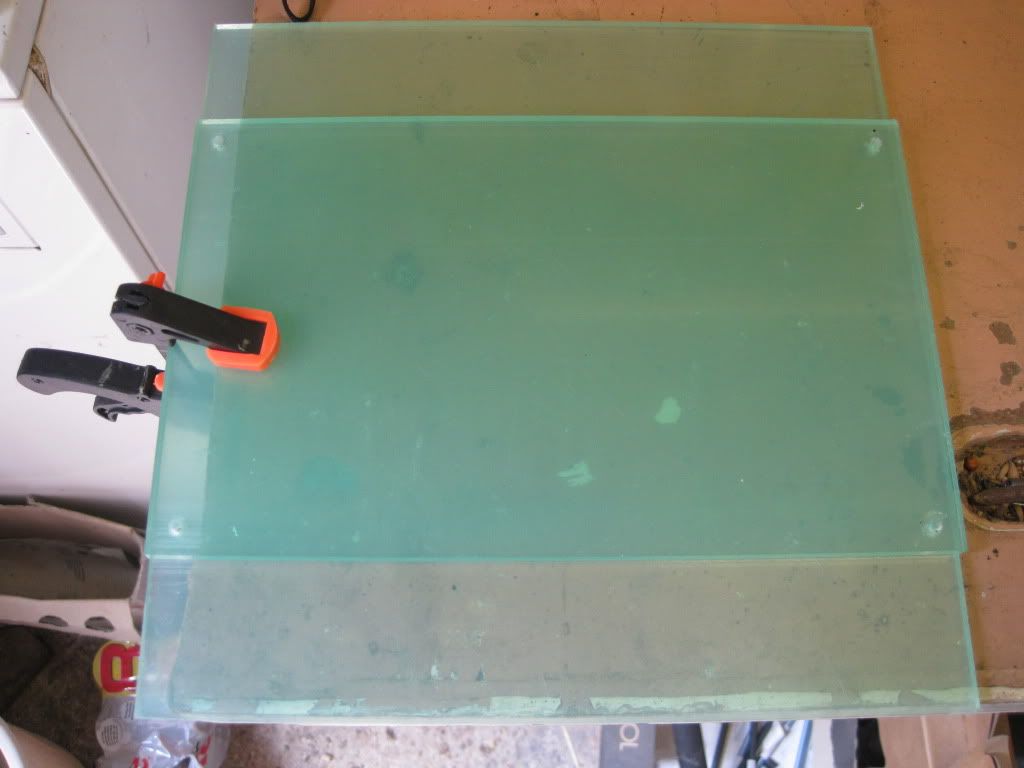
I marked the sides of both sheets, just in case they weren't completely centred when I drilled them. Interestingly, the heat generated by the drilling seems to have melted the protective film around the holes, bonding them together. It pulled apart easily though, with no harm done.
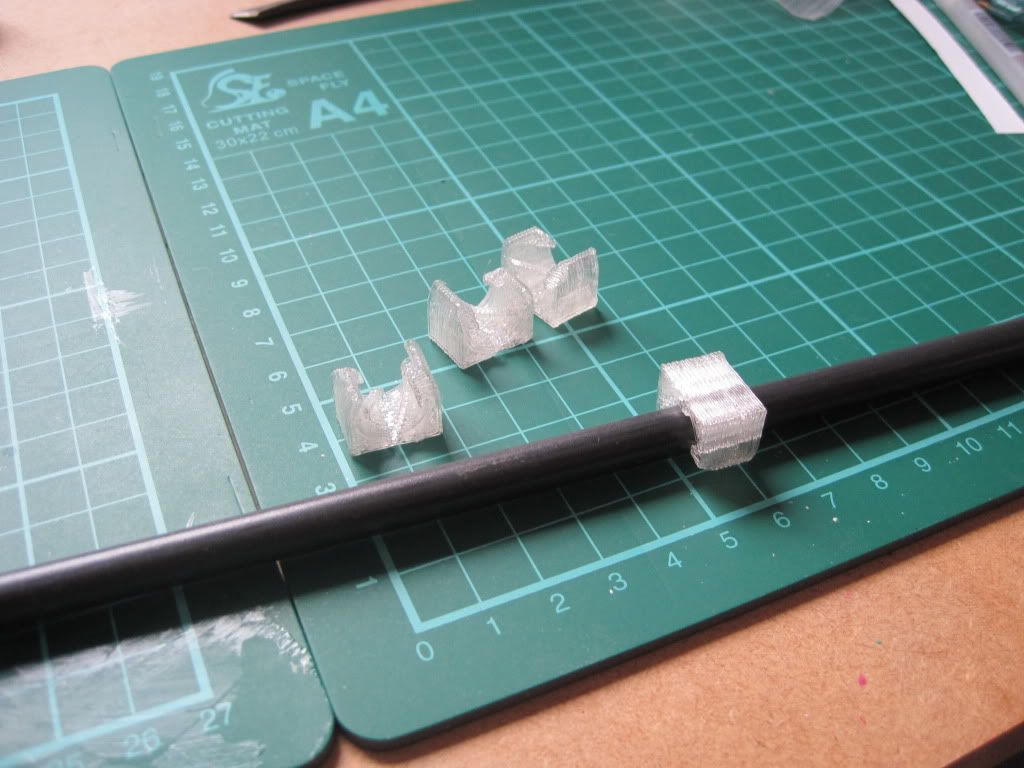
I snapped the PLA bushings onto a long section of smooth rod. They were a little stiff, but a combination of running them up and down the rod and using the heat-the-other-end trick freed them up enough to run smoothly.
I snapped the bushings onto the y axis rods. They were still a little rough running, so I ran them up and down until they were smooth again. I think the smooth rod I am using is not entirely cylindrical. I think it's round enough though, but we'll see.
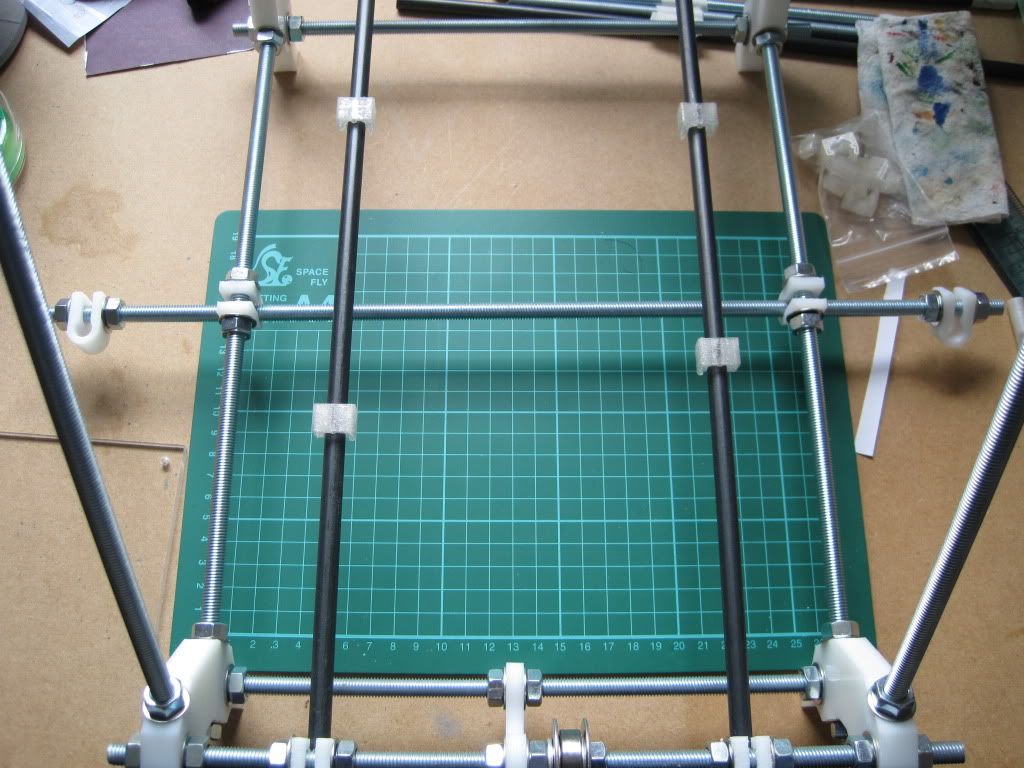
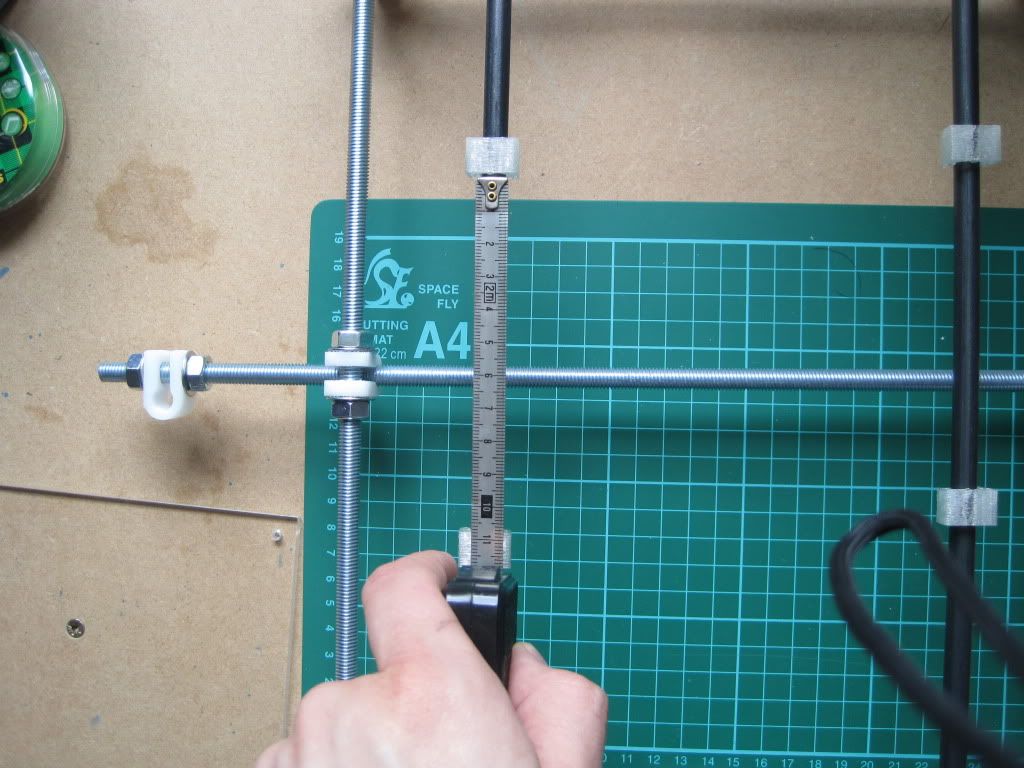
Being a bit of a perfectionist, I wanted the lower plate to be completely square and centered on the bushings. Any error here will be apparent, due to the clear nature of the acrylic. I spaced the bushings with a tape measure, and used my cutting mat below to make sure they were level.
I used superglue to stick the plate to the bushings (which I hope will hold). I used the lines on the cutting mat again to ensure the plate was well aligned.
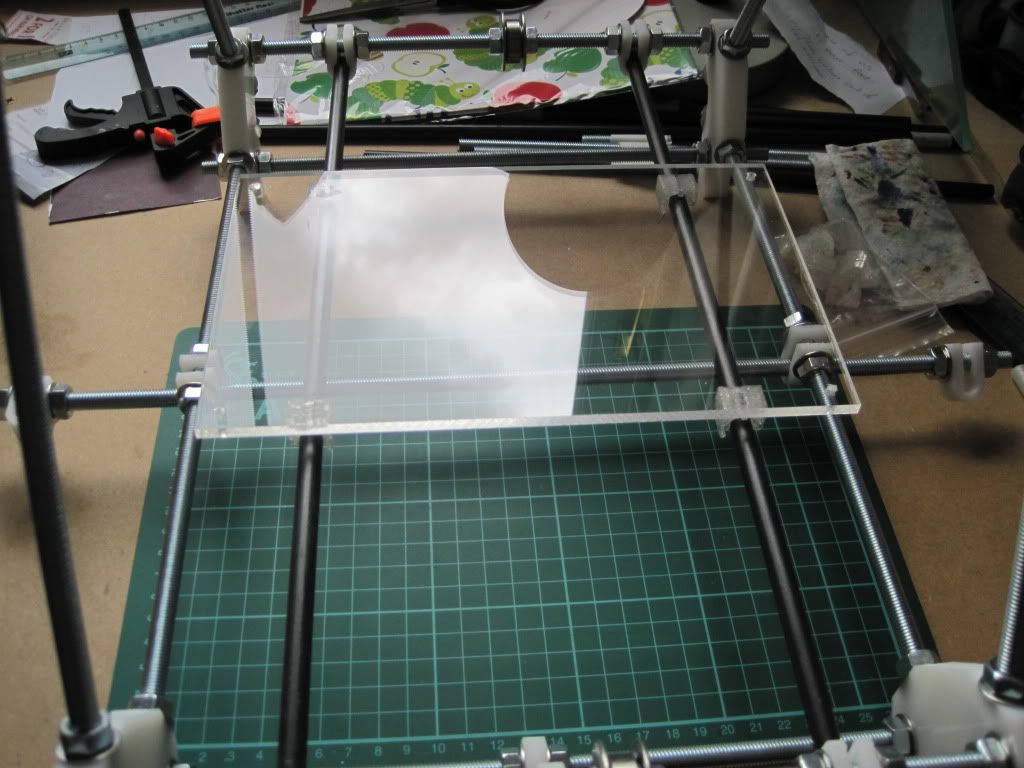
I'll check later that the glue has dried and formed a strong bond.
In other news, I ordered the bare board for the electronics this week (ebay again). This particular one is v1.1 (which has some pin assignment differences from v1.2 - I'll have to be careful in the firmware), and has the FTDI USB to serial interface chip (the single surface-mount component) already fitted. This will not only save some time and difficulty, but now I don't have to source the chip separately. it was posted at the tail end of last week, and so should be here monday or tuesday.
Up next: Probably the joys of buying even more stuff.
No comments:
Post a Comment